News
More Enamel Clips, More Colors!?! August 07 2014
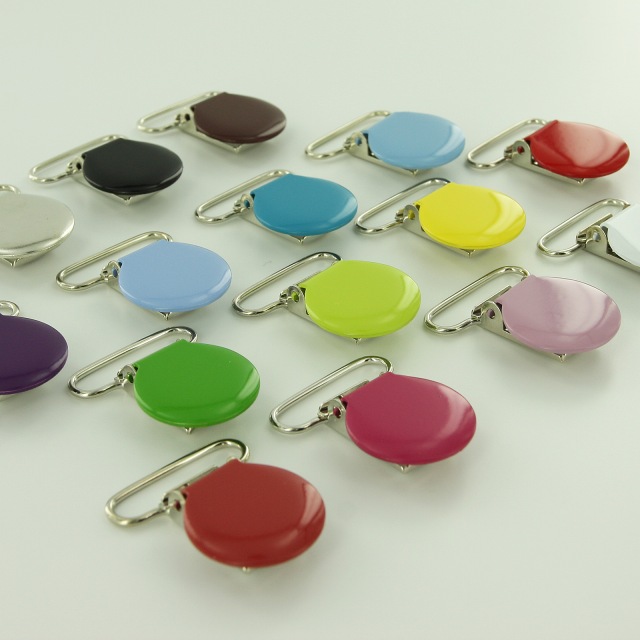
We now carry Enamel Pacifier Clips (metal) in 20+ colors!!! Lead Free and Nickel Free Enamel Clips for your craft and clip projects.
We now carry:
Silver Colored (non-enameled)
Apple Green (enamel)
Black (enamel)
Butternut - Light Yellow (enamel)
Chocolate (enamel)
Dark Lavender (enamel)
Deep Red (enamel)
Fuchsia (enamel)
Grape Soda (enamel)
Lemon Zest (enamel)
Medium Pink (enamel)
Milk Chocolate (enamel)
Periwinkle (enamel)
Ribbit - Medium Green (enamel)
Sassy (enamel)
Spring Green (enamel)
Sky Blue (enamel)
Teal (enamel)
Violet (enamel)
White (enamel)
The Enamel Pacifier Clips, of course, match up with our I Like Big Buttons! KAM Snaps to make coordinating projects easier. If you haven't had a chance to check them out, please, see them on our website.
We also have Pacifier Clip Tutorials for your use.

30 Days of Snaps Summary!!! Day #1 through Day #30 Summary August 05 2014
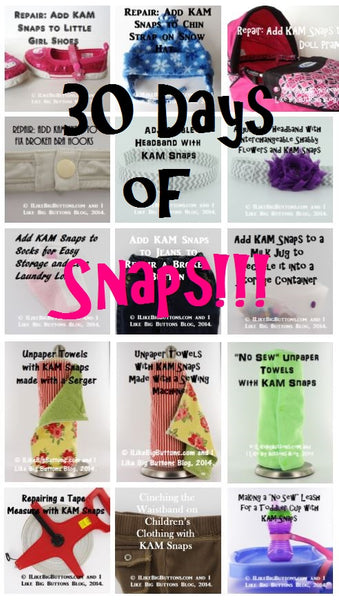
30 Days of Snaps Summary!!!
I made it! 30 Days of KAM Snap ideas and tutorials, I am so proud of myself :). Here is a summary of what I did for all of you who are have only seen a few or are just joining us.

Day #1

Day #2

Day #3

Day #4
Day #5

Day #6

Day #7
Day #8

Day #9
Day #10
Day #11

Day #12

Day #13

Day #14
Day #15
Day #16

Day #17
Day #18

Day #19
Day #20
Day #21
Day #22
Day #23
Day #24
Day #25

Day #26

Day #27
Day #28
Day #29
Day #30

30 Days of Snaps Summary:
- Day #1: How To Repair Toddler Shoes with KAM Snaps
- Day #2: How To Repair a Snow Hat with KAM Snaps
- Day #3: How To Repair a Doll Pram with KAM Snaps
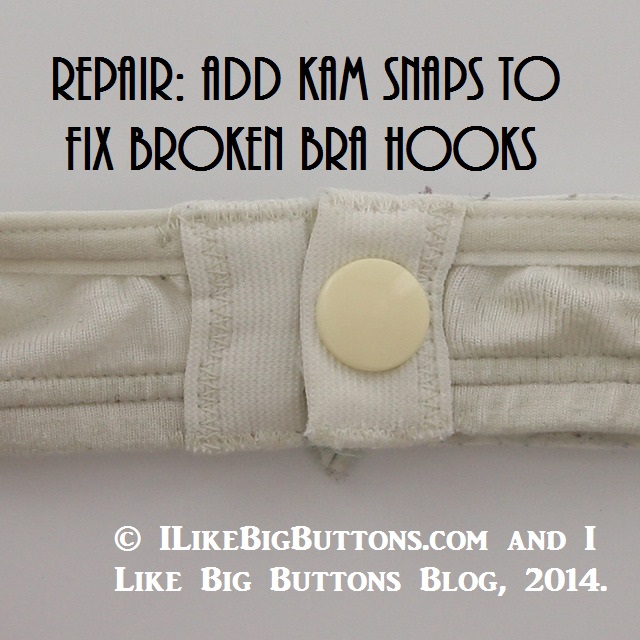
- Day #4: How To Repair a Bra with KAM Snaps
- Day #5: How to make an Adjustable Headband
- Day #6: How to make Interchangeable Shabby Flowers
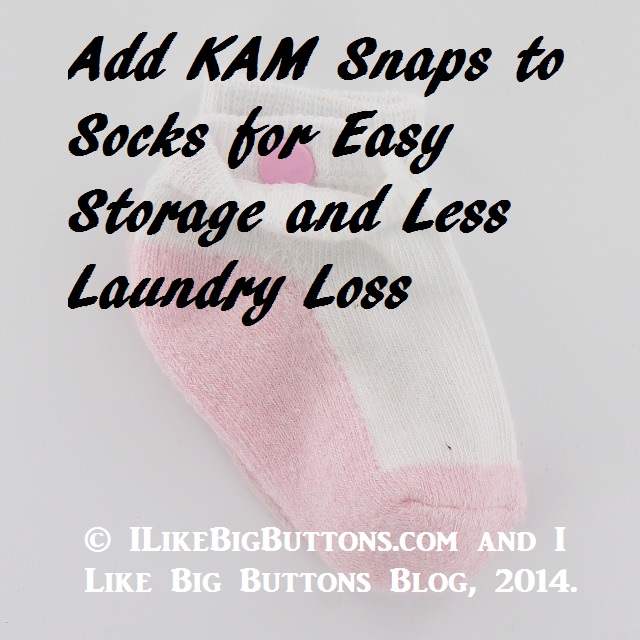
- Day #7: How To Match Socks with KAM Snaps
- Day #8: How To Repair A Pair Of Jeans with KAM Snaps
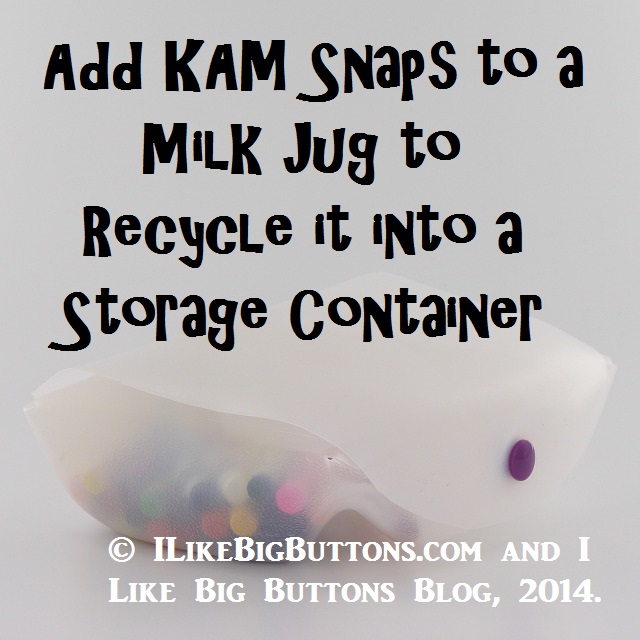
- Day #9: How To Recycle a Milk Jug into a Storage Container with KAM Snaps
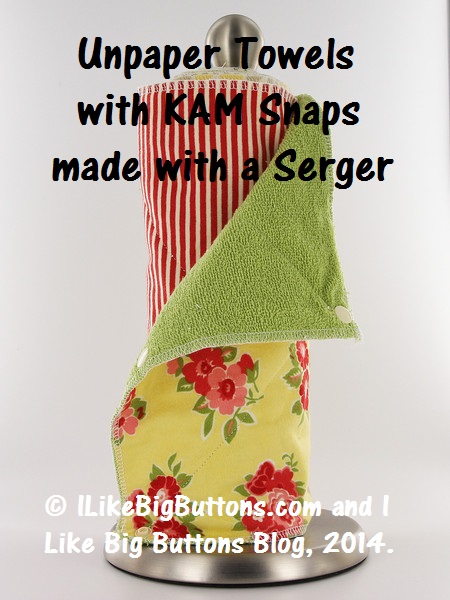
- Day #10: How To Make Unpaper Towels with KAM Snaps and a Serger
- Day #11: How To Make Unpaper Towels with KAM Snaps and a Standard Sewing Machine
- Day #12: How To Make "No Sew" Unpaper Towels with KAM Snaps
- Day #13: How to Repair a Tape Measure with KAM Snaps
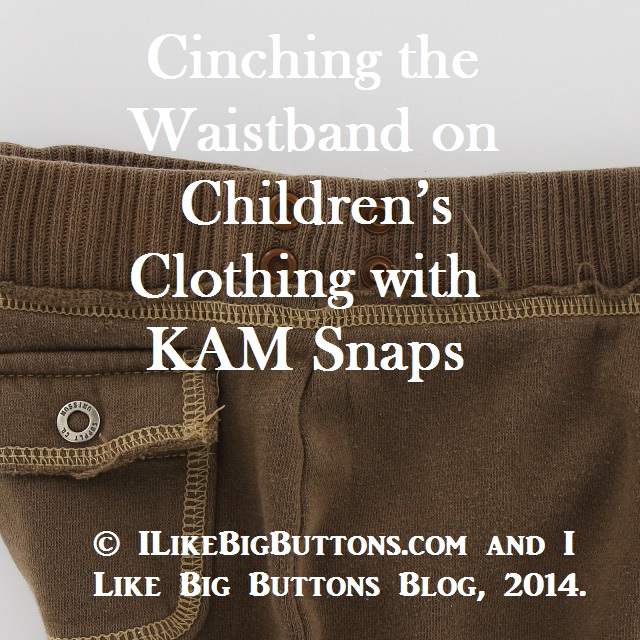
- Day #14: How to Cinch the Waistband on Children's Clothing with KAM Snaps
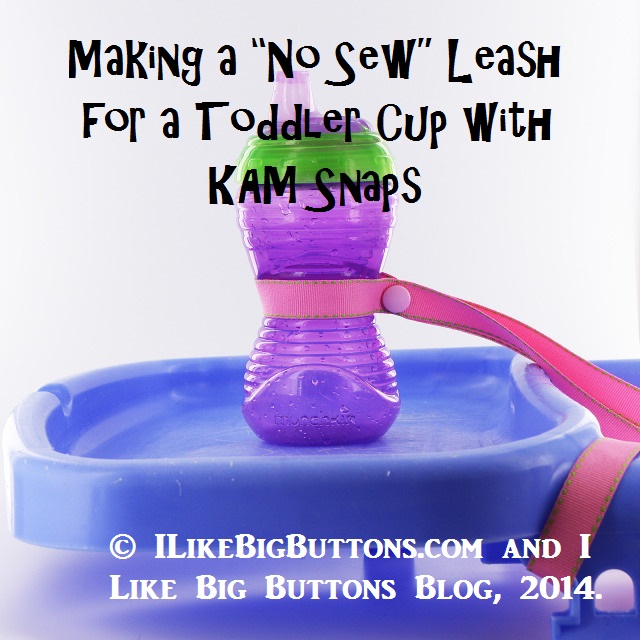
- Day #15: How to make a "No Sew" Leash for a Toddler Cup with KAM Snaps
- Day #16: How to make a "No Sew" Pacifier Clip with KAM Snaps and an Enamel Clip
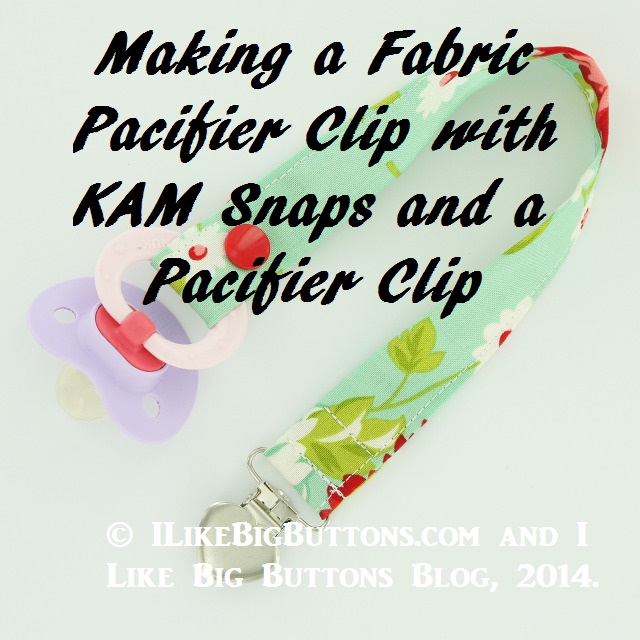
- Day #17: How to make a Fabric Pacifier Clip with KAM Snaps and a Pacifier Clip
- Day #18: How to do a Emergency Easter Basket Repair with KAM Snaps
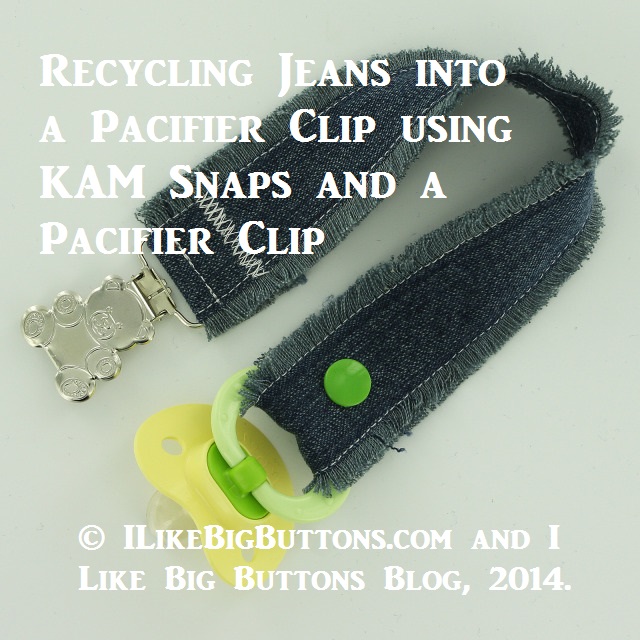
- Day #19: How to make a Pacifier Clip Using Recyled Jeans, KAM Snaps, and a Pacifier Clip
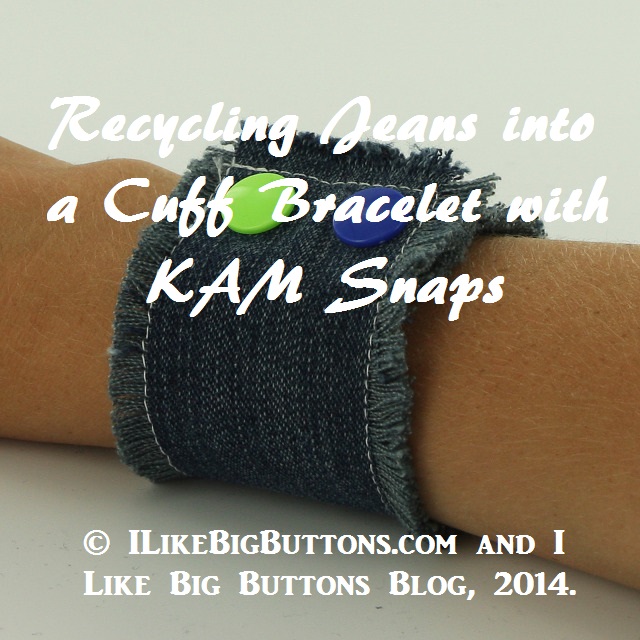
- Day #20: How to make a Cuff Bracelet with Recycled Jeans and KAM Snaps
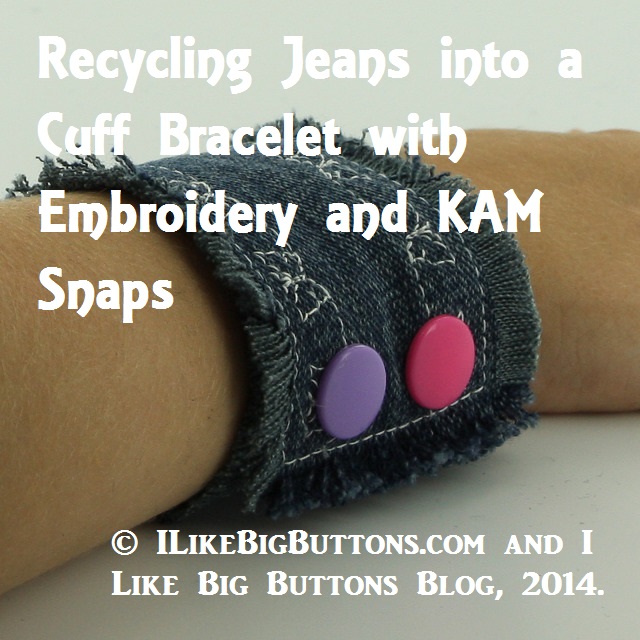
- Day #21: How to make a Cuff Bracelet with Recycled Jeans, Embroidery and KAM Snaps
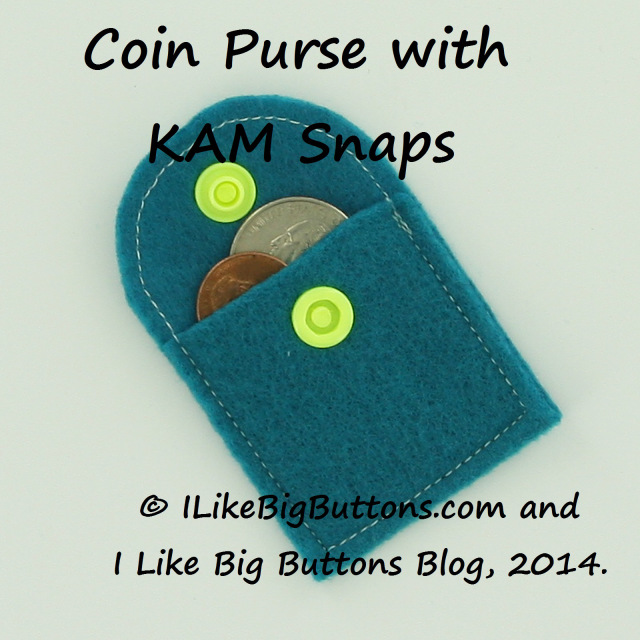
- Day #22: How to make a Felt Coin Purse with KAM Snaps and PDF Pattern
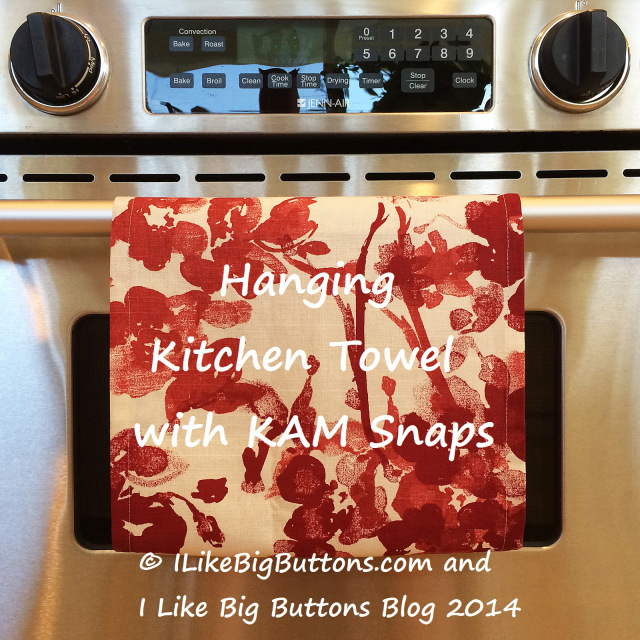
- Day #23: How to make a Hanging Kitchen Towel with KAM Snaps
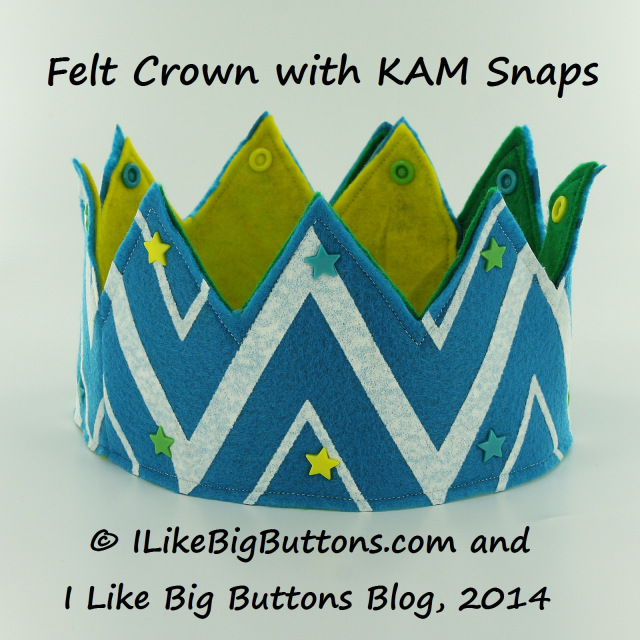
- Day #24: How to make a Felt Crown with KAM Snaps and PDF Pattern
- Day #25: How to Make a Crayon Roll with KAM Snaps
- Day #26: How to make a Sensory Ribbon Baby Tag Blanket with KAM Snaps and Pacifier Supplies
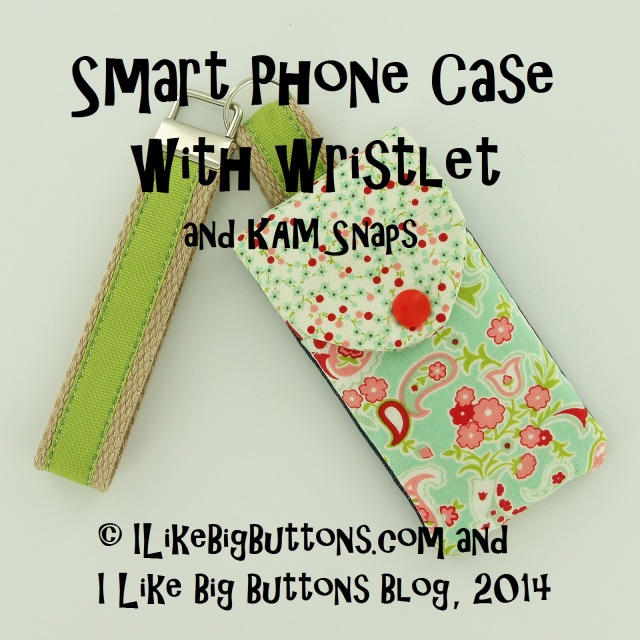
- Day #27: How to make a Smart Phone Case and Wristlet with KAM Snaps and Key Fob Hardware
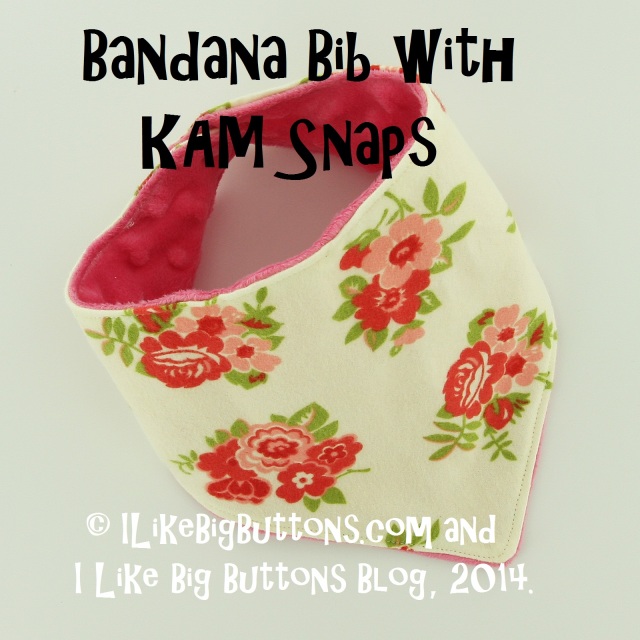
- Day #28: How to make a Bandana Bib with KAM Snaps and a PDF Pattern
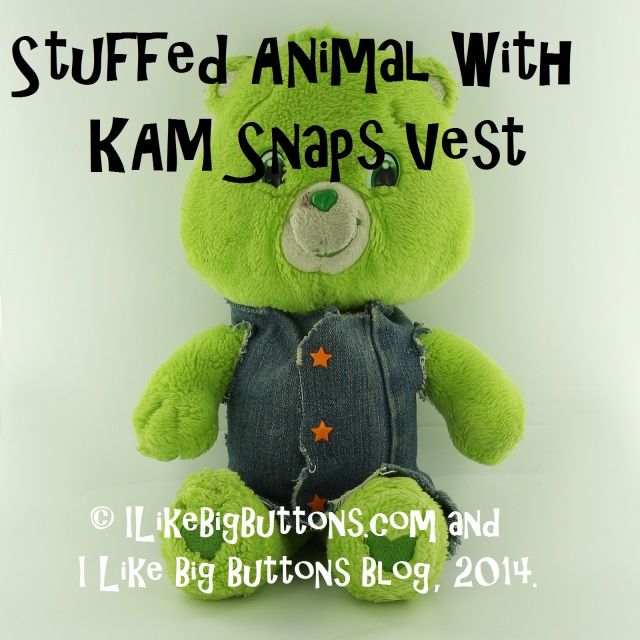
- Day #29: How to make a vest for a Stuffed Animal with KAM Snaps and Holey Jeans
- Day #30: How to make a Mini Hobo Purse with KAM Snaps and a PDF Pattern
30 Days of Snaps!!! Day #26: How to make a Sensory Ribbon Baby Tag Blanket with KAM Snaps & Pacifier Supplies July 10 2014
Day #26
Making a Sensory Ribbon Baby Tag Blanket with KAM Snaps and Pacifier Supplies
Today I am making a Sensory Ribbon Tag Blanket with BONUS accessories. Use KAM Snaps or a KAM Pacifier Clip to make your blanket attachable or unthrowable :). Add KAM Snaps, MAM Pacifier Rings or Pacifier O-Rings to add a Pacifier holder to your tag blanket. Fun and Functional!!! I used them all :P to show you the different options.
Supplies:
- 2 12″x12″ Pieces of Fabric (1 Cotton and 1 Minky)
- 8x 5″ Piece of Ribbons (mix of Grosgrain and Satin)
- 7x 8" Piece of Ribbons (mix of Grosgrain and Satin)
- 1x 12" Piece of Ribbon
- 1 KAM Snap Set
- KAM Snap Pliers and Awl
- 1 KAM Pacifier Clip
- 1 MAM Pacifier Ring
- 1 Pacifier O-Ring
- Standard Sewing Machine
![]()
![]()
Instructions:
1. Cut the Fabric and Minky material to 12"x12" squares and cut your mix of ribbon 8 in 5" lengths, 7 in 8" lengths, and 1 in 12" length.
![]()
2. Lay out your ribbons in a random pattern, 5 pieces on each side, and some of each length on each side.
![]()
3. When you are happy with how it will look, pin each ribbon good sides out, wrong sides together on the the right side of Minky. At this point add the Pacifier Supplies of your choosing, I put 1 of each kind as an example, you can do as many or as few as you like. Also, I left one side of the 12" long ribbon hanging (I pinned it in the middle out of the way) as it will later be attached with a KAM Snap so that it can be opened and closed around a car seat handle or other.
![]()
4. Lay the Cotton Fabric right side down on top of the Minky and ribbons.
![]()
5. Pin the pieces together.
![]()
6. Sew a 1/4" seam around the piece, back stitch at the start, stop sewing about 3-5" or so from completing the square and back stitch again. Leaving a hole so that you can turn the Tag Blanket right side out.
![]()
![]()
7. Turn the Tag Blanket right side out.
![]()
8. The opening will have a couple unattached ribbons.
![]()
9. Make sure to push the corners out well so that they are as square as possible.
![]()
10. Carefully, fold over and pin the opening closed and the last 2 ribbons in place like so.
![]()
11. Stitch all the way around the Tag Blanket with a 1/4" seam allowance, remembering to back stitch at the beginning and end. When I reached the ribbons that hadn't been sewn in earlier, I back stitched over them to give them extra strength.
![]()
![]()
![]()
12. Seal the end of the loose 12" ribbon with a lighter or Chef's Torch. Then use some Fabric Tac to fold the ribbon over and reinforce it where the KAM Snap will be placed.
![]()
13. Install the KAM Snap Cap and Stud in the ribbon end.
![]()
14. Install the KAM Snap Cap and Socket in the base where the ribbon and blanket overlap.
![]()
![]()
15. It will look like this and can be snapped to your car seat handle, stroller or other so that your little one won't throw it away. The KAM Pacifier Clip in Meadow Green is another alternative that I added for attaching to your child's clothing or car seat cover for the same benefit.
![]()
![]()
16. I have added this Tag Blanket to my list of favorite things to make. It is fun, functional, easy to make, and very attractive.
![]()
30 Days of Snaps!!! Day #19: How to make a Pacifier Clip Using Recyled Jeans, KAM Snaps, and a Pacifier Clip June 24 2014
Day #19
Recycling Jeans into a Pacifier Clip using KAM Snaps and a Pacifier Clip
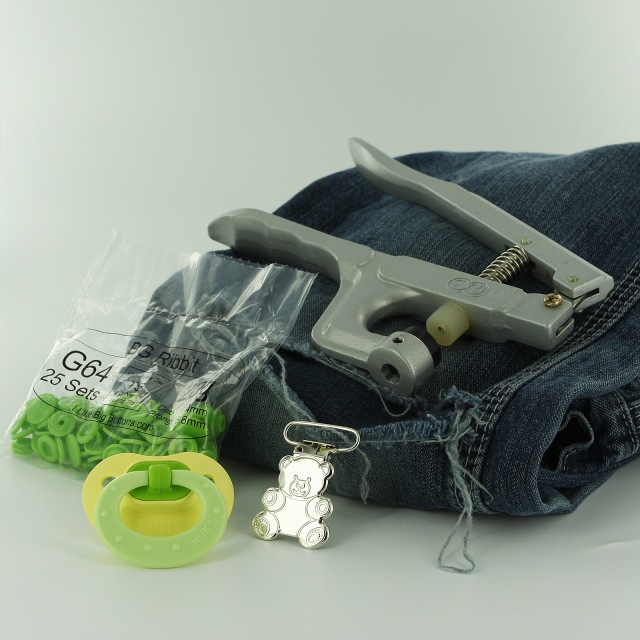
Every time I do a load of jeans in the laundry, I inevitable find ANOTHER pair of jeans with the knees split from seam to seam and, really, how many jean shorts can a boy use :P. They even wear though patches and re-enforced knees. I have active boys :). I have been trying to find creative ways to recycle holey jeans. Today I am recycling a pair of holey jeans into a Pacifier Clip.
Supplies for a Recycled Jean Pacifier Clip:
- 1 Pair of Holey Jeans
- 1 Pacifier Clip
- 1 KAM Snap Sets
- KAM Snap Pliers and Awl
- Standard Sewing Machine

Instructions:
1. Using an old, holey pair of Jeans cut two 1 1/2" x 14" strips of material.

2. Pin the material, wrong sides together, right sides facing out.

3. Stitch around the strip of fabric about a 1/4 to 3/8" in all the way round making sure to back stitch at the start and end.

4. Pull on the edges to fray the jean material up to the stitch you made. I used a crafty child :) with a cutting board and a fork. It will also fray over time but I was going for a this look.

5. Put the Pacifier Clip on the Fabric strip about 1″ in.
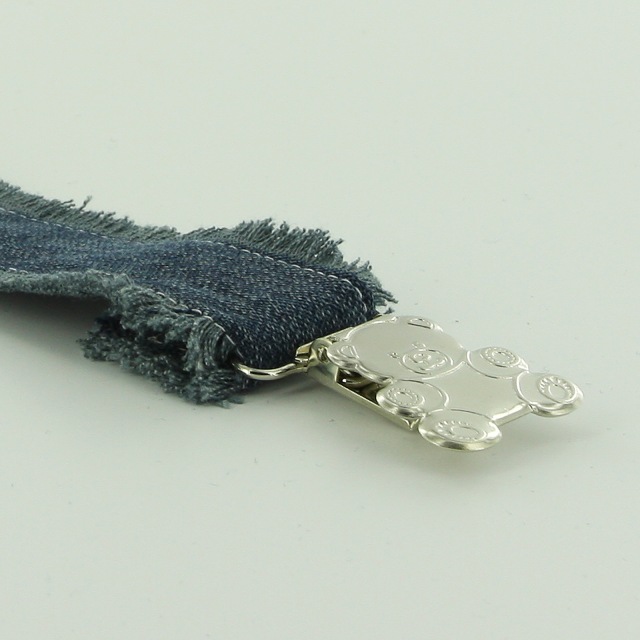
6. Fold back 1″ of the strip back onto itself.
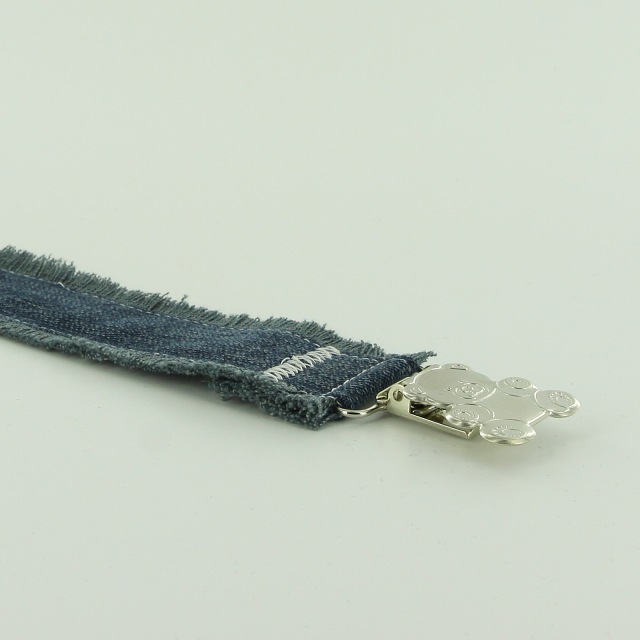
7. Straight stitch across the Fabric strip just behind the Pacifier Clip and again a 1/2″ later, I did a Zig-Zag Stitch for fun, just before the end of the doubled over Fabric strip. Make sure to set the stitch both times.
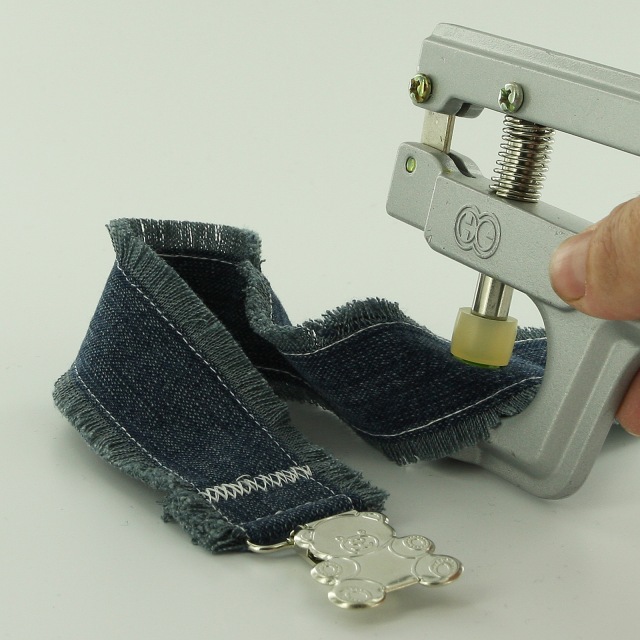
8. Make sure that the internal snap in a comfortable distance to accommodate the width of the handle, I spaced my KAM Snaps about 2″ apart using the Pacifier I have with the biggest handle.

9. Now on the side where the Pacifier will be attached, I installed a Cap and Socket about 1/2″ from the edge. I used Size 20 snaps for this tutorial but either Size 20 or Size 16 will work great.

10. Now snap the Pacifier in place, attach to your child’s outfit and go.
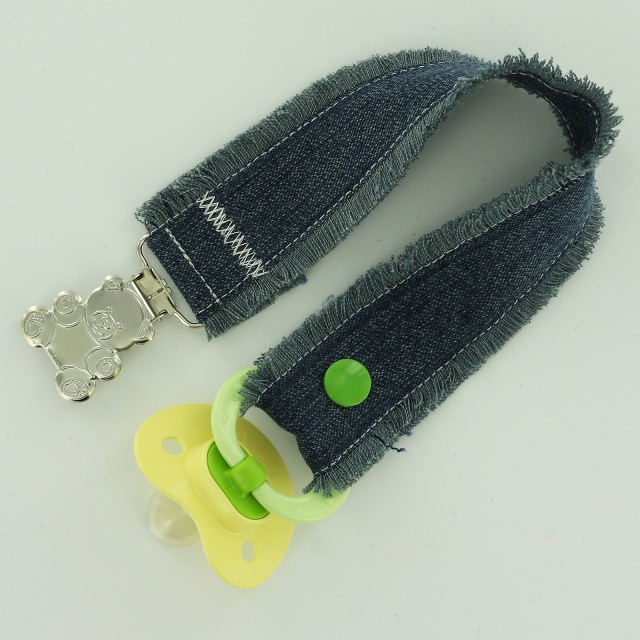
11. Tada! Okay, I think this may be my favorite so far. How cute! Happy Snapping!!!
30 Days of Snaps!!! Day #17: How to make a Fabric Pacifier Clip with KAM Snaps and a Pacifier Clip June 18 2014
Day #17
Making a Fabric Pacifier Clip with KAM Snaps and Pacifier Clip
Today, I am making a pretty Fabric Pacifier Clip with KAM Snaps and a Pacifier Clip. Functional and pretty too!!!
Supplies for a Fabric Pacifier Clip:
- Pacifier with Hinged Handle
- 14" x 3 1/2" Piece of Fabric
- 1 Pacifier Clip
- 1 KAM Snap Sets
- KAM Snap Pliers and Awl
- Standard Sewing Machine and Iron

Instructions:
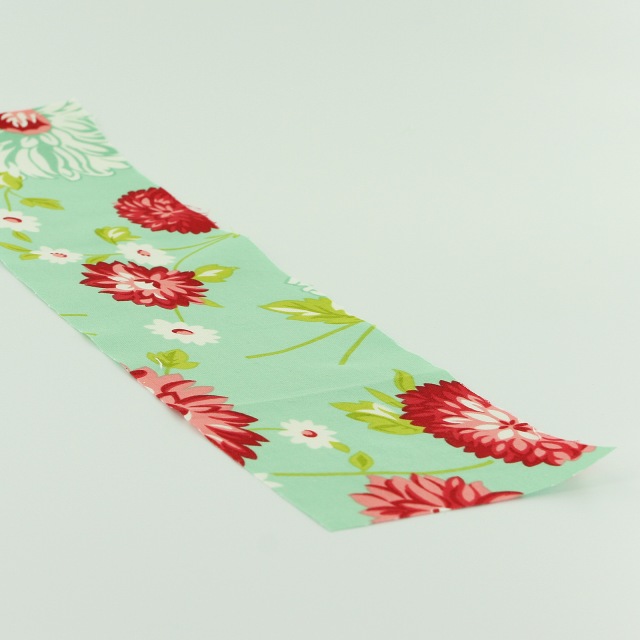
1. Choose a piece of Fabric, cut it to the dimensions: 14" x 3 1/2", the finished product once ironed, folded and sewn will be approximately 7/8" wide x 12" long.

2. Fold both 3 1/2" wide ends in 1/4" and iron flat.

3. Now fold and iron the fabric in half the long way (14" length).

4. Then fold and iron again, bringing the outer edges to the middle "iron line" and iron along those edges. Repeat on other side.
5. Re-iron the seam so that the Fabric is smooth and flat, it should now be 13 1/2" long x 7/8" wide.
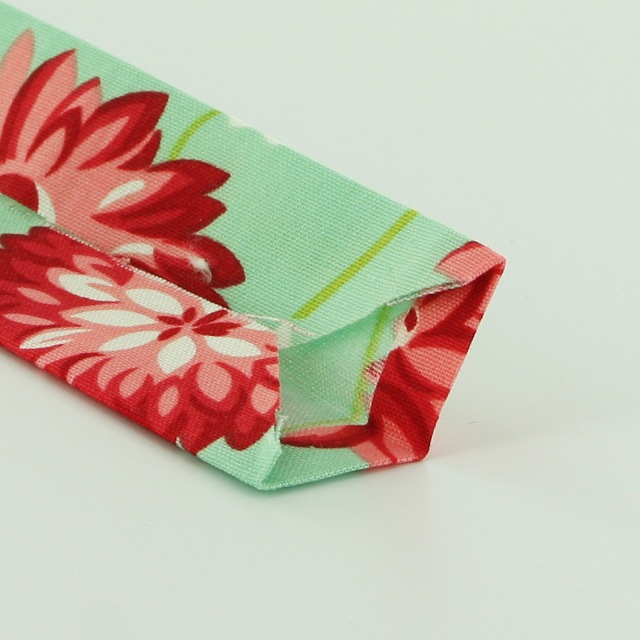
6. Open the top of the Fabric strip and trim the excess internal fabric at an angle so that there is less chance of the ends peeking out when sewn together. Repeat on the other end.
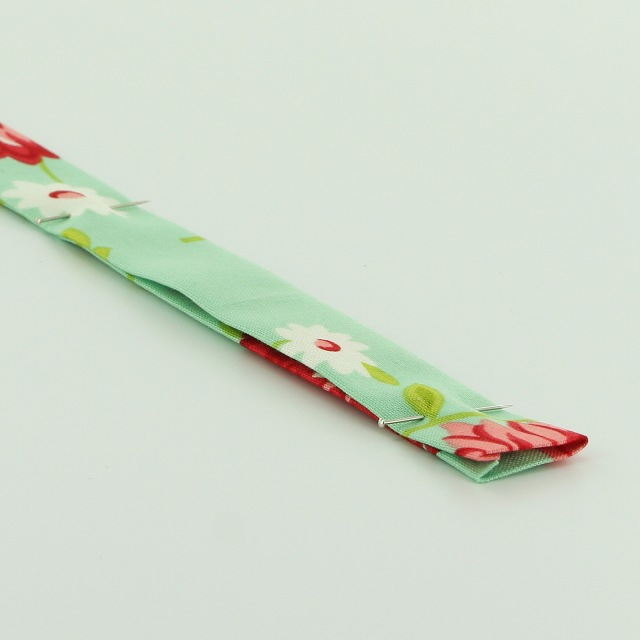
7. Pin the Fabric strip in a couple places to keep it in place.
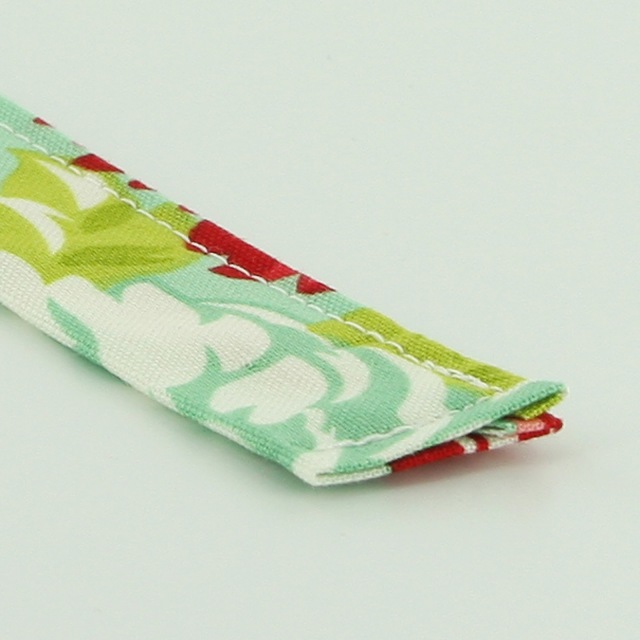
8. Sew a 1/8" seam across the top 7/8", down the length of the Fabric, and back across the bottom 7/8" making sure to back stitch at the start and finish to set the seam.

9. Put the Pacifier Clip on the Fabric strip about 1" in.
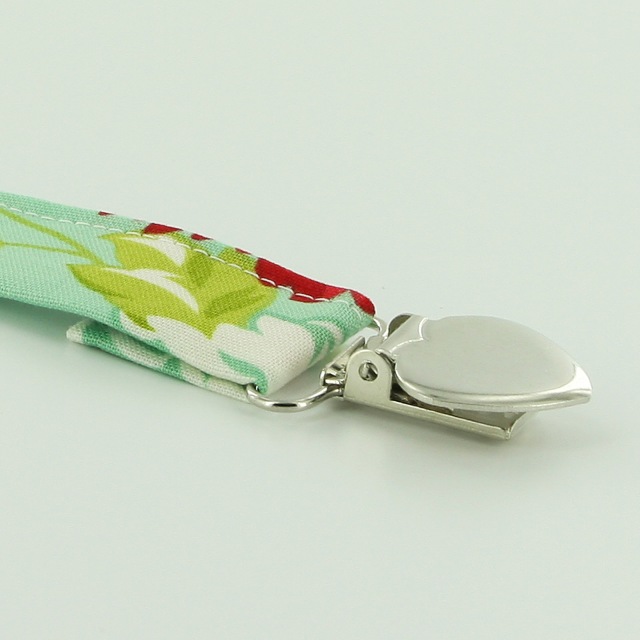
10. Fold back 1" of the strip back onto itself.

11. Straight stitch across the Fabric strip just behind the Pacifier Clip and again a 1/2" later just before the end of the doubled over Fabric strip. Make sure to set the stitch both times.

12. Now on the side where the Pacifier will be attached, I installed a Cap and Socket about 1/2" from the edge. I used Size 20 snaps for this tutorial but either Size 20 or Size 16 will work great.

13. Make sure that the internal snap in a comfortable distance to accommodate the width of the handle, I spaced my KAM Snaps about 2" apart using the Pacifier I have with the biggest handle.
14. Now snap the Pacifier in place, attach to your child's outfit and go.
30 Days of Snaps!!! Day #16: How to make a "No Sew" Pacifier Clip with KAM Snaps and an Enamel Clip June 17 2014
Day #16
Making a "No Sew" Pacifier Clip with KAM Snaps and Enamel Clip
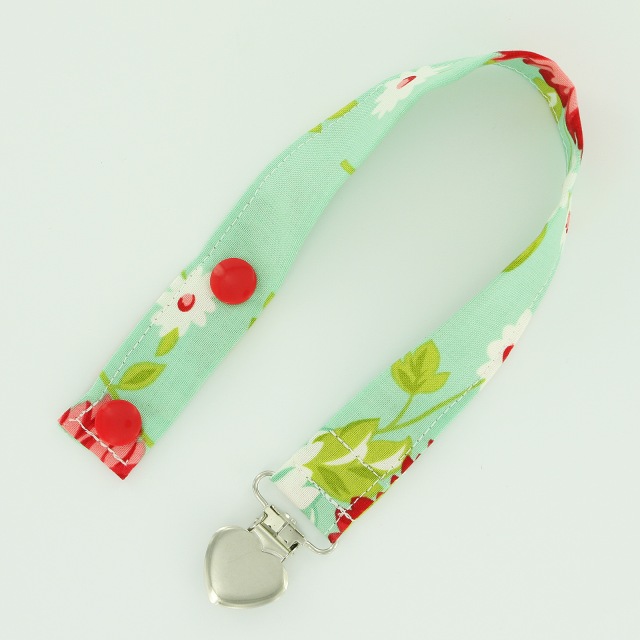
Today, I am making a "No Sew" Pacifier Clip. All the usefulness, no sewing necessary!
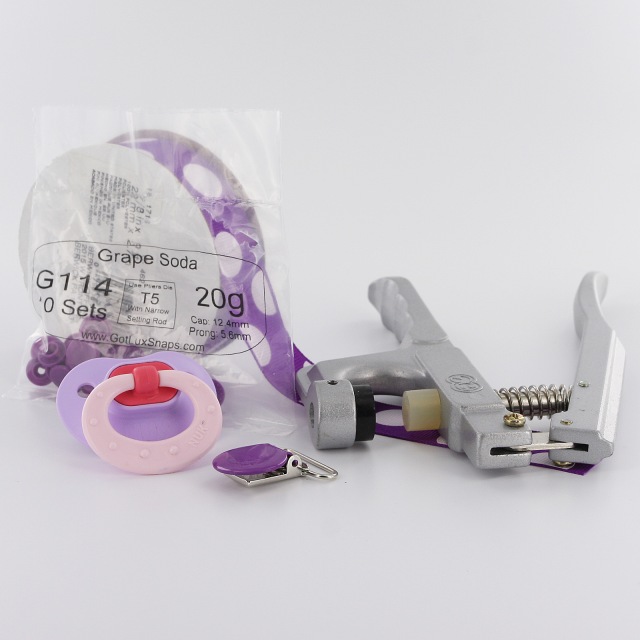
Supplies for a "No Sew" Pacifier Clip:
- Pacifier with Hinged Handle
- 14-15" of 7/8" Grosgrain Ribbon
- 1 Enamel Clip or Plastic Clip
- 2 KAM Snap Sets
- KAM Snap Pliers and Awl
- Fabric Tac
- Lighter or Chef's Torch
Instructions:
1. Choose a 7/8" or 3/4" Grosgrain Ribbon, cut a 14" to 16" length of ribbon. I did 7/8" Grosgrain Ribbon and I cut it 16" long so when it was completed it was approximately 12" long.
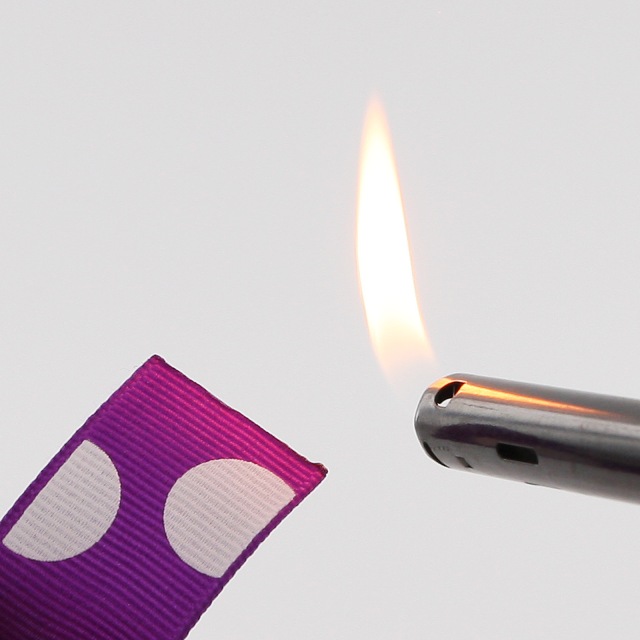
2. The ribbon I was using was made of polyester so I used a lighter to seal the ends of the ribbon so it doesn't fray. (If you are unsure, you may want to practice on a scrap piece if this is your first time or you are unsure of the what the material is made of.)


3. Then I used a bit of Fabric Tac and folded over an 1" of the ribbon back on itself to reinforce the ribbon and pressed it firmly and let it dry. Repeat on the opposite end.

4. Once dry, I installed a Cap and Socket in each end of the ribbon about 1/2" from the edge. I used Size 20 snaps for this tutorial but either Size 20 or Size 16 will work great.

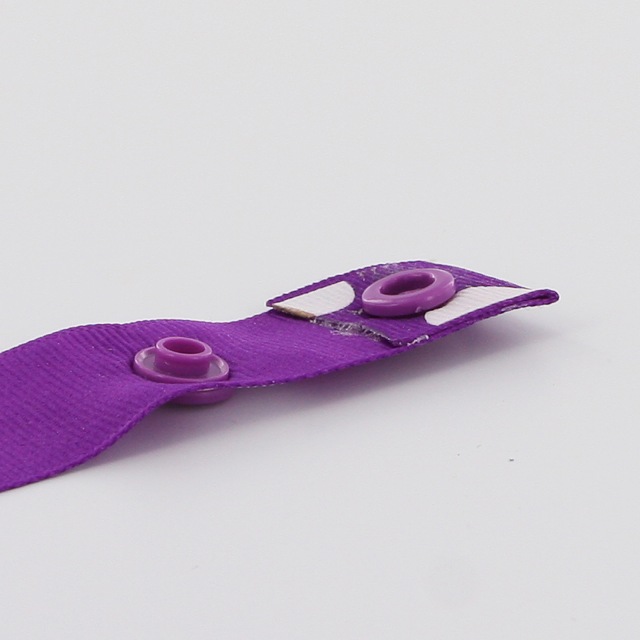
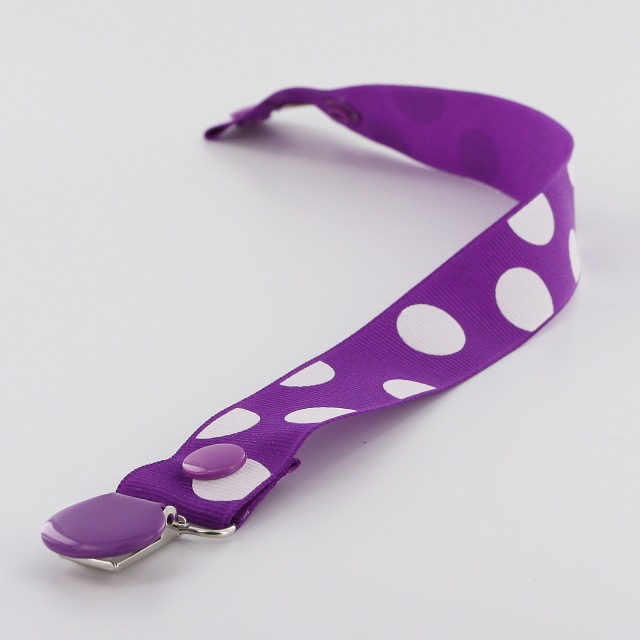
5. On the side that will hold the Enamel Clip I simply folded the ribbon over at the 1" mark and installed a Cap and Stud where it would meet. I, then, feed the Enamel Clip onto the ribbon and snapped it into place. It may have been easier to thread on the pacifier clip before installing any Snap parts but I was able to feed it through without much trouble.
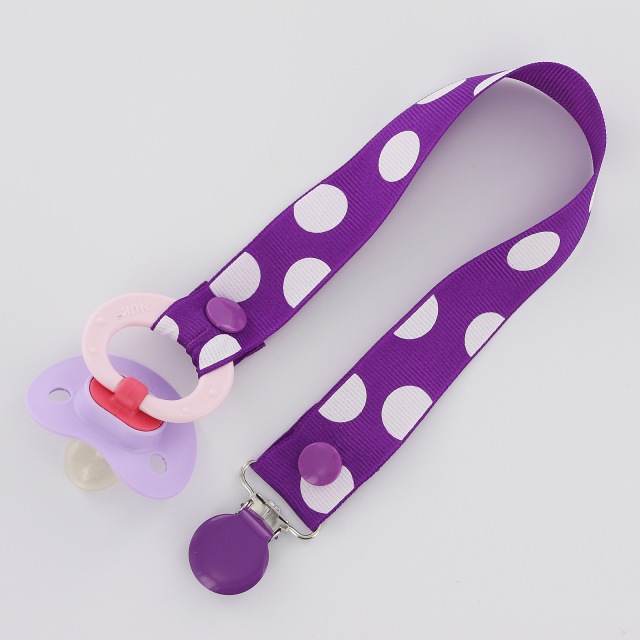
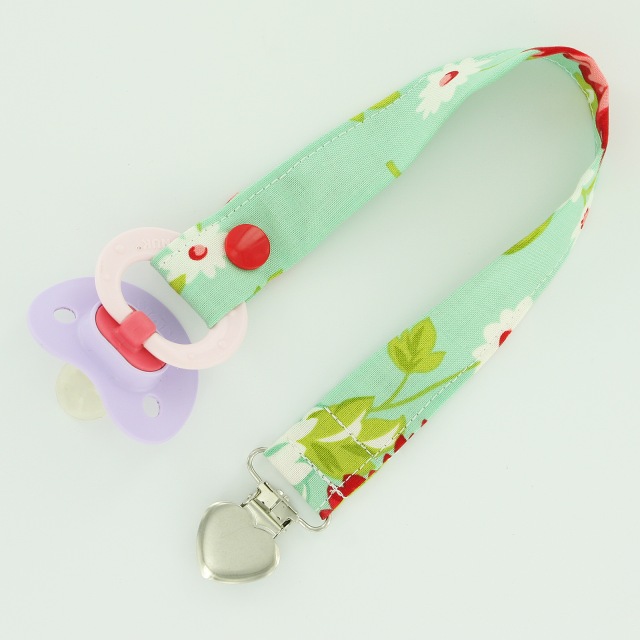
6. Now on the side where the Pacifier will be attached, adjust the internal snap in a comfortable distance to accommodate the width of the handle. I went an additional 1/2" for the Pacifier, I used.
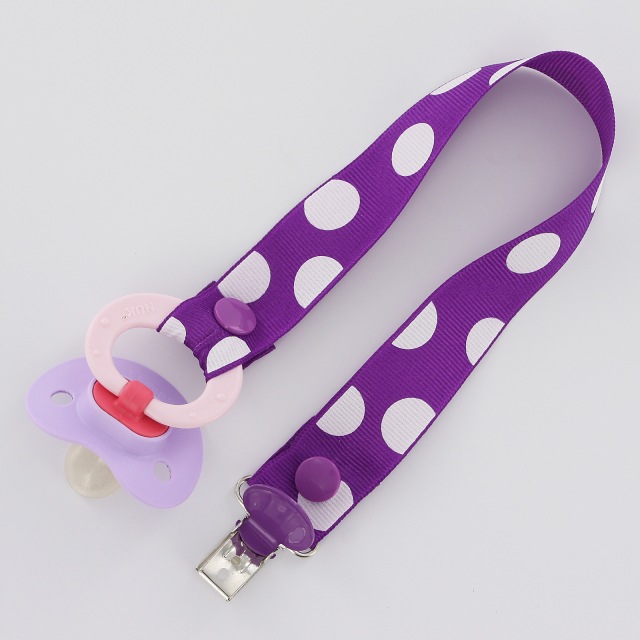
7. Now snap the Pacifier in place, attach to your child's shirt and go.
8. Tada! Happy Snapping!!!
- Previous
- Page 2 of 2