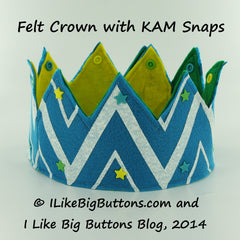
Making a Felt Crown with KAM Snaps and PDF Pattern
|
 |
 |
 |
 |
 |
 |
 |
 |
 |
 |
 |
 |
 |
 |
 |
 |
 |
 |
 |
 |
 |
 |
 |
 |
||
Supplies:
- 4 Sheets of Felt
- 3 KAM Snap Sets
- 10-20 Star KAM Snap Sets
- KAM Snap Pliers and Awl
- Crown PDF Pattern
- Standard Sewing Machine
Instructions:
- Print out our Free PDF Pattern for the Felt Crown. ***If you are using larger Sheet of Felt or Felt by the yard you may need 2-3 copies of it depending on the size of your child's head. Print out the pattern making sure the 1″ square in the corner measures 1″ square when printed that will indicate the pattern is the right size.
- Cut your pattern out.
- Pin your pattern to your felt sheet and cut the crown shape out as many times as needed (I needed 2.5 lengths for each side). If you are making out of Sheets of Felt you will need to add a 1/4" tab to each side of your felt cutout so that you can sew them together (I added to the PDF Pattern after I made the tutorial).
- If using 8"x12" Sheets, put 2 sheets right sides together and line them up.
- Sew them other, repeat to attach all 3 pieces together.
- Cut off excess seam if necessary.
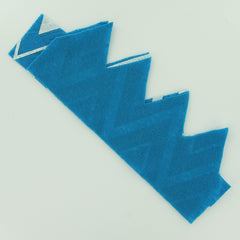
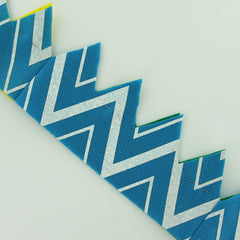
- They should look like these.
- Line up and pin the front and back together, wrong sides together.
- Stitch all the way around the Crown using a 1/4" seam allowance. Be sure to back stitch and the beginning and end of your piece.
- Now my felt wasn't perfectly cut out so there was some peeking of the back around some of the edges. I actually liked the way it looked. It gave it a kind of cartoony look but for this tutorial I cleaned up the edges with a set of scissors after I sewed them together.
- Use the pattern to mark the KAM Snap placement.
- Also, mark the location for the Studs on the right side of the pattern. Don't mark the Socket locations yet, you will need to place the crown around your child's head to decide where to locate those snaps based on the size of their head.
- Now install Star KAM Snaps, one per each tip, I used 1 Star Cap and 1 Socket per each tip. You could use either the Sockets or Studs for the back, these are for decoration and are not functional. I liked the look of the Sockets for my finished product best. This part is up to creative expression. You can add more or different shapes, whatever your heart desires :).
- It will look like this.
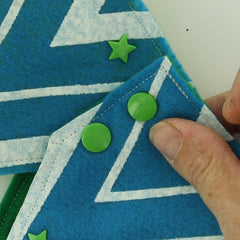
- Then install the bottom row of KAM snaps.
- Install the KAM Snaps Caps and Studs on the right side at the marked locations.
- I wrapped the Crown around my child's head and then used the template to mark where the Sockets would go. I put in 2 sets of KAM snaps so that I can adjust it larger as his head grows. If I need to there is enough room to add more if needed. Felt is somewhat stretchy so it will allow for some growth also.
- Install the 4 Caps and Sockets.
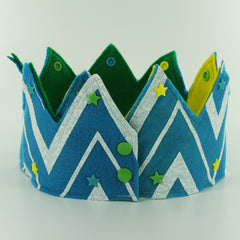
- Tada! I think it turned out great! It was a hit with all the kids. Each asking where their Crown was :).
- Happy Snapping!!!