News
"No Sew" KAM Plastic Snaps Backpack Embellishments by ILikeBigButtons.com August 28 2019

My kiddos wanted a little embellishment on their backpacks this year so that they could tell theirs from the sea of backpacks at school. Simple, "No Sew", and I was able to customize each kiddo's backpack to match their personality. KAM plastic snaps to the rescue!

Mr. J wanted his backpack in his favorite color: Orange! He picked Size 20 KAM Plastic Snaps - B52 - Dark Orange.
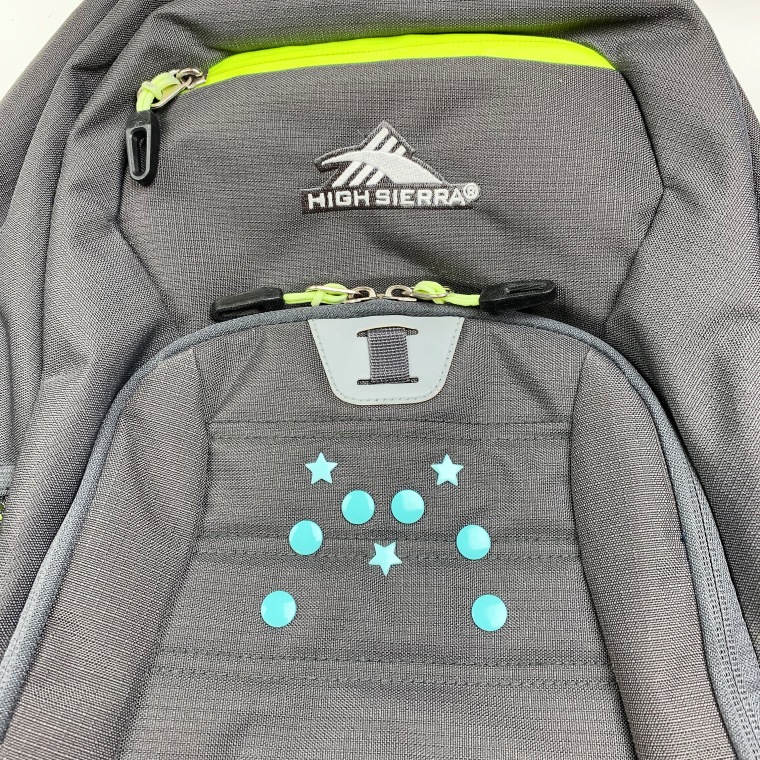

Mr. M likes a little pizzazz in his wardrobe and his backpack is no exception. He picked Size 20 KAM Plastic Snaps - G96 -Mirror (Round shaped) and Star-Shaped KAM Plastic Snaps - G124 - Robin's Egg Blue.

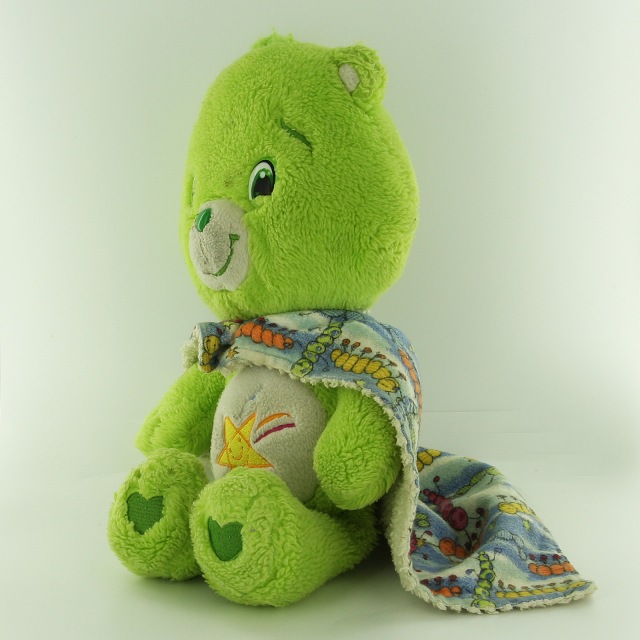
Miss E is all about love. She chose Heart-Shaped KAM Plastic Snaps in G99 - Lilac and G96 - Mirror.
To see other great KAM Plastic Snap ideas, visit our DIY Project section here.
KAM Snap Upcycled Jean Christmas Ornaments by ILikeBigButtons.com December 05 2018

Today I decided a need a few Upcycled Jean Christmas Trees. As I have mentioned in the past, finding jeans destine for the scrap pile is no problem with a house full of rambunctious kiddos. These cute trees also remind me of some that my parents had when we were growing up.
Supplies:
- A set of holey Jeans
- Star KAM Snaps
- KAM Snap Pliers and Awl
- Fabric of your choice (I picked Christmasy colored cotton fabric)
- Ribbon
- Quilt Batting or Pillow Stuffing
- Fabric Adhesive
- Standard Sewing Machine
- Scissors

1. Make a simple Christmas Tree template and trace on your jean fabric with a permanent marker.

2. Make pairs of each tree so that you have a front and back for each tree. You could also use felt or fabric on the back to extend the impact of your jean fabric.

3. Cut the Christmas Tree template down. I took about a 1/2" on each side/angle. Make a Fabric Christmas Tree silhouette for each Jean Christmas Tree.


4. Use a Fabric Adhesive to adhere the Christmas Tree silhouettes to the fronts sides of the Jean Christmas Trees.

5. Use a decorative stitch to outline the Upcycled Jean Christmas Trees on two sides. Then fill with quilt batting or pillow filling.
6. Finish stitching along the bottom swoop of the Christmas Tree. Add a loop of decorative ribbon and a Star KAM Plastic Snap to the top of the Christmas Tree.
Additional Crafty Ideas:
- You could add multiple cuts along the edges of the trees to add more character.
- Or you could fray the edges of the trees.
- You could give the trees finished edges, but that wasn't the look I was personally going for.
- You could add KAM Snaps; both Star, Heart, and Round shaped into the body of the tree to represent ornaments or twinkling lights.


7. Tada! I think they turned out great and add a great pop of color to our Christmas Tree.
Bandana Bib with KAM Snaps and a PDF Pattern June 07 2016
One of our most popular tutorials, Bandana Bibs are a great gift for those little droolers and mess makers in your life or as an outfit accessory. So cute! I, also, used our Heart Shaped KAM Snaps for added pizazz, check it out!
Just 6 days left in our KAM Snaps Heart and Star Starter Pack Kit with Pliers (Approximately 1000 Sets)!?! (A $90.00 value) Don't forget to ENTER:
Also, if you don’t want to wait, you can get 10% off our Heart Snaps on our website: HEART10
Or 10% off our Star Snaps on our website: STAR10
#ilikebigbuttons #giveaway #win #kamsnaps #snappress #bandanabib #tutorial
Supplies:
- Fabrics of your choice
- 1 Heart Shaped KAM Snap Set
- KAM Snap Pliers and Awl
- Bandana Bib PDF Pattern (may need to adjust for your child's size or add more KAM Snaps settings)
- Standard Sewing Machine


Instructions:
1. Download the Bandana Bib PDF Pattern. Print out the pattern making sure the 1″ square in the corner measures 1″ square when printed that will indicate the pattern is the right size.

2. Cut out the pattern.
3. Place your pattern, with long straight side on fabric folded in half, and pin in place.

4. Cut the 2 pieces of Fabric you will use.
5. Place Fabrics right sides together.

6. Pin together.

7. Sew pieces together with a 1/4" seam allowance, back stitching at the start and finish of sewing, make sure to leave a 3-4" gap so that you can pull the piece right side out.

8. Pull piece right side out and make sure to push all the round and square corners out until they lay flat.

9. Fold in the opening's seams and pin in place.

10. Stitch a finish stitch 1/8" to 1/4" all the way around the bib, making sure to ease your way around the left and right tabs. I do a couple stitches, stop, then lift the foot, turn the fabric slightly, put the foot down, and do a couple more stitches and repeat. Make sure the back stitch at the beginning and end of your sewing.

11. Use the template to mark the KAM Snap placement, you many want to check the measurement of your child's neck and adjust the pattern or snap placement accordingly. This bib worked for a toddler but with an extra set of snaps can work for more sizes.

12. I decided as I was getting ready to install the KAM Snaps to go with our new Heart Shaped snaps. Install the Heart Shaped KAM Snap Cap and Stud in the left and a Cap and Socket on the right tab.

13. Interested in Heart Shaped KAM Snaps, check out our great 25 colors, in smaller package quantities for more great variety!
14. Totally cute, don't you think! ;) Happy Snapping!!!
New Arrivals!!! 16 New KAM Snap Star Colors!!! July 23 2014
- ★ We have 16 new star shaped snap colors.
- ★ As with all of our other snaps, we now offer ALL of our star shaped snaps in 10 and 25 packs.
- ★ Also, breaking the industry norm, we are now packing them with all star caps (not half round snaps and half shaped snaps)
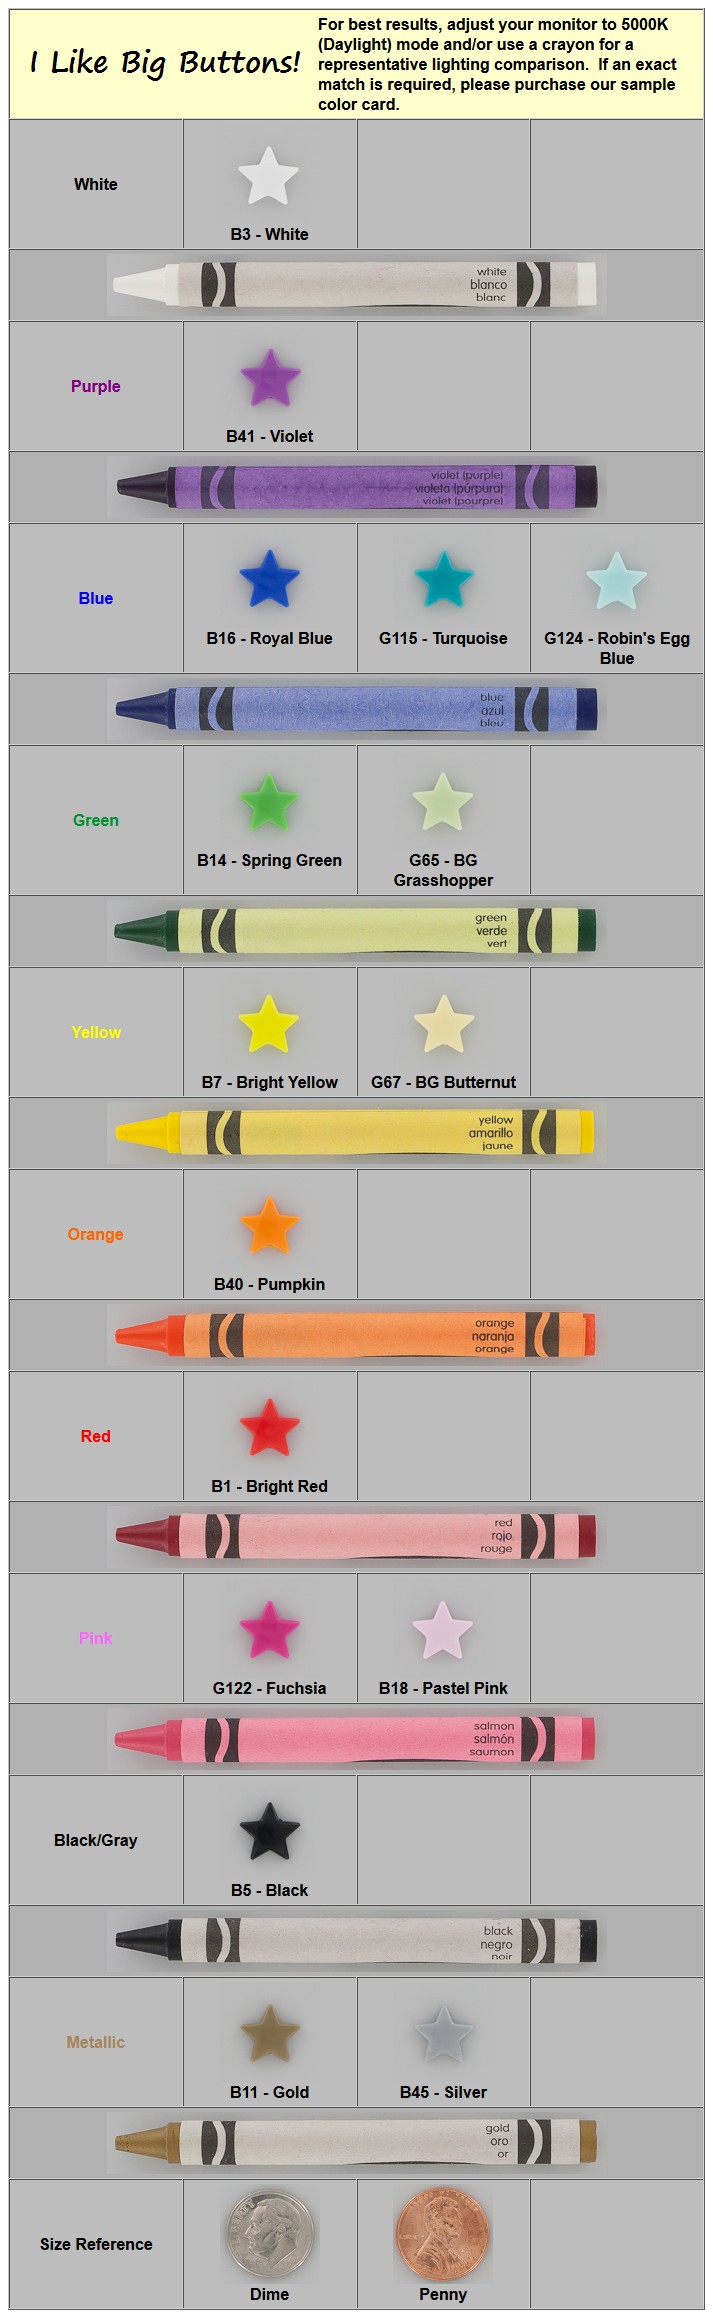
- ★ For a full size color chart, please click here (or save a copy: JPG or PDF).
- ★ To purchase, visit our website here.
*Of course, you can still pair them with the matching round sets if you want them to go further. Just order the same color/quantity of round snap sets and they will go twice as far.
30 Days of Snaps!!! Day #29: How to make a vest for a Stuffed Animal with KAM Snaps and Holey Jeans July 22 2014
Day #29
Today's KAM Snap tutorial is courtesy of my older boys. All creative credit goes to them. One day, I gave my oldest son a couple legs off some holey jeans that I turned into jean shorts to be creative with. He made one of his brothers this fun little tube vest. His brother was very appreciative but thought it could be better. So he cut the vest down the front and brought it to me asked for some snaps. I said,"Sure, what color?" To which he replied,"Orange (not a shock as that is his color of choice), oh, and Mom do you have them in star shapes?" Why yes I do, 16 brand new colors to be exact! :)
Making a Stuffed Animal a Vest with KAM Snaps and Holey Jeans
Supplies:
- A leg from a Holey Pair of Jeans
- 3 Star Shaped KAM Snap Sets
- KAM Snap Pliers and Awl


Instructions:
1. Courtesy of my boys, cut a tube from a leg of a pair of jeans.
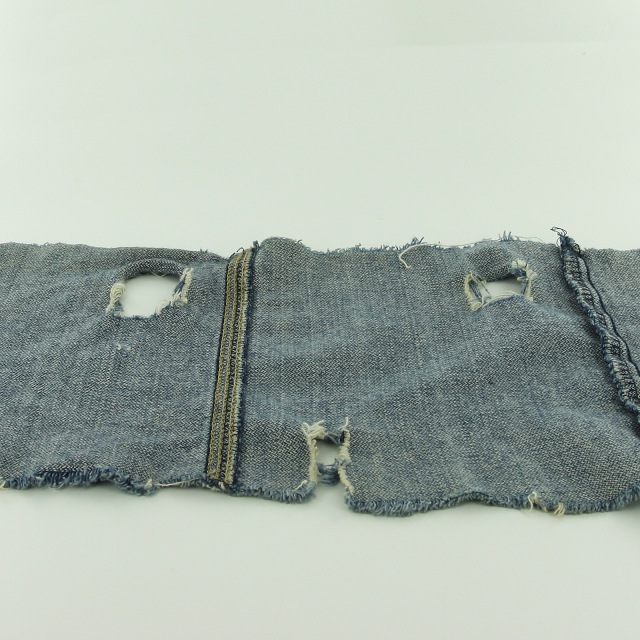
2. Then cut 2 arm holes in the left and right top.

3. Cut straight down the front to create the vest.

4. Add Star Shaped KAM Snap Caps and Sockets to left side and Caps and Studs to the right side. I spaced them every 2".

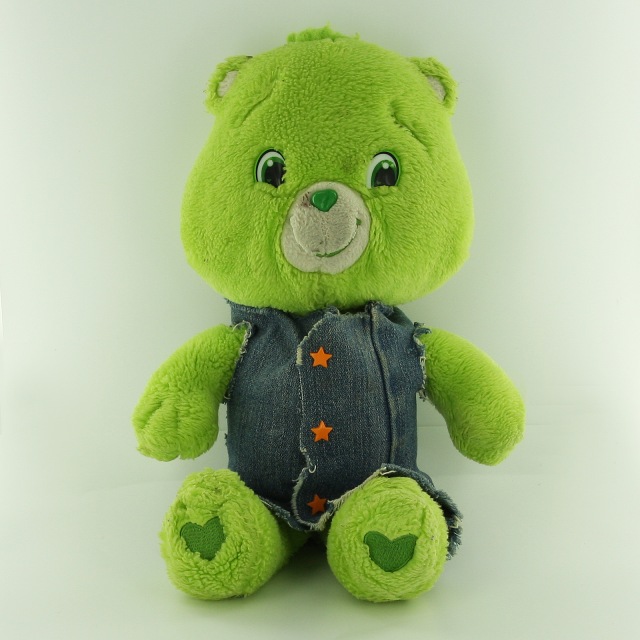
5. Tada! Easy Peasy!!! OR....
6. ... In his down time, he is also a super hero. :P I used an extra burp cloth and a couple snaps, one day a long while ago, to cheer up a little boy :).