Making a Felt Coin Purse with KAM Snaps and PDF Pattern

|
 |
 |
 |
 |
 |
 |
 |
 |
 |
 |
 |
 |
 |
 |
 |
 |
 |
Supplies:
- Sheet of Felt
- 1 KAM Snap Set
- KAM Snap Pliers and Awl
- Coin Purse PDF Pattern
- Standard Sewing Machine
Instructions:
- Download our Free PDF Pattern for our Coin Purse. Print out the pattern making sure the 1" square in the corner measures 1" square when printed that will indicate the pattern is the right size.
- Cut your pattern out.
- Pin your pattern to your felt sheet and cut the coin purse shape out.
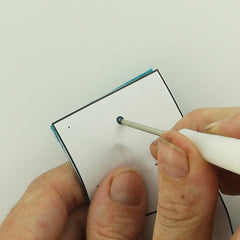
- Use the Awl to poke a hole through the pattern and felt where the snaps will be installed.
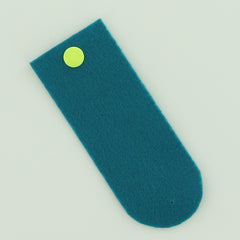
- Choose the more finished side of the Felt, that will be the outside of your purse, place the Cap on the wrong side of the Felt.
- Turn the Felt over and put the Socket on the right side of the Felt.
- Install the KAM Snap. I used Size 20 snaps for this tutorial but either Size 20 or Size 16 will work great.
- Now pin the Felt back on itself 2" and pin in place.
- Use your Sewing Machine and stitch a 1/8" seam starting from the Right corner where the Felt meets all the way around. When you reach the curved flap make sure go slowly, lifting the foot every couple stitches so that you can turn the Felt a little to adjust the stitch around the curve. When you reach the starting stitch overlap a couple stitches and back stitch to set the seam.
- Put the KAM Snap Cap through the right side of the Felt and the Stud on the other side.
- Install the KAM Snap.
- The back will look like this.
- Tada! My crafty daughter/assistant :) loves this little coin purse and pointed out that this would be great for party favors if made in a larger size. I am sure you all can think of many great uses for this sweet little purse. Happy Snapping!!!