Fabric Pacifier Clip with KAM Snaps and Pacifier Clip
 |
 |
 |
 |
 |
 |
 |
 |
 |
 |
 |
 |
 |
 |
 |
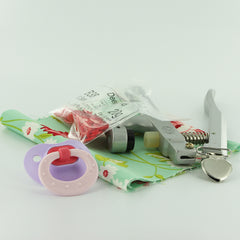
Supplies for a Fabric Pacifier Clip:
- Pacifier with Hinged Handle
- 14" x 3 1/2" Piece of Fabric
- 1 Pacifier Clip
- 1 KAM Snap Sets
- KAM Snap Pliers and Awl
- Standard Sewing Machine and Iron
Instructions:
- Choose a piece of Fabric, cut it to the dimensions: 14" x 3 1/2", the finished product once ironed, folded and sewn will be approximately 7/8" wide x 12" long.
- Fold both 3 1/2" wide ends in 1/4" and iron flat.
- Now fold and iron the fabric in half the long way (14" length).
- Then fold and iron again, bringing the outer edges to the middle "iron line" and iron along those edges. Repeat on other side.
- Re-iron the seam so that the Fabric is smooth and flat, it should now be 13 1/2" long x 7/8" wide.
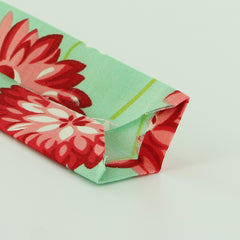
- Open the top of the Fabric strip and trim the excess internal fabric at an angle so that there is less chance of the ends peeking out when sewn together. Repeat on the other end.
- Pin the Fabric strip in a couple places to keep it in place.
- Sew a 1/8" seam across the top 7/8", down the length of the Fabric, and back across the bottom 7/8" making sure to back stitch at the start and finish to set the seam.
- Put the Pacifier Clip on the Fabric strip about 1" in.
- Fold back 1" of the strip back onto itself.
- Straight stitch across the Fabric strip just behind the Pacifier Clip and again a 1/2" later just before the end of the doubled over Fabric strip. Make sure to set the stitch both times.
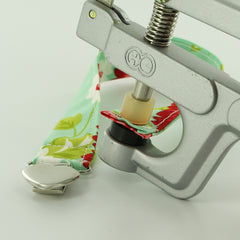
- Now on the side where the Pacifier will be attached, I installed a Cap and Socket about 1/2" from the edge. I used Size 20 snaps for this tutorial but either Size 20 or Size 16 will work great.
- Make sure that the internal snap in a comfortable distance to accommodate the width of the handle, I spaced my KAM Snaps about 2" apart using the Pacifier I have with the biggest handle.
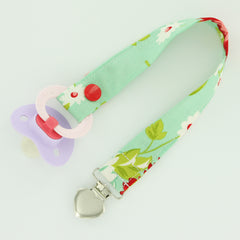
- Now snap the Pacifier in place, attach to your child's outfit and go.
- Tada! Happy Snapping!!!