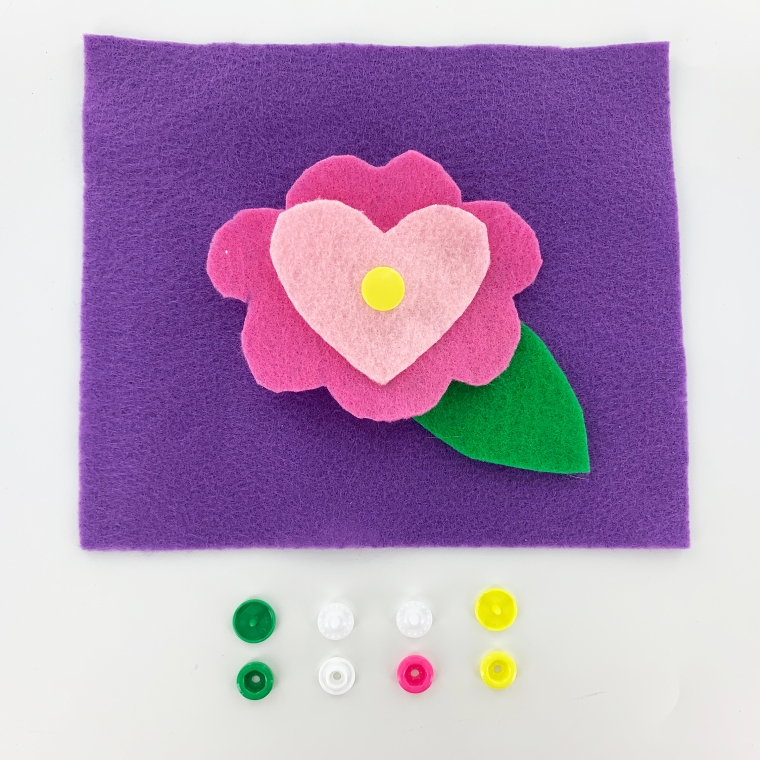
Pronged Stud Tutorial: Stackable KAM Plastic Snaps by I Like Big Buttons! August 19 2020

Pronged studs enable snap stacking. They take the place of a cap and allow your item to be snapped from both sides. While typically used to make a double-sided snap, they can be daisy-chained.
They are available in as few as 25, 100, and 1000 pieces.
Here is a simple tutorial to show the versatility of Pronged Studs.

Supplies:
- Size 20 KAM Plastic Snaps (Colors of your choosing)
- Size 20 Pronged Studs
- Sheets of Colored Felt or Fabric
- Scissors


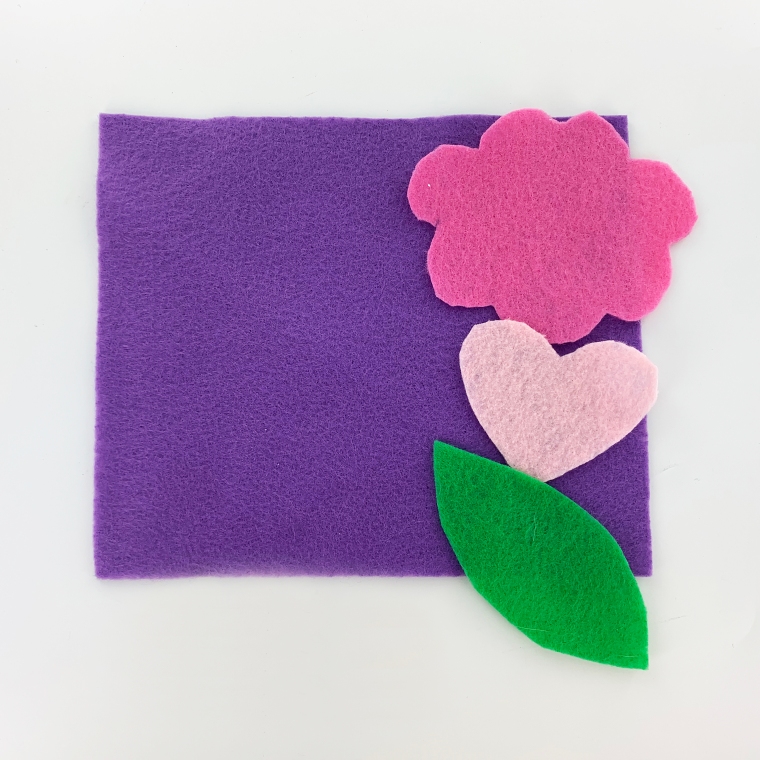
1. Plan your layered flower, insert the Snap Cap through the first layer and back it with a socket. Form the KAM plastic snap.

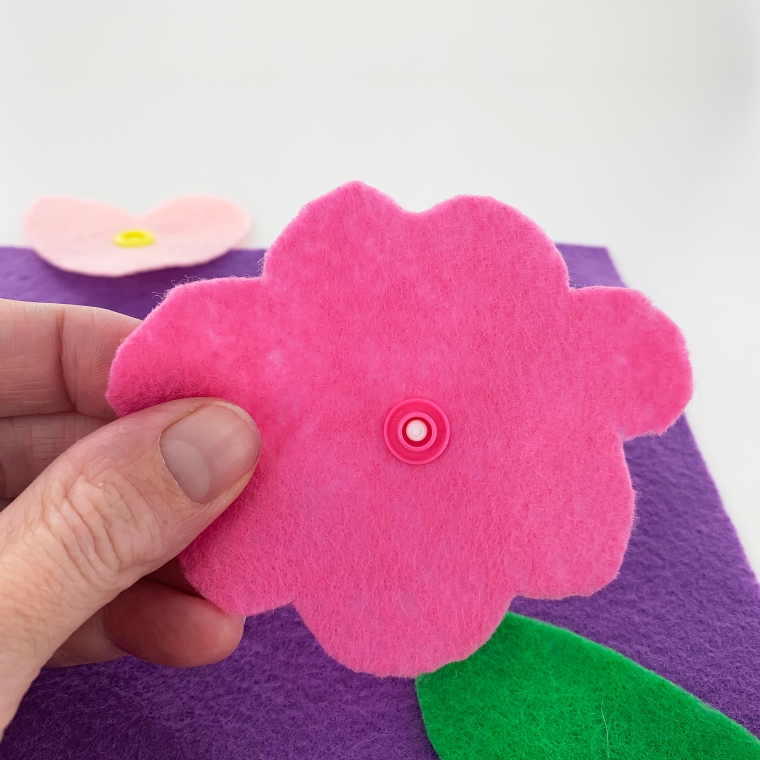
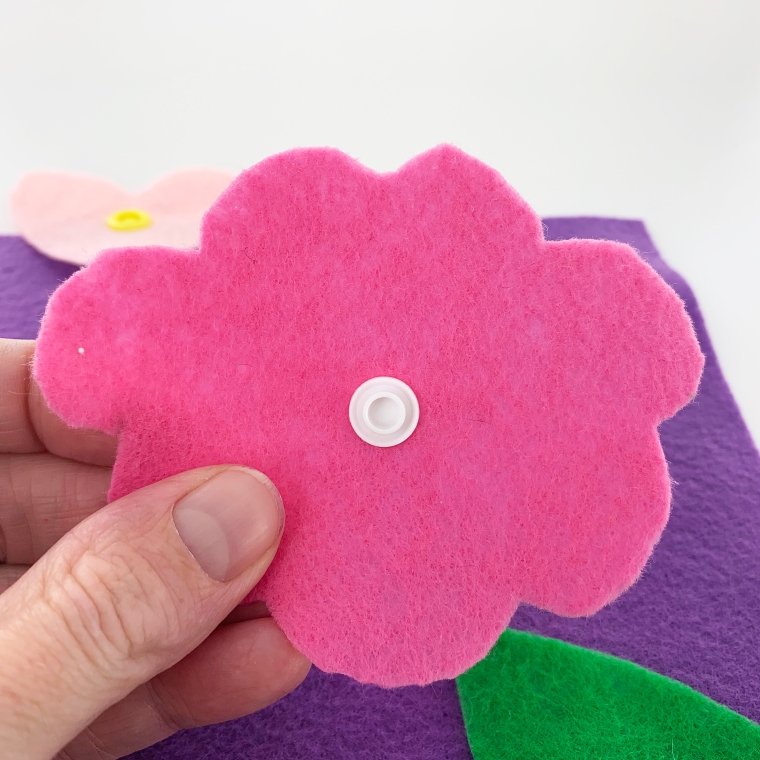
2. Insert a Pronged Stud through the second layer and back it with a stud. Form the Pronged Stud and Stud together using the pronged stud die into the bottom of your press, and stud die into the top of your press.
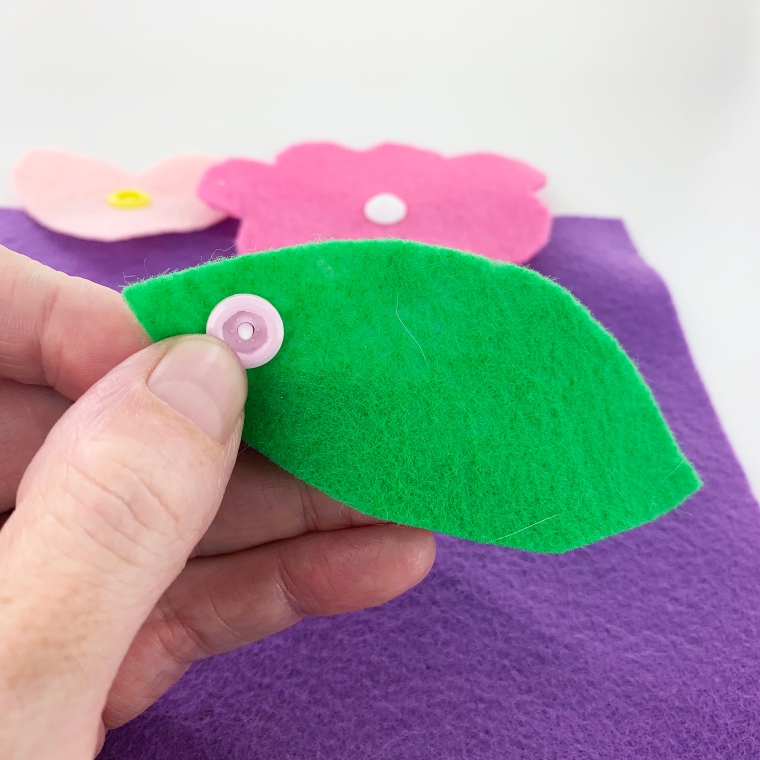


3. Insert a Pronged Stud through the third layer and back it with a socket. Form the Pronged Stud and Socket together using the pronged stud die into the bottom of your press, and socket die into the top of your press.

4. Insert the Snap Cap through the fourth layer and back it with a socket. Form the KAM plastic snap.

5. Now snap all the layers together and enjoy!


6. Tada! Below is a close up for how they stack together. Pronged studs enable snap stacking. They take the place of a cap and allow your item to be snapped from both sides. While typically used to make a double-sided snap, they can be daisy-chained infinitely.


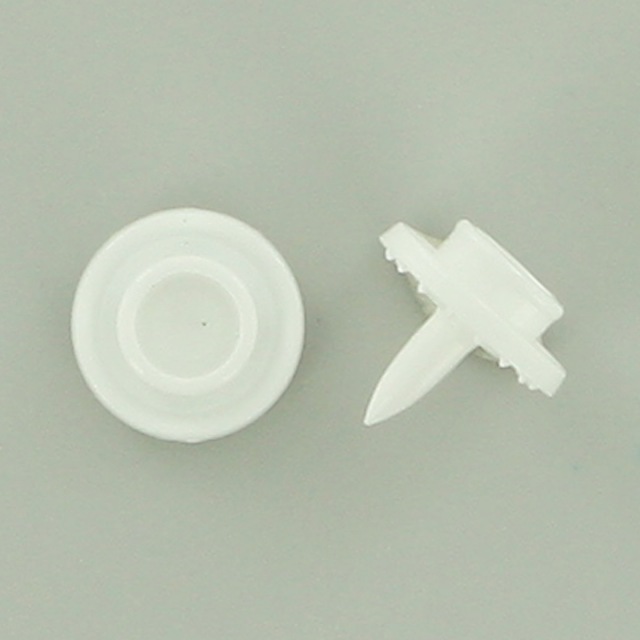
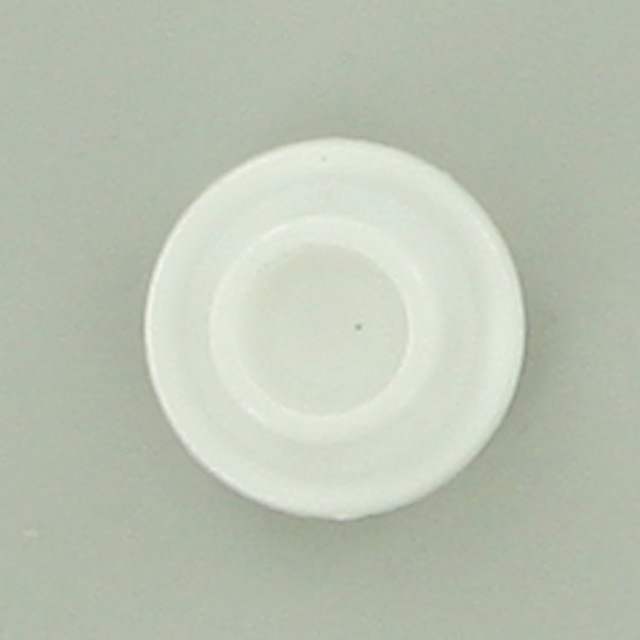
Pronged Studs:
- Have a 5.6mm prong like standard size 20 snaps.
- Requires a DK-98 press, size 20 pronged stud die, and size 20 three piece die set OR DK-93 press, size 20 pronged stud die, and size 20 three piece die set.
- Cannot be installed with snap pliers.
- Are sold as pronged studs only. Caps, sockets, and regular studs are available separately.
A stud or socket can be installed on the other side of the pronged stud. Just insert the pronged stud die into the bottom of your press, and the socket or stud die into the top of your press.

© ILikeBigButtons.com and I Like Big Buttons Blog, 2020.