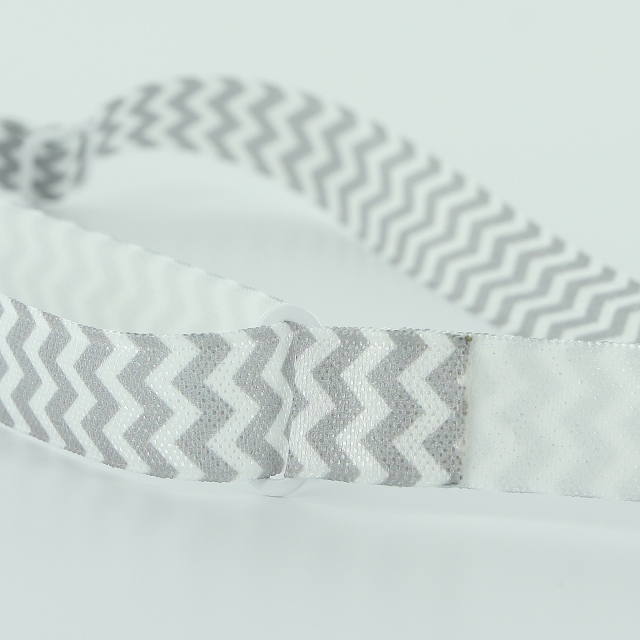
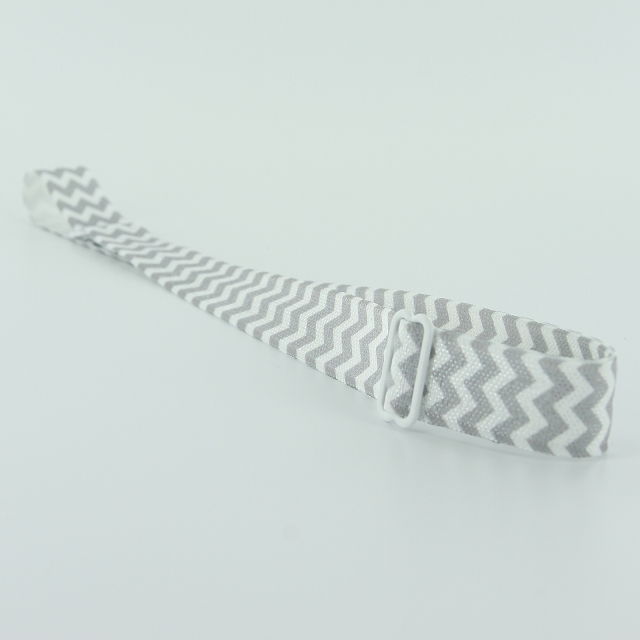
30 Days of Snaps!!! Day #5: How to make an Adjustable Headband May 14 2014
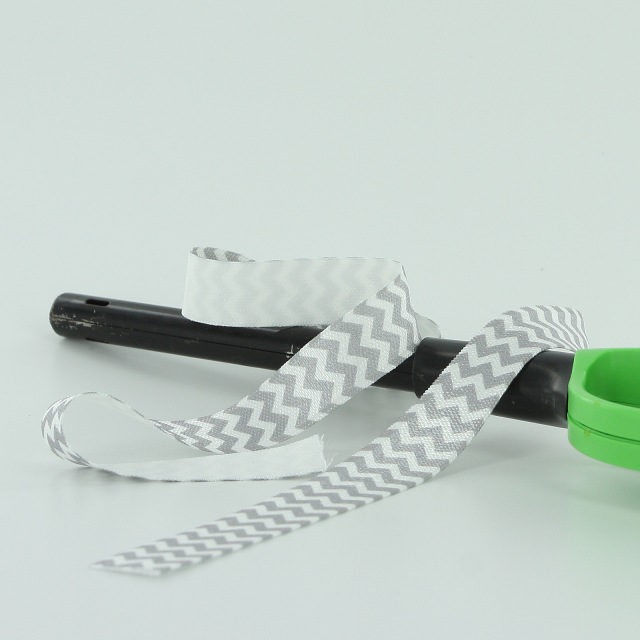
Supplies for Adjustable Headband:
- 1 set of headband ring and slider
- 24″ length of 5/8" Elastic for headbands
- Glue of your choice: Fabric Tac or Hot Glue
- Lighter or Chef’s Torch
Instructions:
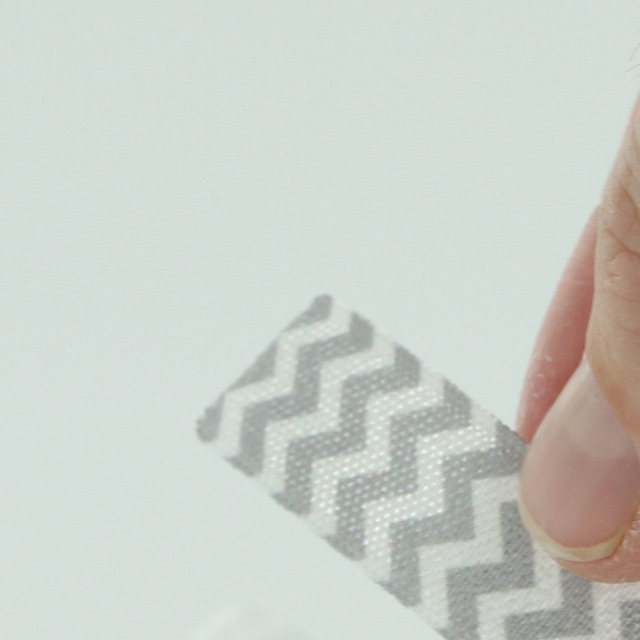
1. Cut your Elastic to 24″ length and heat seal the ends with the Lighter. Be careful to just seal the ends, not start them on fire :). (You may want to practice on a scrap piece if this is your first time.)
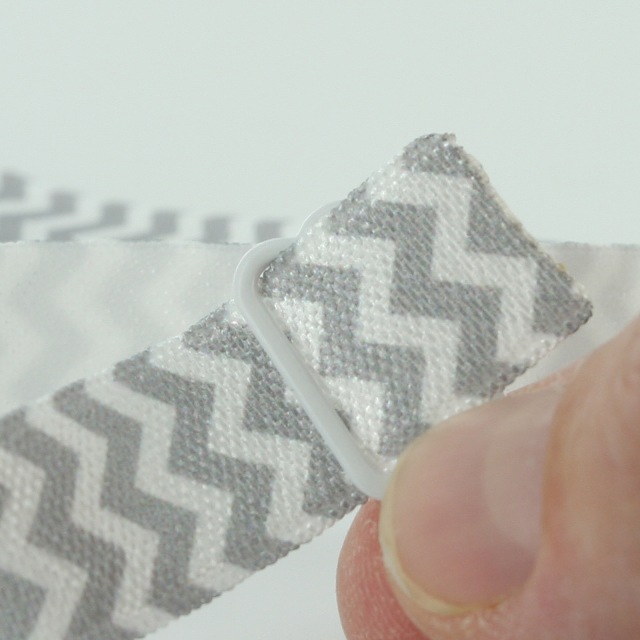
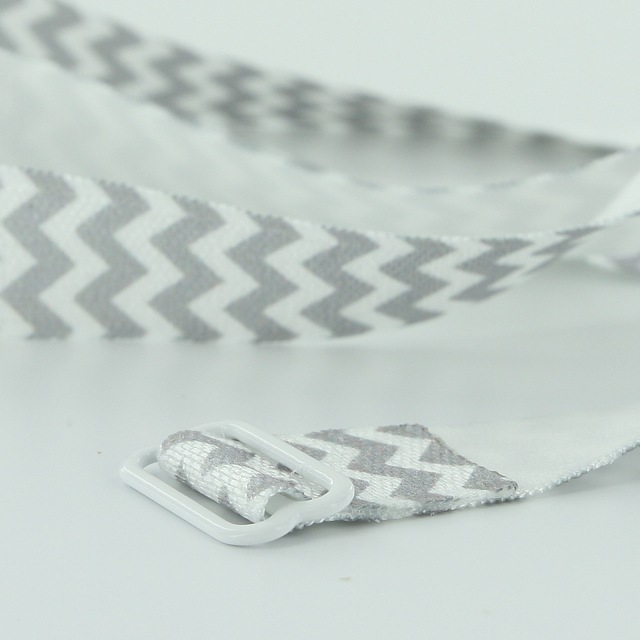
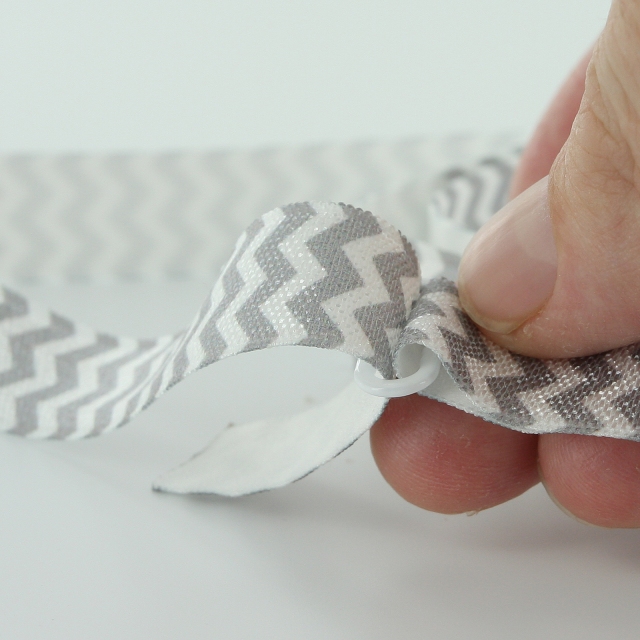
2. Take your 24″ length of Elastic and feed the decorative/shiny side of the Elastic up through the first loop in the Slider over the bar and back down through the second loop in the Slider.
3. Pull the Elastic until it is about 3/4″ sticking out the bottom of the second loop of the Slider.
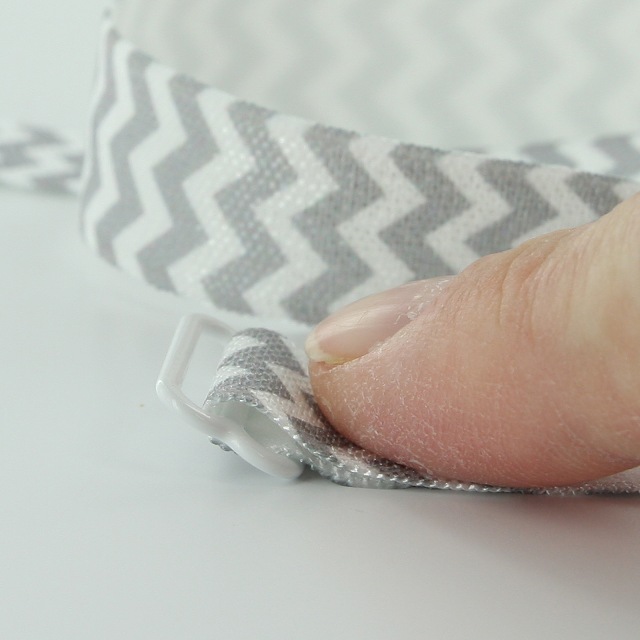
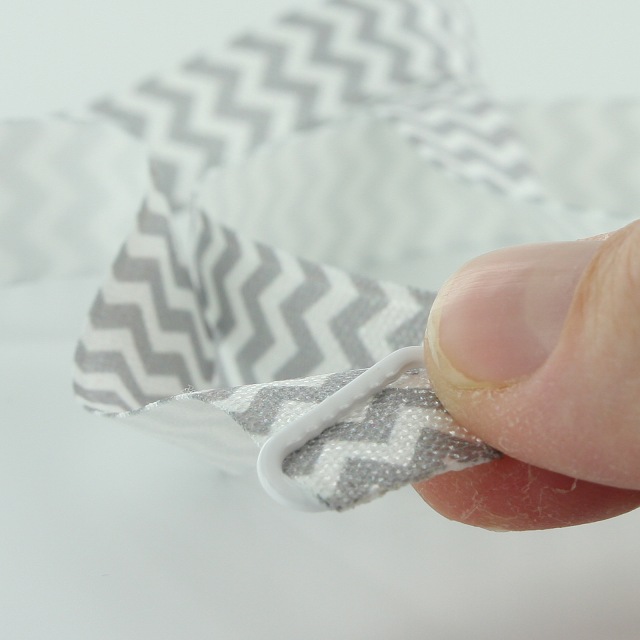
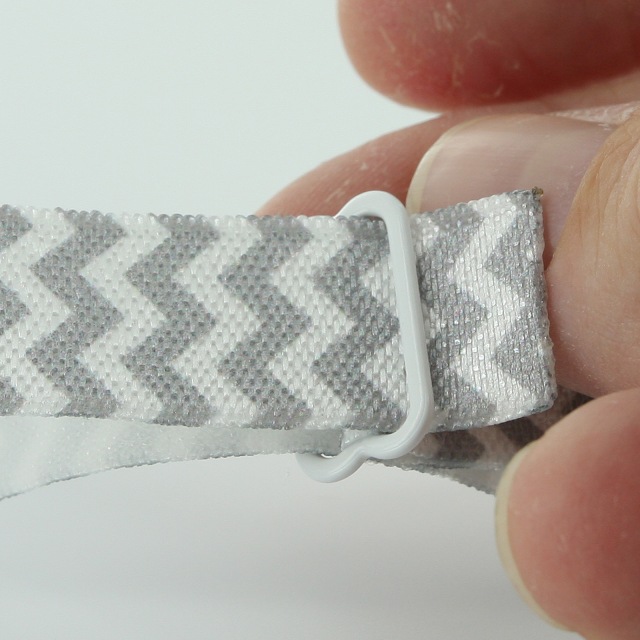
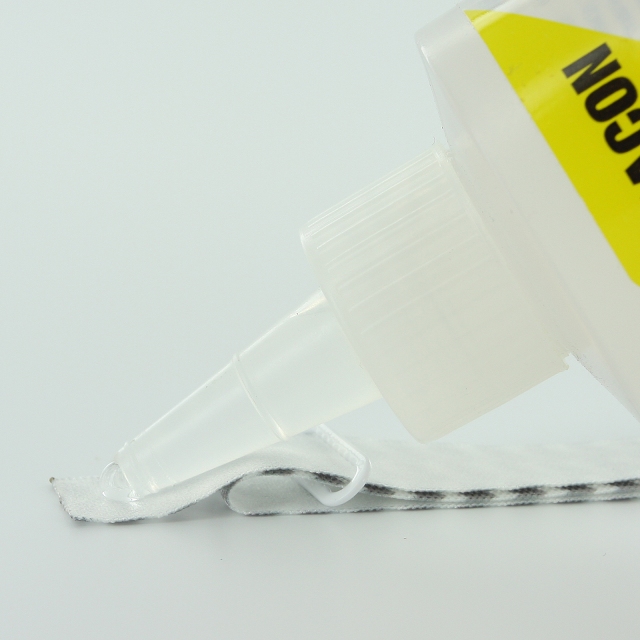
4. Flip the Slider over so that the wrong sides of the Elastic is face up, this is the bottom of the Slider. Put a dab of glue on the Elastic and press the 3/4″ of Elastic to it firmly. Wiping away any excess glue.
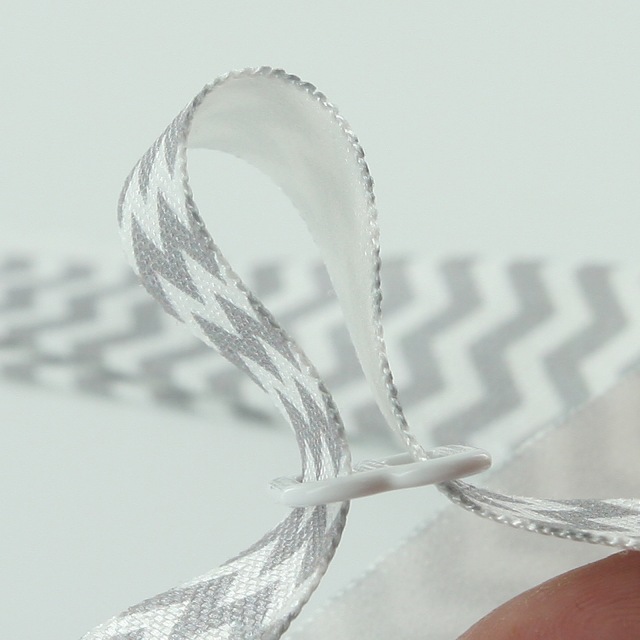
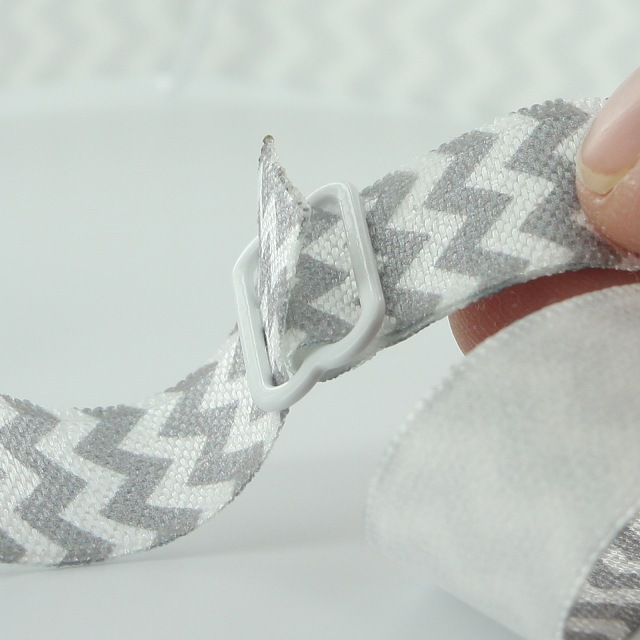
5. From the opposite side, slide the single Slider Loop about half way on to the Elastic.
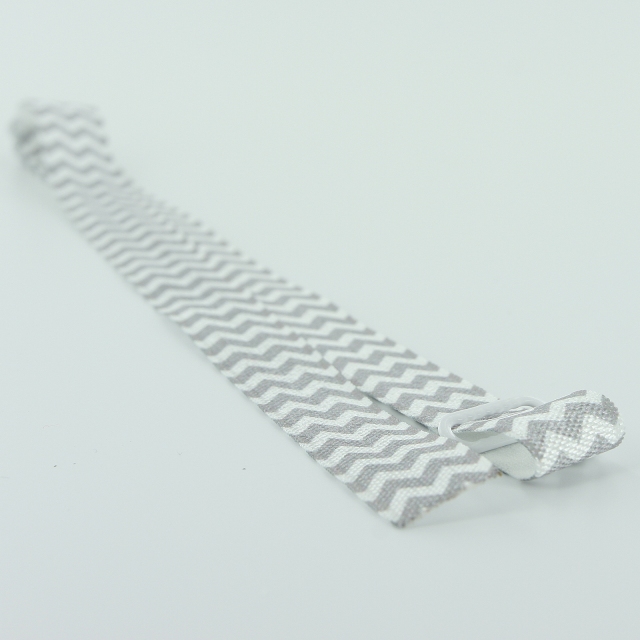
I want this headband to be an interchangeable headband for a collection of Shabby Flowers to match my daughter’s many outfits. Check back tomorrow for a Tutorial on how to attach a Shabby Flower with KAM Snaps.


