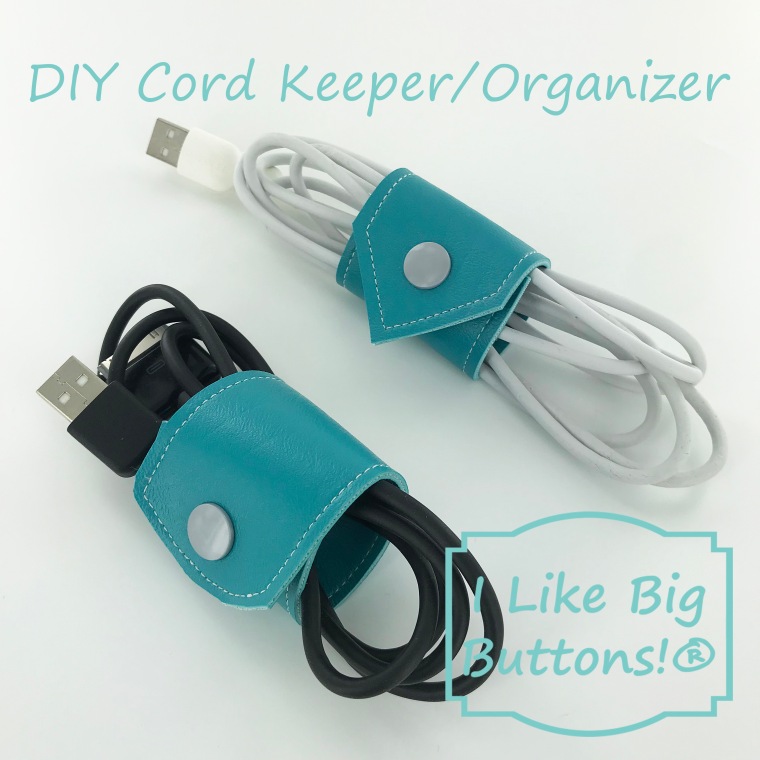
How To Make A KAM Plastic Snap Cord Keeper/Organizer by ILikeBigButtons.com February 05 2019
Cords, cords, cords!!! Despite my husband's best efforts to make our house wireless, there are cords everywhere. Part of the joy of being a mom of many, I suppose. 😜 Everyone has one or more somethings that need to be charged and my husband makes sure there are enough cords so that no one is left crying. Have I mentioned he is my resident computer wiz? A job he proudly takes on.
So with cords abounding in my life and house, I decided we needed a better way to manage them all. Here are the results of my efforts. Cord keepers/organizers to simplify my life and corral the cords we can't live without. 🤪
Supplies:
- Approximately 5.25" x 2" Marine Vinyl or material of your choice
- KAM Plastic Snaps (I used Long Prong KAM Plastic Snaps because I was working with 2 layers of Marine Vinyl)
- KAM Plastic Snap Pliers and Awl
- Sewing Clips
- Standard Sewing Machine
- Scissors
- Rotary Cutter

Instructions:
1. Cut out your material of choice, I used Marine Vinyl I had left over from a summer project. I cut each piece approximately 5.25" x 2" and gave them two different styles of finished ends. One is a pointed end, I used my quilting square to accomplish this, and the other has a rounded end, I used a small drinking cup to create the rounded tip. *The cords I was making these for were 6' cords, you may need to adjust the length of your cord keeper to accommodate a larger or smaller cord.


2. Place the two pieces of Marine Vinyl with wrong sides together and pin with Sewing Clips, if desired. Straight stitch with a 1/4" seam around the whole piece using a back stitch at the beginning and end to set the stitch.
3. Trim the edges down to 1/8" to remove the excess vinyl and any uneven edges. The Marine Vinyl can slip a little bit when you are sewing and I found this was the easiest way to get a clean edge.
4. Measure to the center at the top and bottom of each cord keeper/organizer and place a mark where you want your KAM Plastic Snap to sit. I don't like to eye it as I often find them off-center when I wing it.
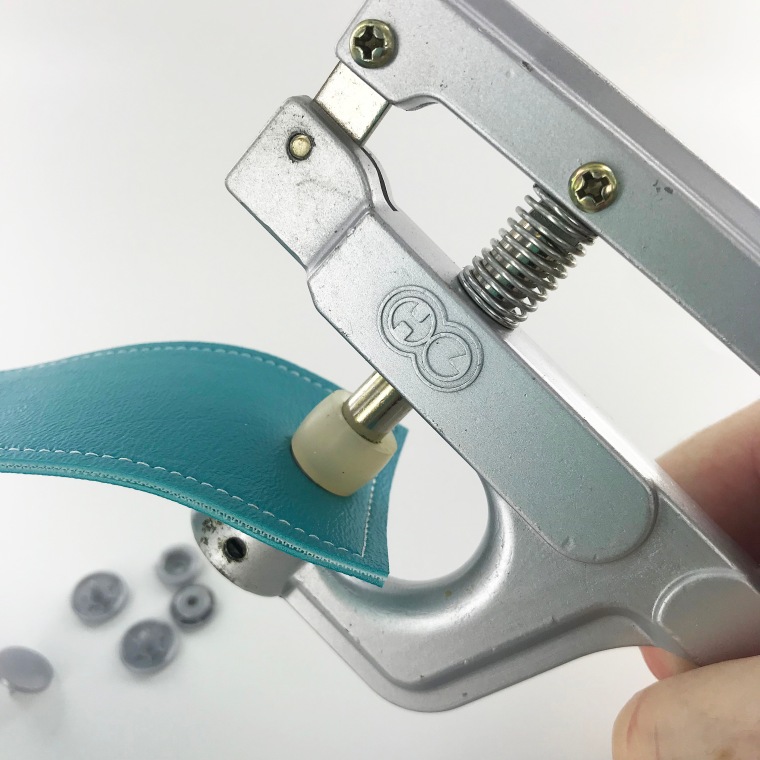
5. Poke a hole through the centered mark with your KAM Awl and insert the KAM Plastic Snap Cap prong through the hole. You will want the cap on the top side (the side that was up when sewing) of your cord keeper and the socket or stud on the bottom side.
6. Flip the cord keeper over and add the socket. Install the KAM Plastic Snap Cap and Socket on the edge that is rounded or pointed and a Cap and Stud on the square edge as pictured below.

7. Remember to install the snaps so that one half (Cap and Stud) are face up and one (Cap and Socket) are face down so that when you fold the cord keeper around the cord, the socket and stud meet.
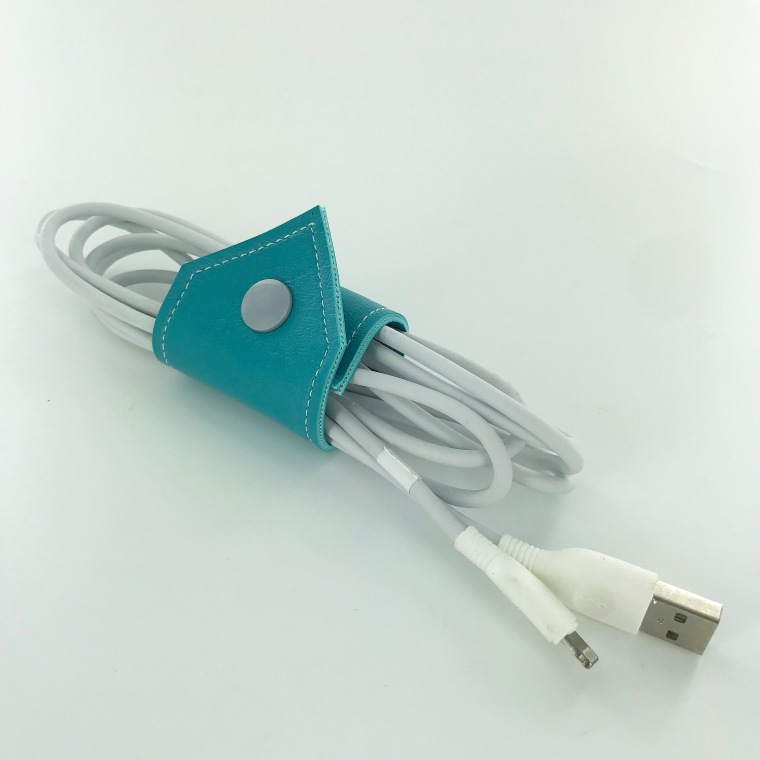

8. Tada! These cord keepers/organizers take only minutes to make with scraps of vinyl/fabric, a few KAM Plastic Snaps, and are already making my life feel less crazy. At least until they all get home from school. 😜