Face Mask with Elastic Using Sewing Clips Tutorial by ILikeBigButton.com April 08 2020

We have been home now for close to a month, only leaving our home when we need supplies. What a change to our lives this last month has been. I am now a full-time teacher/chef/working mom. My sweet husband, who just started working from home because our kiddos were all in school, is now experiencing daily band concerts, 6 feet from his office, and the whirling dervishes that are our active kiddos being on top of us all day every day.
More than ever we have to watch what we touch, who we come into contact with, and when we have to go out, we have to protect ourselves from unknowing coming into contact with germs. It is a lot to take in.
As a precaution, I decided to make our family some face masks. Nothing fancy, I was limited to what supplies I had on hand. You will be surprised to know that I have a limited supply of fabric. A few years ago, I had so much fabric I didn't know what to do with it all, but I have finally whittled did down to scraps while making baby blankets for the babies who have joined our extended family and friends and gifting it to church projects to bless others.
So with some fabric scraps, headband elastic (it's all I had), sewing clips, and my trusting sewing machine, I found a set of instructions and struck out.
Here is the first version I made:


Supplies:
- Face Mask Instructions (I used these as general guidelines)
- 2x 9.5" x 6.5" pieces of Fabric
- 2x 7" of Elastic (this is a good average size, but may need to be adjusted if you are a smaller person)
- Sewing Clips
- Sewing Machine
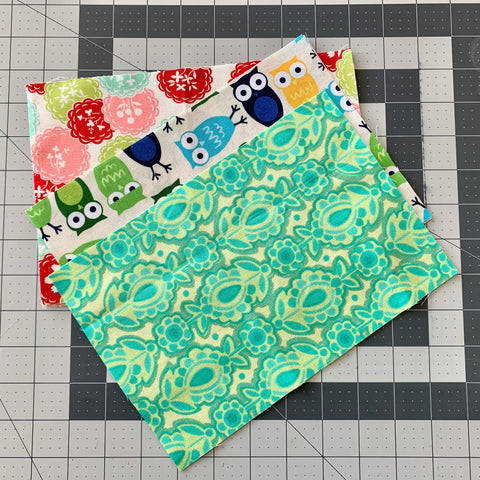
1. Cut out 2x 9.5" x 6.5" fabric rectangles.
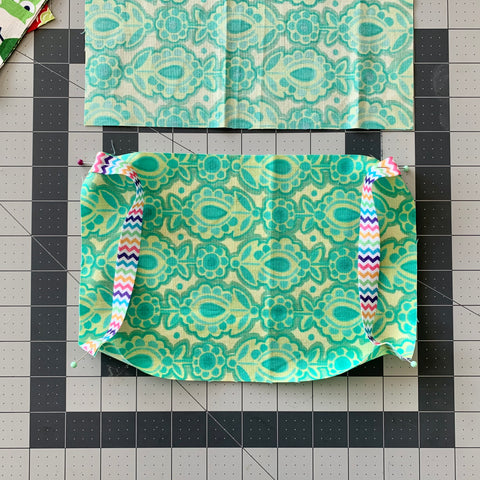
2. With right side of 9.5" x 6.5" fabric facing up, pin a piece of 7" elastic from left bottom looped to left top. Pin a piece of 7" elastic from right bottom looped to right top. Like so.
3. Pin the second piece of 9.5" x 6.5" fabric facing down to the fabric with the elastic pinned to it.
4. Sew a 1/4" seam starting about 1/2 way on the long side. Go all the way around the perimeter, stopping when you have about 1.5" to 2" left. Make sure to go back and forth at each of the corners to anchor the elastic. Leave that gap so that you can turn the face mask right side out.
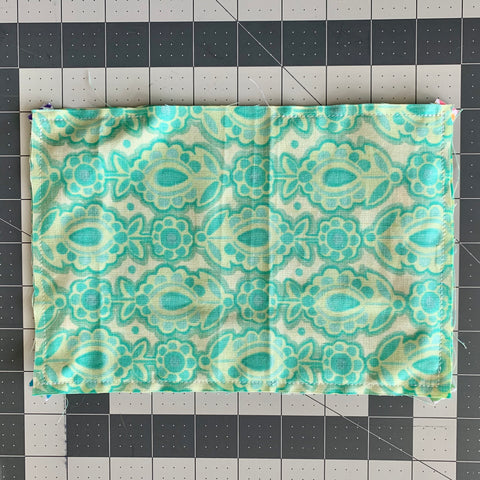
5. Turn the mask right side out and iron it flat.

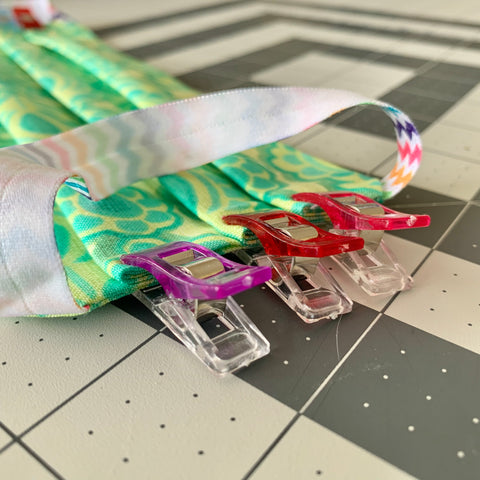
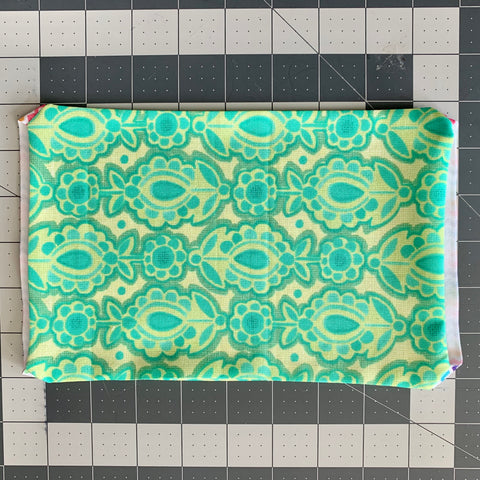
6. Make three pleats lengthwise, like you are folding a paper fan. I eyed it and used the sewing clip width as my pleat measurer, but if I was making more of these, I would make myself a template to make this part easier. The pleats help the mask form around the wearer’s face. Secure each pre-sewn pleat with a sewing clip as pictured above.
7. Now sew a 1/4" stitch around the outer perimeter of the mask face, going back and forward over the corners to add more stability to the elastic.
8. Then, top stitch a second time around the outer edge about 1/4" in from the first round of stitching.
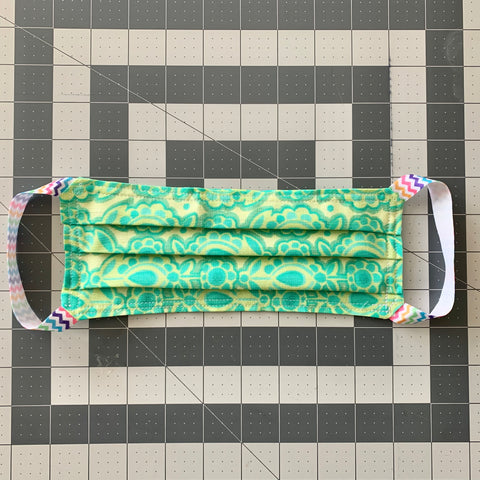
9. Tada! You have a finished face mask.
*Afterthoughts, this mask was the perfect size for my husband, but I would probably make the elastic a 1/2" to 1" shorter for women. I will have to play with it to see what size works best for me. And of course, my kiddos will need smaller masks, this one seems best sized for teens to adults.