Adjustable Elastic Headband With Interchangeable Shabby Flowers June 23 2016
Today, I am making a Adjustable Elastic Headband with Interchangeable Shabby Flowers. It is super easy to do and adorable on both babies and big ;) kids alike.
Supplies for Adjustable Headband:
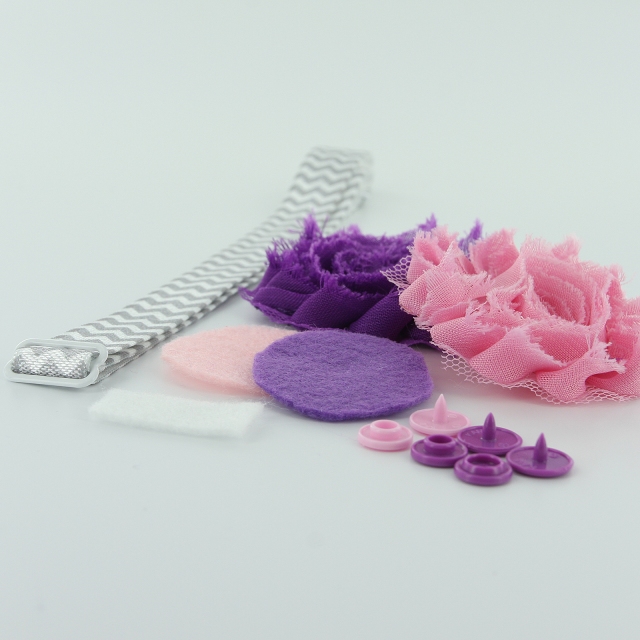
- 1 set of headband ring and slider
- 24" length of 5/8" Elastic for headbands
- Glue of your choice: Fabric Tac or Hot Glue
- Lighter or Chef's Torch
Supplies for Shabby Flower Embellishment:
- 2" Shabby Flowers of your choosing
- 1/2" x 1" square of Coordinating Felt
- 1 1/2" Circles of Coordinating Felt
- Glue of your choice: Fabric Tac or Hot Glue
- Coordinating Size 20 KAM Snaps
Instructions:
1. Cut your Elastic to 24" length and heat seal the ends with the Lighter. Be careful to just seal the ends, not start them on fire :). (You may want to practice on a scrap piece if this is your first time.)
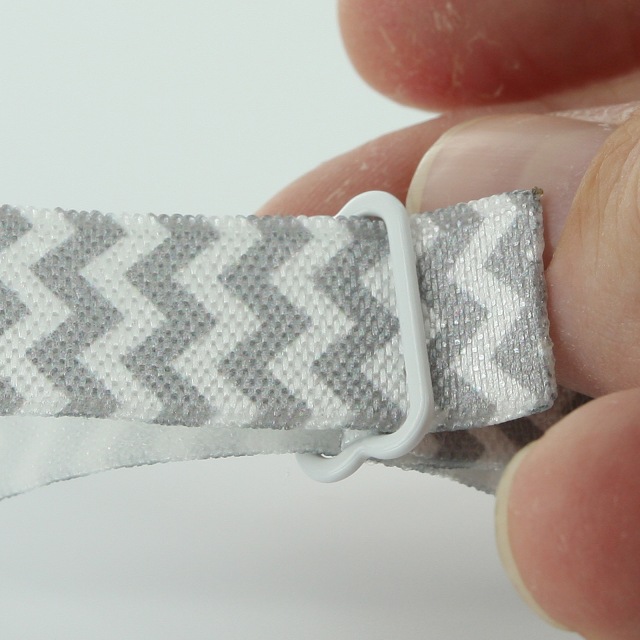
2. Take your 24" length of Elastic and feed the decorative/shiny side of the Elastic up through the first loop in the Slider over the bar and back down through the second loop in the Slider.
3. Pull the Elastic until it is about 3/4" sticking out the bottom of the second loop of the Slider.
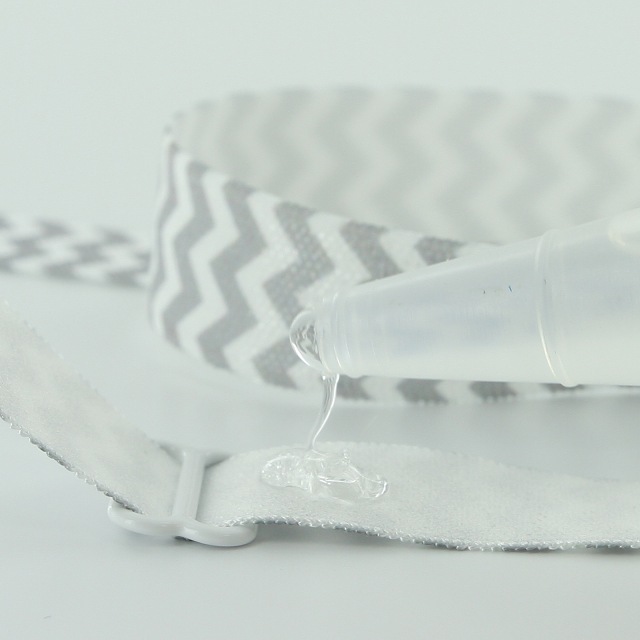
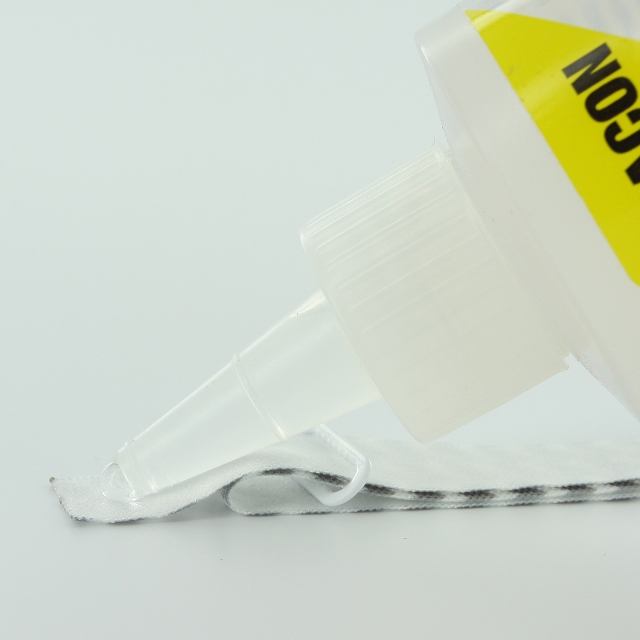
4. Flip the Slider over so that the wrong sides of the Elastic is face up, this is the bottom of the Slider. Put a dab of glue on the Elastic and press the 3/4" of Elastic to it firmly. Wiping away any excess glue.
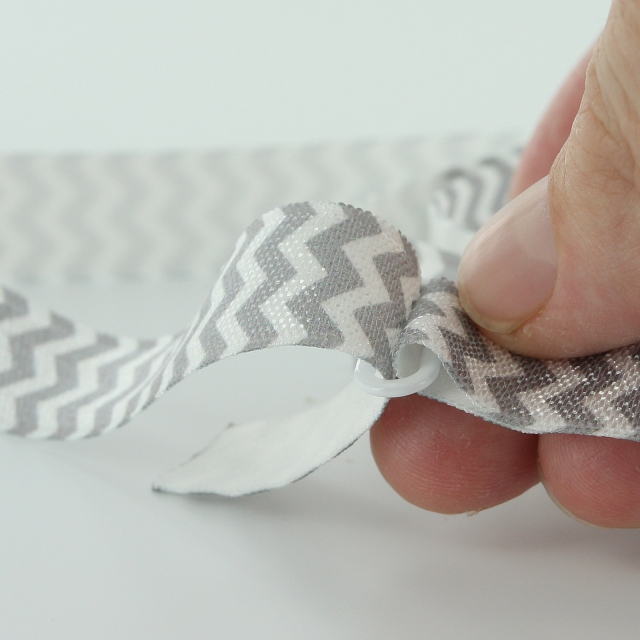
5. From the opposite side, slide the single Slider Loop about half way on to the Elastic.
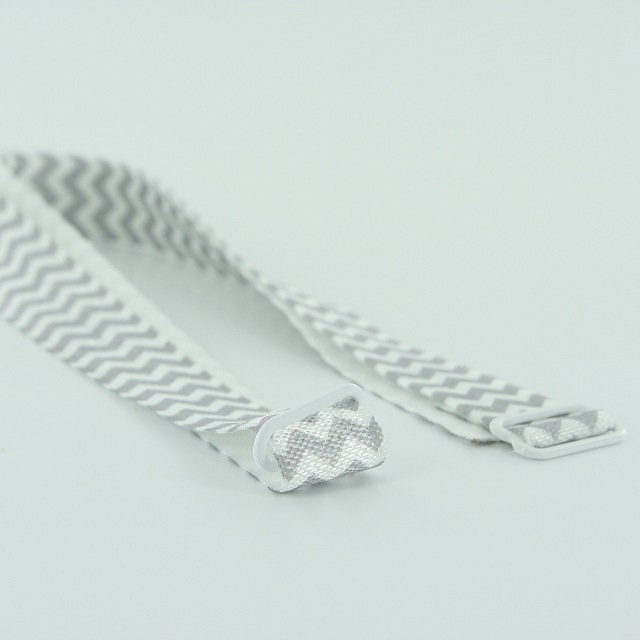
10. You now have an adjustable headband. Tada! But wait there is more ;)!
Interchangeable Shabby Flower Embellishment:
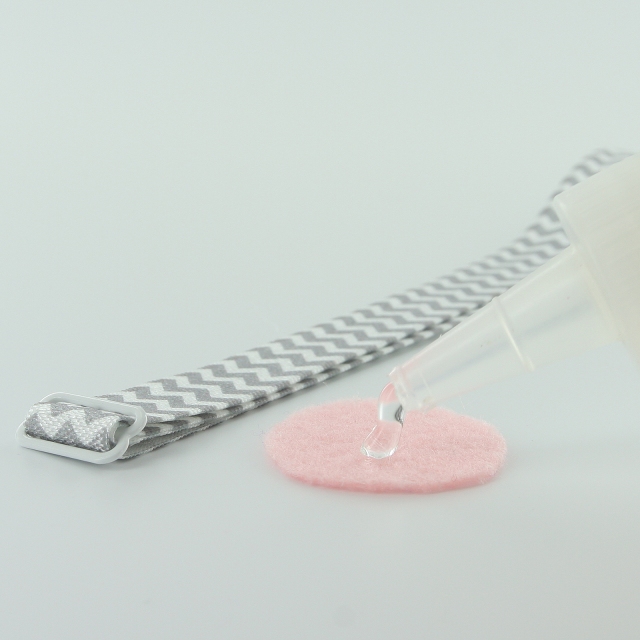
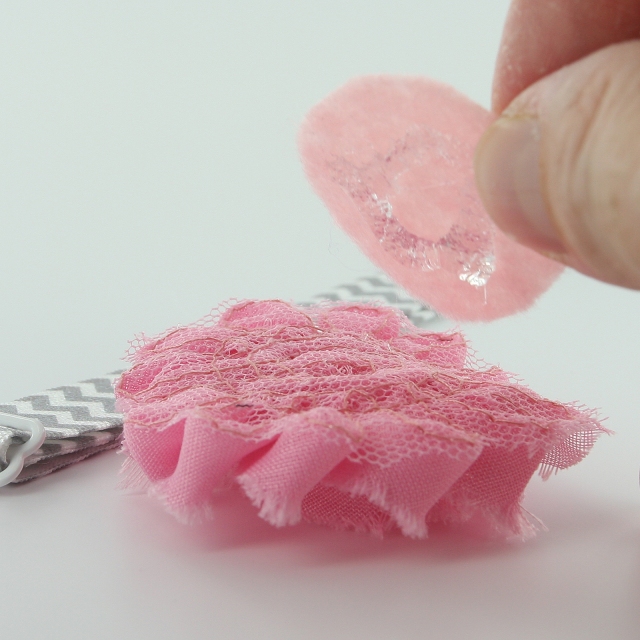
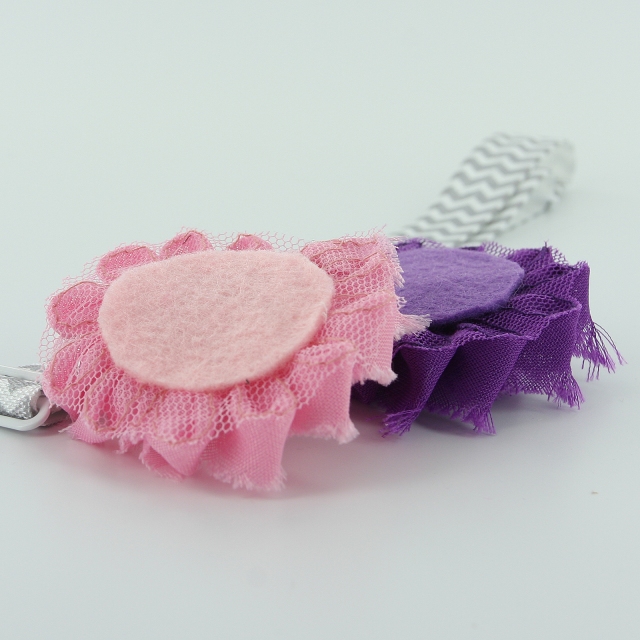
1. Glue the 1 1/2" circle of Felt to each of the Shabby Flowers.
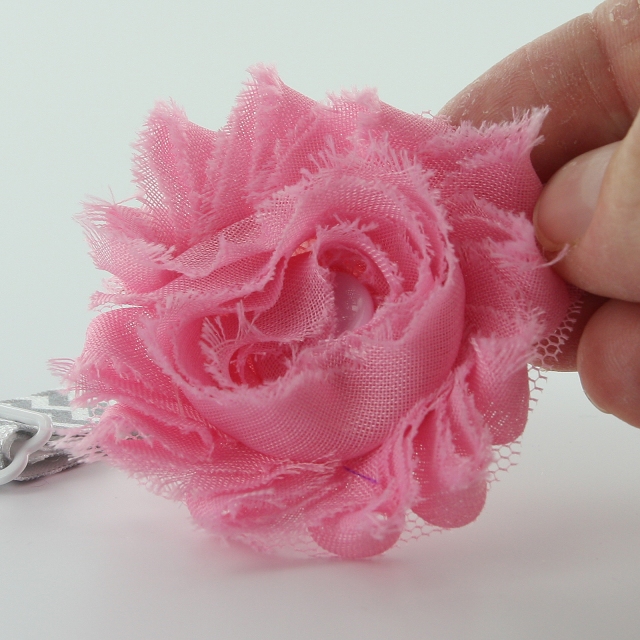
2. Once it has had some time to dry, install a Size 20 KAM Snap Cap and stud in the center of each Shabby Flower. The stud should be facing down on the underside of the Shabby Flower in the Felt. Repeat for each flower. (In the pictures, I used Size 16 but found that it did not hold well and had to replace them with Size 20.)
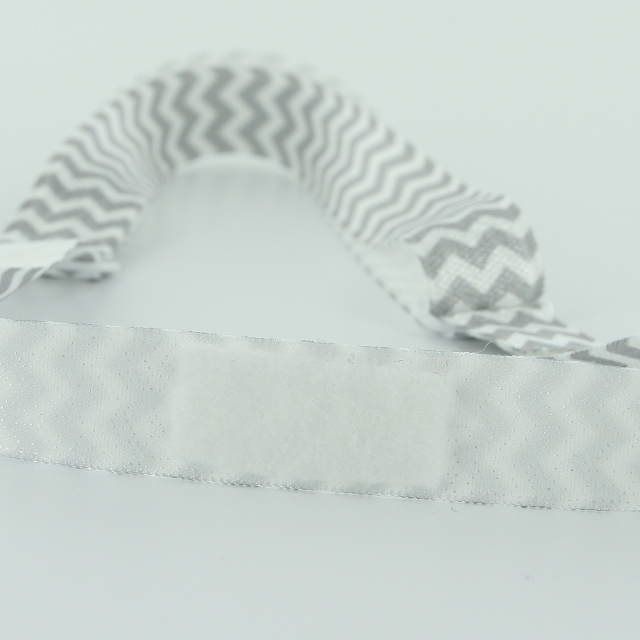
3. Glue the 1/2"x1" square of Felt to the underside of the Elastic where you want to locate the Shabby Flower.
4. Once it has had some time to dry, install a KAM Snap Cap and socket through it. The socket facing up on decorative side of the Elastic.
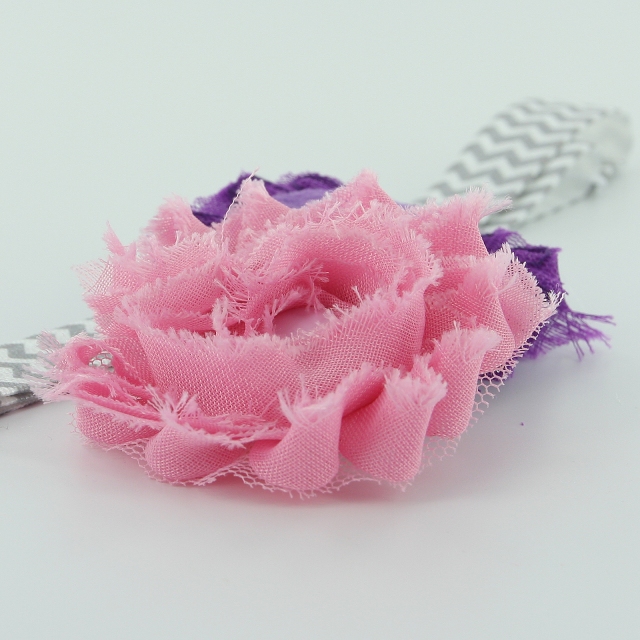
5. Snap the flower in place and go! Tada!


