30 Days of KAM Snaps and Beyond!!! How to make a Snow Queen Inspired Costume with KAM Snaps October 29 2014
How to make a Snow Queen Inspired Costume with KAM Snaps
Day #39
Today I am making a set of Snow Queen Inspired Costumes for my littlest girls. My preschool aged daughter is obsessed with Frozen and Elsa as all girls her age. She told me the other day, "Mama, Elsa and I are good friends because we both LOVE tutus." :) She, of course, insisted that she needed a Elsa dress for Halloween and her little sister an Anna dress but I, in my wisdom, decided if I had to make 2 dresses they would be full size and mini me sized version of the same dress with KAM Snaps. I haven't made a dress in years so bare with my efforts. My girls are thrilled and that is all that matters to me.
Supplies:
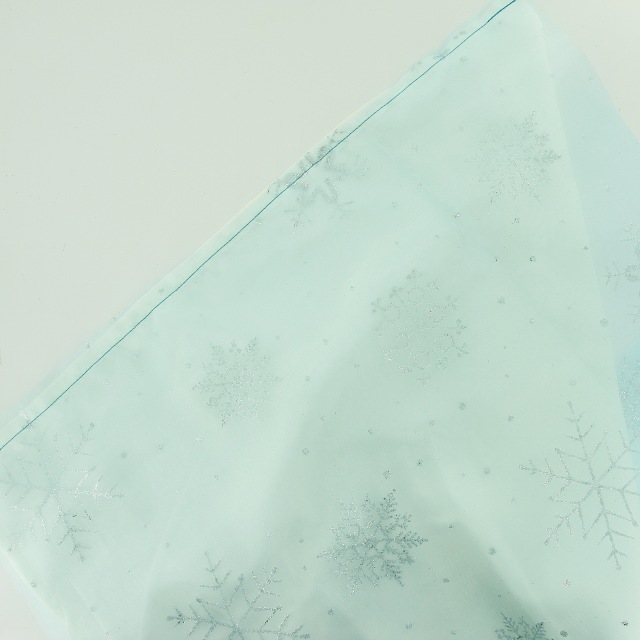
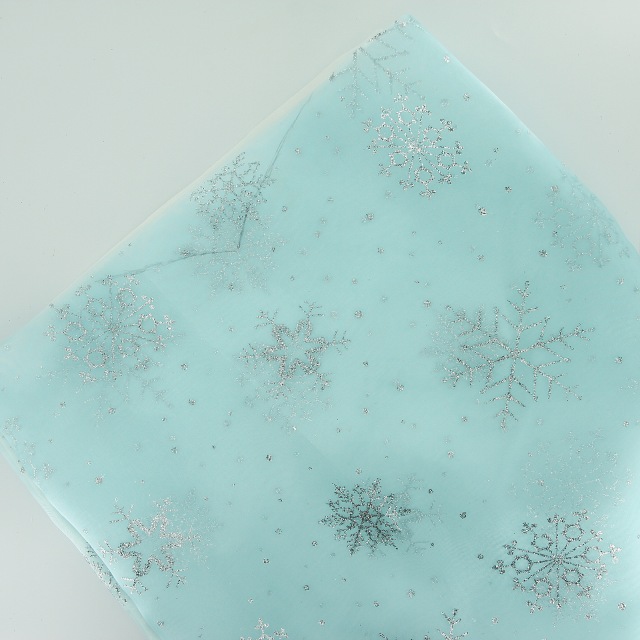
- 1 Yard of Snow Queen Snowflake Organza
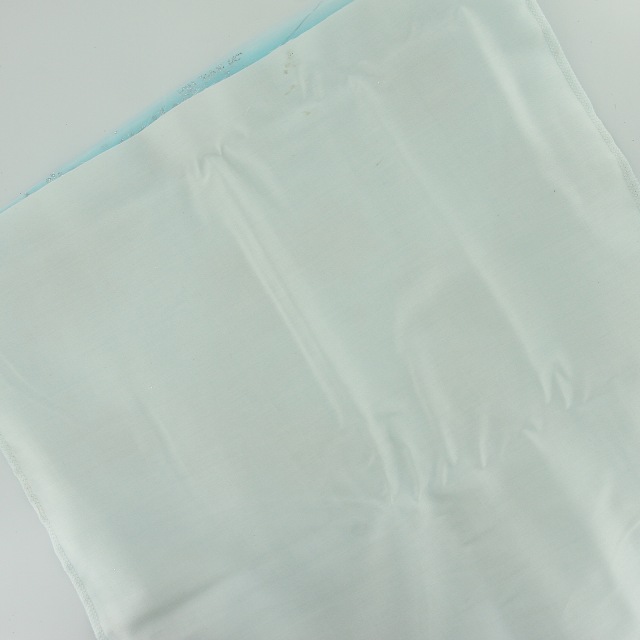
- 1 Yard of White Fabric
- 1 Yard of Tulle (White)
- 4 Sheets of Felt (White)
- Silver Sequined Ribbon
- Teal thread
- 4 KAM Snap Sets
- KAM Snap Pliers and Awl
- Serger Sewing Machine
- Standard Sewing Machine
- Long Sleeve T-Shirt (we went with White)


Instructions:
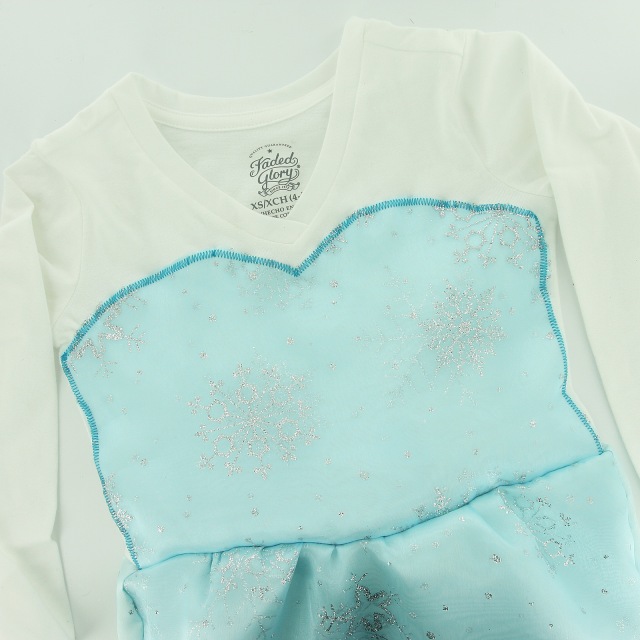
1. Make a paper template sweetheart bodice shape, it will look like this.


2. The organza was super thin so I did a double layer of it so that it looked more blue. I considered painting the t-shirt blue first in the area that the organza would lay or putting a layer of solid blue material underneath but I was in a time crunch and this was the quickest remedy. I pinned the bodice in place.

3. With teal thread I zig zag stitched the heart shaped bodice in place.
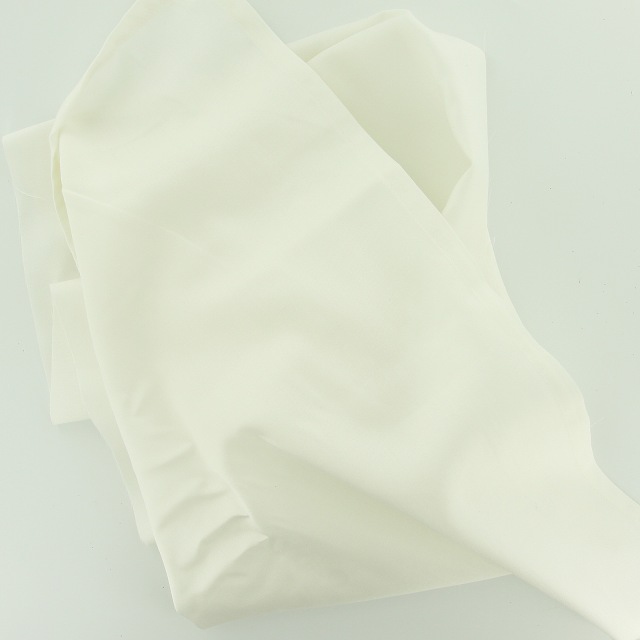

4. I cut out 2 layers of white fabric, width of shirt measurement was twice the width of the t-shirt so that I can gather the material and length of shirt I measured from about half way down the bodice to the floor. I used a flat sheet for the white fabric that I had laying around. Cut out 2 or 3 layers of snowflake organza with same measurements. For the same reason as above, I put 2 layers on the front side, to brighten the blue color, and just 1 layer on back as it will not be viewed as much.
5. Laying the white fabric right side up and the 2 layers of organza fabric wrong side up, I pinned and then sewed the bottom seam together with a 1/4" seam allowance. Repeat with back pieces.

6. Fold the sets of fabric right side out.
7. Pin the front and back pieces together with right sides together and serge the left and right sides from top to bottom.
8. Turn right side out, I also sketched a matching heart shaped V in the front of the dress. I wasn't sure exactly how to make this happen so it was a see as we go idea :).

9. Sew a basting stitch about 1/2" below the edge of the fabric in the front of the dress. Repeat in the back making sure to leave extra thread to grip when pulling the string to gather the fabric.


10. Gather the fabric so that it becomes the size of the t-shirt.

11. Choose how much of the bodice you want showing. I found that I wanted less than half to show. Otherwise, the dress looks a bit out of scale so I went about halfway between an empire waist and true waist height for the waist. Turn the shirt inside out and place over the shirt, shirt will be upside down, skirt right side up, and pin in place. I used a ruler to make sure my pinning stayed level along the t-shirt. Pinning the sweet heart front was difficult. It was counter intuitive to me but after a couple tries I got it. I did turn the dress right side out a couple times to make sure it was lining up right.
12. Sew the skirt in place. I used a 1/2" seam allowance.

13. Pin the Silver Sequined Ribbon in place, scooping down to accentuate the heart shaped waist line and pin in place.
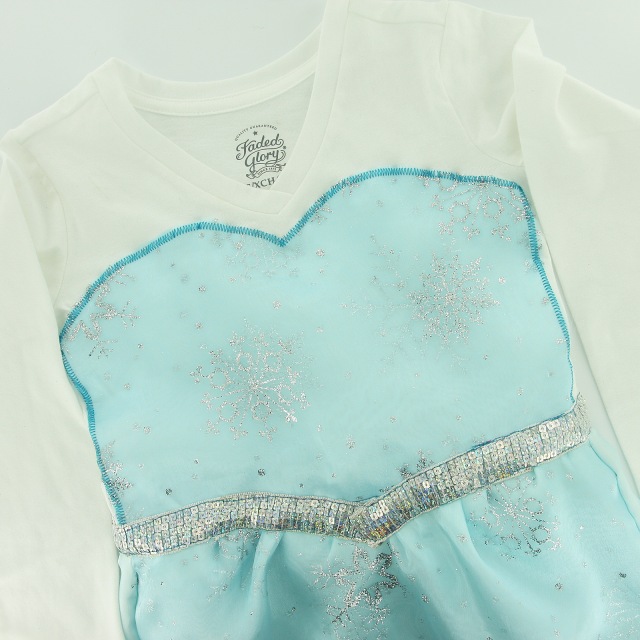
14. Sew in place along the edges both on the top and bottom with a back stitch at the start and finish.

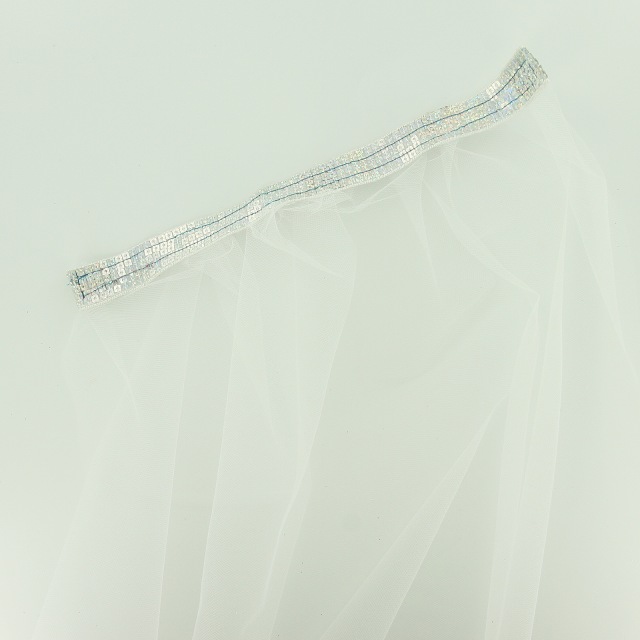
15. Take a length of white tulle, double the measurement of the width of the t-shirt. Use a basting stitch and gather the tulle with the same technique as the shirt. Take a length of the Silver Sequin Ribbon, wrap the top of the tulle, I also added a strip of felt to the back of the tulle to sandwich it to ribbon and add stability where the snaps are going to be applied. Pin in place.
16. Sew it all together.


17. Add KAM Snaps Cap and Stud, 1 at each end and 2 to the left and right of the middle.

18. Repeat same spacing on the back of the t-shirt with a Cap and Socket. I used a 1" square of felt on the inside to stabilize the KAM Snap in the t-shirt.

19. Cut out and add some felt snowflakes, I found the snowflake shapes in Google images, sew in place.
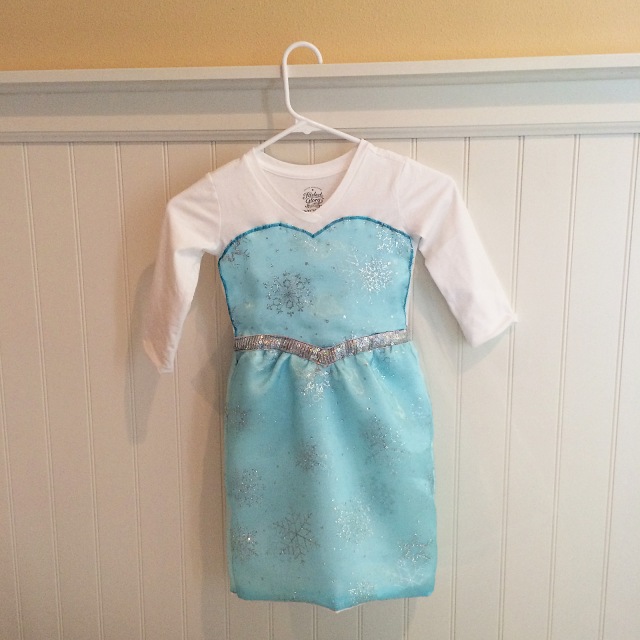
20. Tada! Here is the mini me version.

21. Tada! Here is the full size version. She is shooting snow out of her hands :) can you tell.

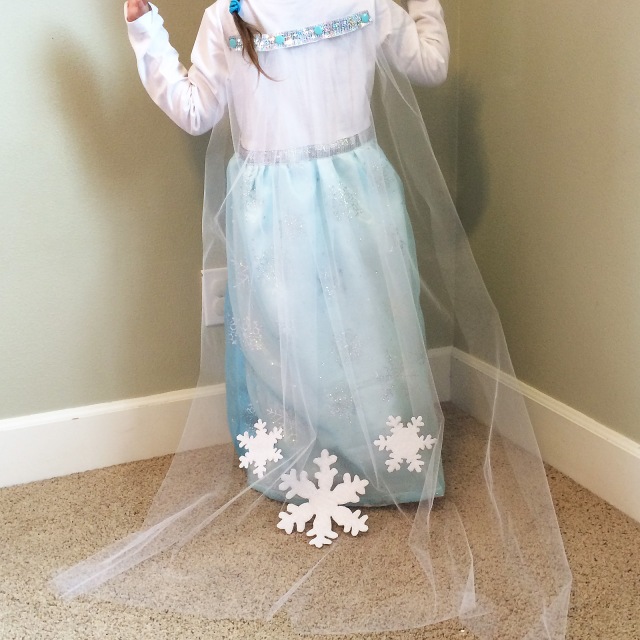
22. I also went with a longer cape for the bigger sister.