30 Days of Snaps!!! Day #27: How to make a Smart Phone Case and Wristlet with KAM Snaps and Key Fob Hardware July 11 2014
Day #27
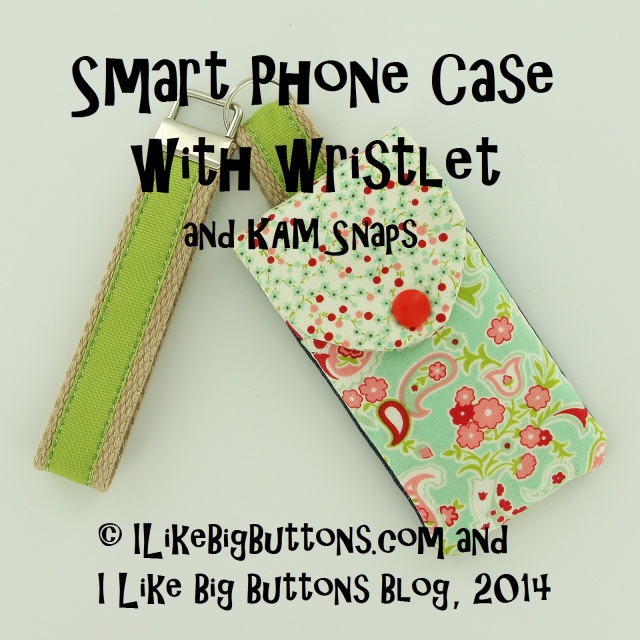
Making a Smart Phone Cover and Wristlet with KAM Snaps and Key Fob Hardware
Today's inspiration came to me as I was packing the kids up for a walk down the road to the neighbors to check out their yard sale and visit. I thought I wish I had a case for my iPhone and a place to put a couple "just in case" dollars but instead I held my phone and tucked the money into my bra :P and headed out with all the kiddos in tow. When I got home, I whipped this up. I am prepared for next time :).
Supplies:
- Fabric or Fabrics of your choice
- Interfacing
- 2x 10" Piece of 1″ Cotton Webbing
- 2x 10″ Piece of Ribbon
- 1 KAM Snap Set
- KAM Snap Pliers and Awl
- 1 Key Fob Hardware and Split Ring
- Smart Phone Case PDF Pattern (works for iPhone 4s and iphone 5, may need to adjust pattern for other models of phones)
- Standard Sewing Machine and Iron

Instructions:
1. Download the Smart Phone Case PDF Pattern. Print out the pattern making sure the 1″ square in the corner measures 1″ square when printed that will indicate the pattern is the right size.
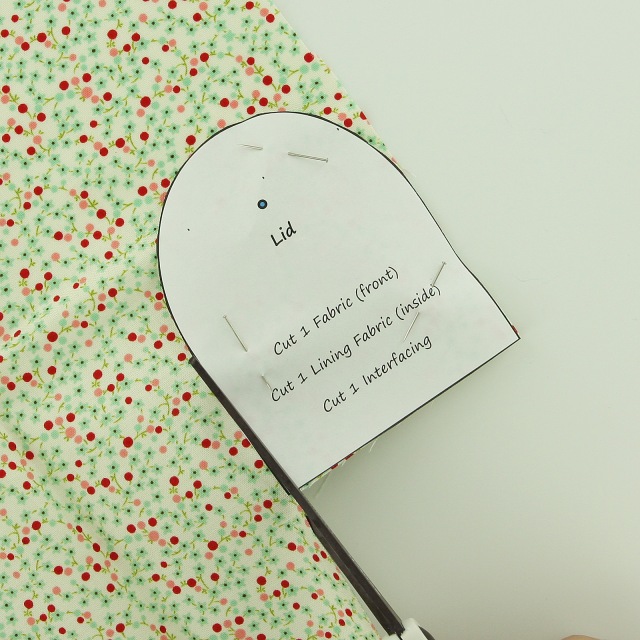
2. Cut out each Pattern piece as many times as instructed.

3. You will end up with:
2 pieces of Fabric/1 Interfacing (back)
2 pieces of Fabric/1 Interfacing (front)
2 piece of Fabric/1 Interfacing (pocket)
2 pieces of Fabric/1 Interfacing (lid)

4. Iron the Interfacing onto a piece of Fabric for matching side making sure to iron it to the wrong side of the Fabric.
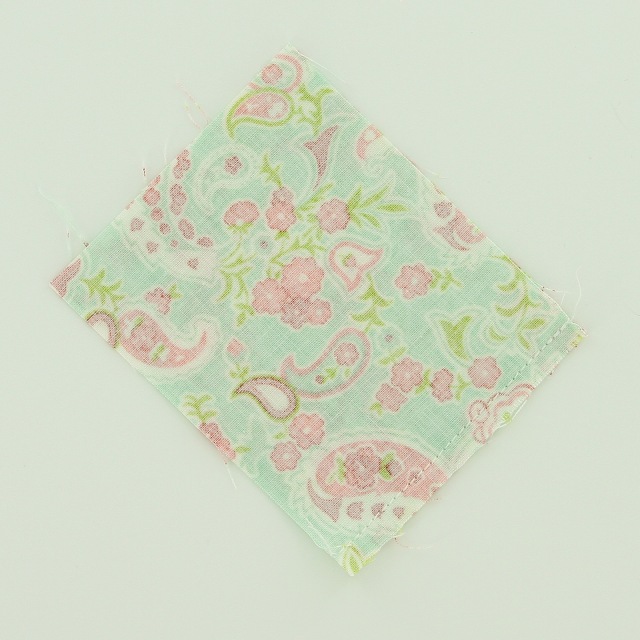
5. Place right sides of Fabric for Pocket together and sew 1/4" seam along the top of the piece.
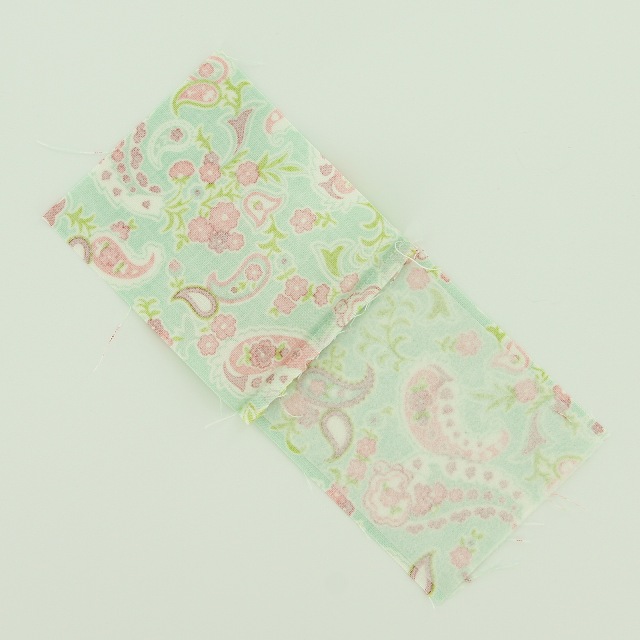

6. Iron Fabric for the Pocket open and then over wrong sides together forming the Pocket face.

7. Take 1 of the 10" pieces of Ribbon and 1" Cotton Webbing and sew them together. I stitched a straight line as close to the edge as possible on the Ribbon.

8. Take the 2 pieces of Fabric for the Lid/Lip of the case, put them right side together, and sew them with a 1/4" allowance.


9. Turn the Lid right side out and iron flat. Fold in the bottom edge and stitch it closed.

10. Then take the Fabric (right side up), I am using more of those recycled holey jeans :), that will be the Back and place the Cotton Webbing/Ribbon strip (right side up) centered across it with just a bit of it hanging off the top edge.

11. Place the internal Back Fabric wrong side up.
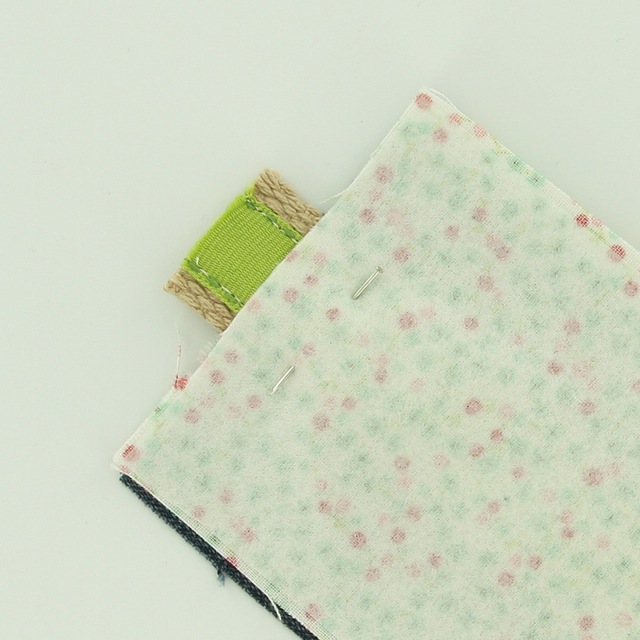
12. Pin them together.

13. Stitch a 1/4" seam along the piece, back stitching to reinforce Cotton Webbing/Ribbon strip. Cut away some of the excess Cotton Webbing/Ribbon if needed.


14. Iron back the Fabric and fold over, wrong sides together. Now stitch a 1/4" seam allowance across the top of the Back piece.

15. Now slide the Split Ring from the Key Fob Hardware on the Cotton Webbing/Ribbon Strip.


16. Now leave about 1" to 1 1/2" overlapped Cotton Webbing above the Back of the Case and pin the Cotton Webbing/Ribbon centered down the back of the Fabric.

17. Now stitch it in place down the back, with the internal Back out of the way, not as pictured, and I also stitched along the Cotton Webbing/Ribbon to gather the loop.
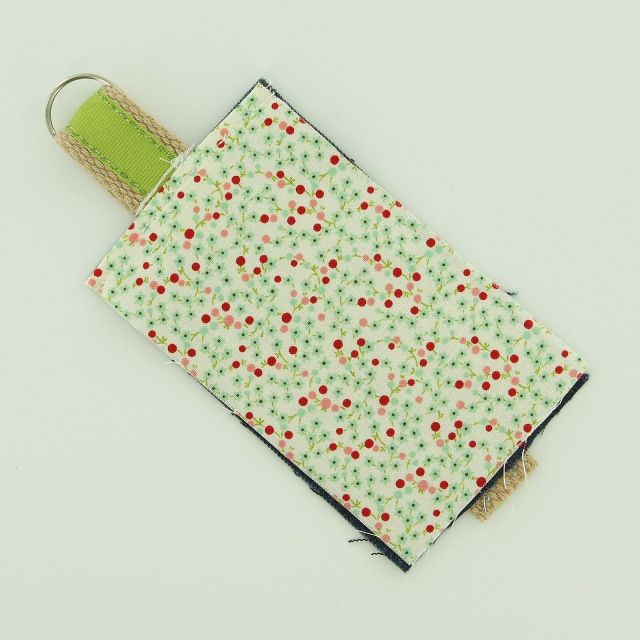
18. It will look like this.


19. Center the Lid along the back, pin and sew with a 1/4" seam allowance. This maybe should have been done a couple steps sooner so that I didn't have 2 stitch lines across the Back but I was when I got to it.

20. Place the finished Front down right side up, I added a 1/4" top stitch to the top of each piece (Front, Pocket and Back).

21. Add the Pocket right side up.

22. Place the Back wrong side up and pin it all together.


23. Sew a 1/4" seam allowance all the way around making sure to back stitch at the beginning and end.


24. Turn the whole thing right side out and push the corners out to get them as square as possible.

25. Install the KAM Snap Cap and Socket in the Pocket.
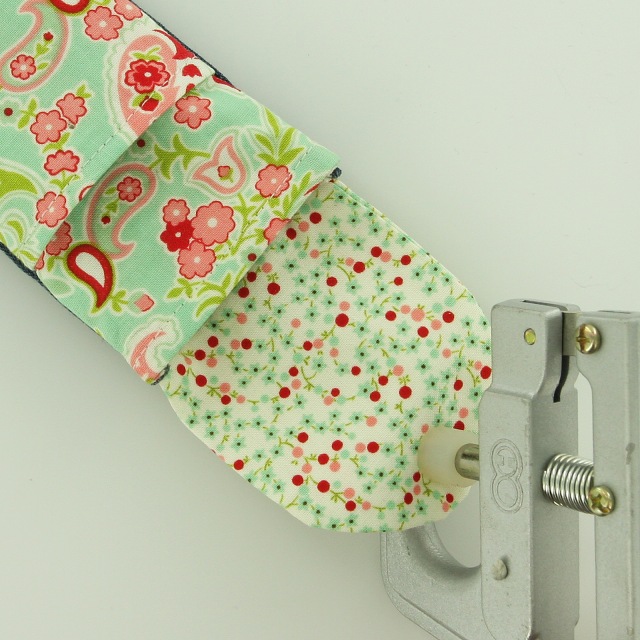
26. Install the KAM Snap Cap and Stud in the Lid.

27. What it looks like with KAM Snaps installed.
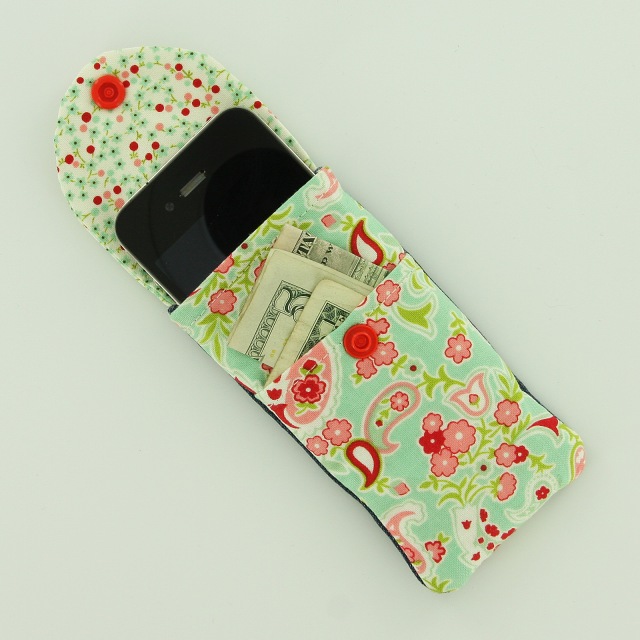
28. This pattern will work with iPhone 4 or iPhone 5, you may need to adjust the pattern somewhat if you have a different model.

29. Snapped closed.

30. Add a Wristlet to complete your project. Check out our Key Fob Hardware Wristlet Tutorials to see how to make our Cotton Webbing and Ribbon Wristlets.