I Like Big Buttons! Upcycled Messenger Bag/Purse Tutorial November 09 2018

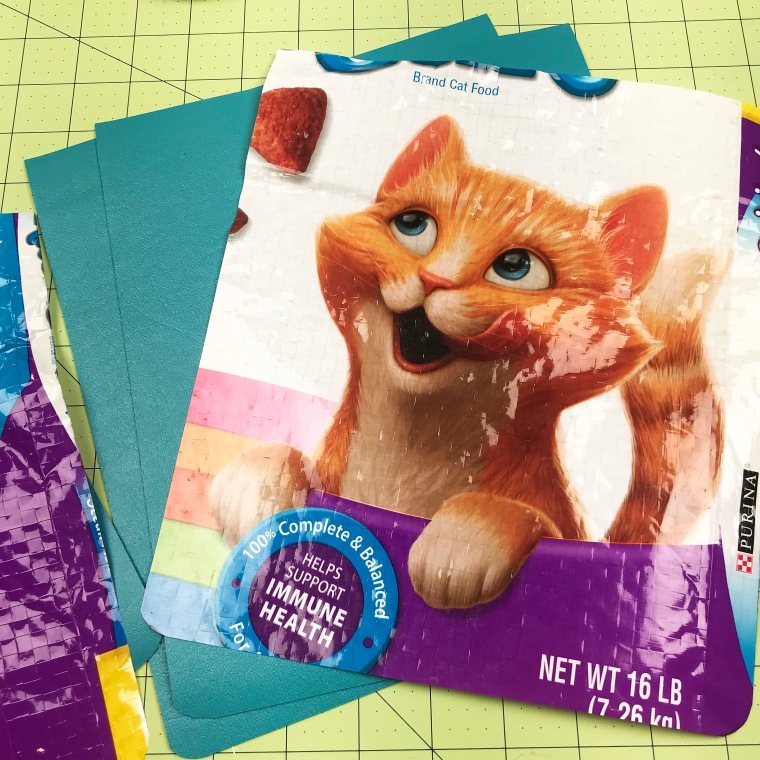
We are a cat loving family here at I Like Big Buttons. As such, we have a few fluffy friends scurrying around. Recently, my husband picked up a few bags of cat food that not only were made of a more durable material than the paper bags ones but also had cute kitty images on them. I couldn't resist turning them into some cute messenger bags for a couple of my little cat lovers. :)
How to make an Upcycled/Recycled Messenger Bag/Purse with KAM Snaps and Pet Food Bag
Supplies:
- Pet Food Bag of your choice (Look for the ones made of woven plastic)
- Marine Vinyl or a material of your choice
- 2 KAM Snap Sets (Depending on the thickness of the material you may want Long Prong)
- KAM Snap Pliers and Awl
- 1″ Cotton Webbing
- Scissors/Rotary Blade
- Standard Sewing Machine

1. Cut the bag along the seams. I plan on making 2 bags with it. For this project, I am focusing on making each bag with a kitty image front and center. Use a damp cloth to wipe the leftover cat food crumbs from the interior of the bags and let air dry. This doesn't take more than a few minutes.

2. Decide on your shape. I like to craft off the cuff. This lid of a storage container was just the right size and shape to showcase the kitty image. Trace around it with a marker.

3. I picked the height based on the image. I left a 1" above each kitty image. *If I did it again, I might do 2" or 3" instead. As you will see later, the flap of the bag covers some of the image. If I had dropped it another inch I think it would have looked slightly better when snapped closed.

4. Cut 2 pieces of Marine Vinyl or material of your choice the same size at the kitty images. I had some vinyl left over from a summer chair reupholstering product. I love it because the color goes nicely with the kitty image and it is durable.

5. Cut two flaps for the messenger bags. I cut them the same width as the bags and longer than I thought I would need so I could adjust on the fly.

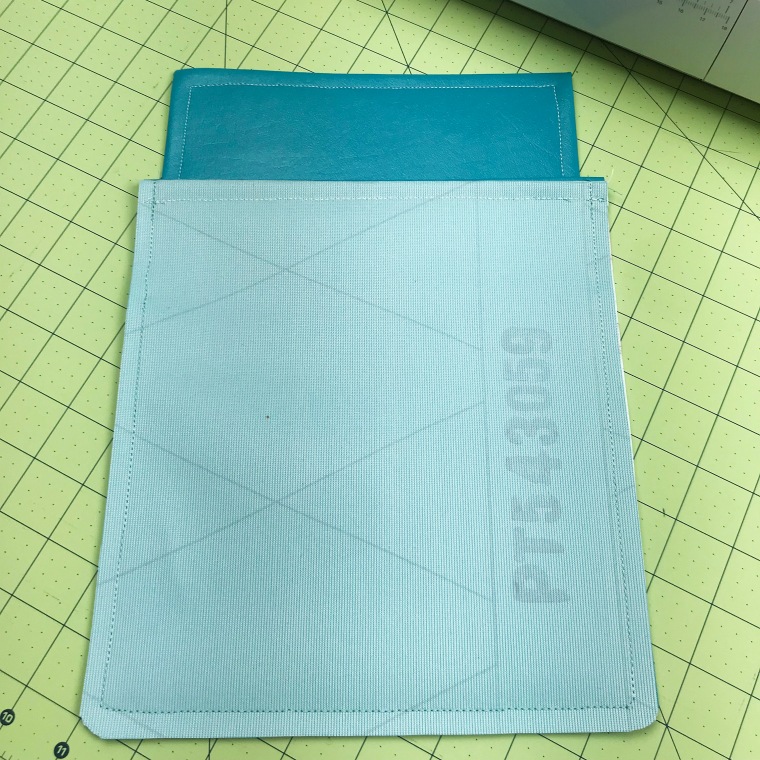
6. Using a 1/2" seam sew the kitty image to the front piece of Marine Vinyl, right sides together. I chose to put the Marine Vinyl front to the front so that the interior of the bag was uniform, but you could turn the right side of the Marine Vinyl inward so that it was to the inside of the bag. Sewer's choice. :)

7. Fold the sewed seam flat and smooth. Then, fold it until the kitty image is right side out. Smooth the sewed seam and Marine Vinyl.


8. Sew 1/4" seam along the top of the finished edge.
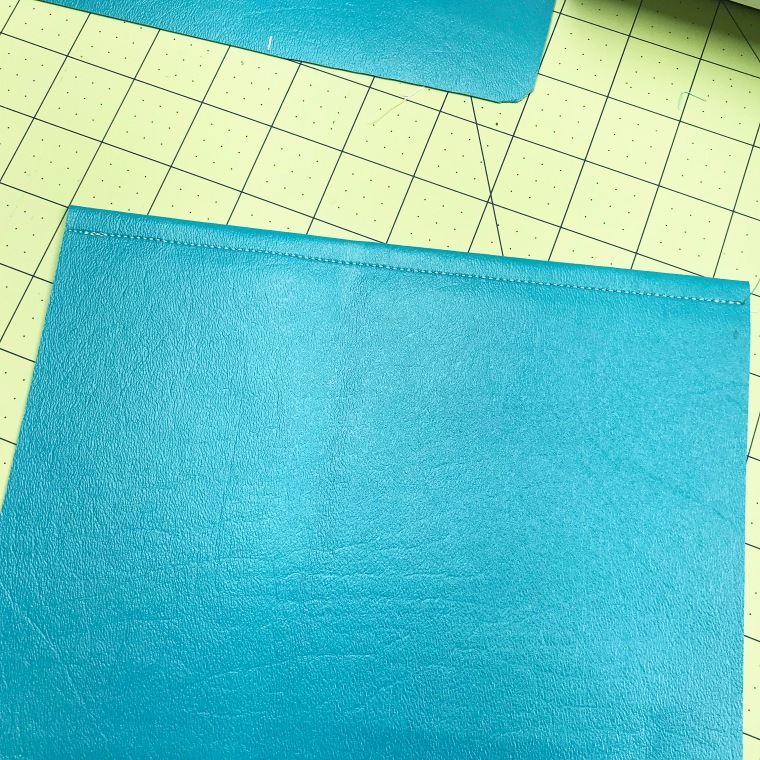
9. Fold the top edge of the back piece of the bag over a 1/2". Sew 1/4" seam along the edge, creating a finished edge.

10. For the top flap, I created a simple square with three finished edges. Marine Vinyl is durable and the raw edges hold up nicely. If using another material, you will have to give consideration to the material you are using and adjust accordingly. The messenger bag/purse will be about 8" wide when finished so I made the flaps slightly smaller at 7.75". *If I did it again, I might have shaved off a little bit more to give the shoulder strap more room to fill.

11. I, then, cut the height of the flap down to 3" because I wanted to see as much of the kitty image as I could after the KAM plastic snap was installed.


12. Align and use a zigzag stitch to attach the flap to the back piece of the purse. Make sure to center it.

13. Put right sides together and sew the 2 sides and bottom of the purse with a 3/8" to 1/2" seam. Make sure to use a Stay Stitch the beginning and end of your sewing so that the stitches stay put.


14. Turn the bags right side out and square the corners as much as possible. I used the backside of a Sharpie marker to help square the corners. Remember I slightly rounded them so they won't be perfectly square. Smooth bags flat.

15. Measure the center of the flap and use a KAM awl to poke a hole for the KAM plastic snap that you will adding. I am only going through 1 layer of Marine Vinyl so a Standard Prong snap will work. If you are using thicker material or multiple layers, I would recommend our Long Prong KAM plastic snaps.

16. Install KAM plastic snap (Cap and Socket).

17. Repeat in front of the bag, where KAM plastic snap lines up. I poked the hole through both layers at once so that I had a point of reference. Then I widened the hole after double-checking the placement of the internal hole. Install KAM plastic snap (Cap and Stud).


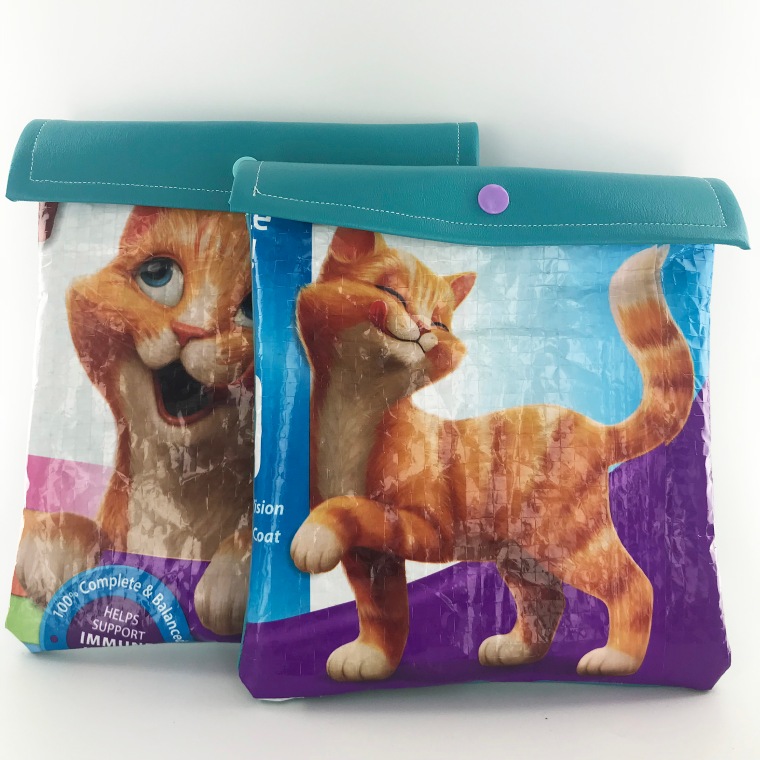
18. I think they turned out super cute! Now to add shoulder straps.

19. For the sake of time and my sanity, I simply attached the shoulder straps with a half of a KAM snap set (Cap and Socket). I used the snap like a rivet. I also used Long Prong KAM plastic snaps for this piece because I was working with the thickness of the Marine Vinyl and Cotton Webbing. *I doubled the edge of the Cotton Webbing over on itself and sewed a straight line back and forth across it a half dozen times so it doesn't unravel. With Polyester Webbing, you could melt the edge to secure it.


20. Tada!!! I think they turned out great, it took less than 2 hours to make both of them, and my little cat lovers are ecstatic. They have a new place to store their treasures.