

Cover Button Assembly Tool --> ***Limit 10 per order of any 1 size***
$2.50
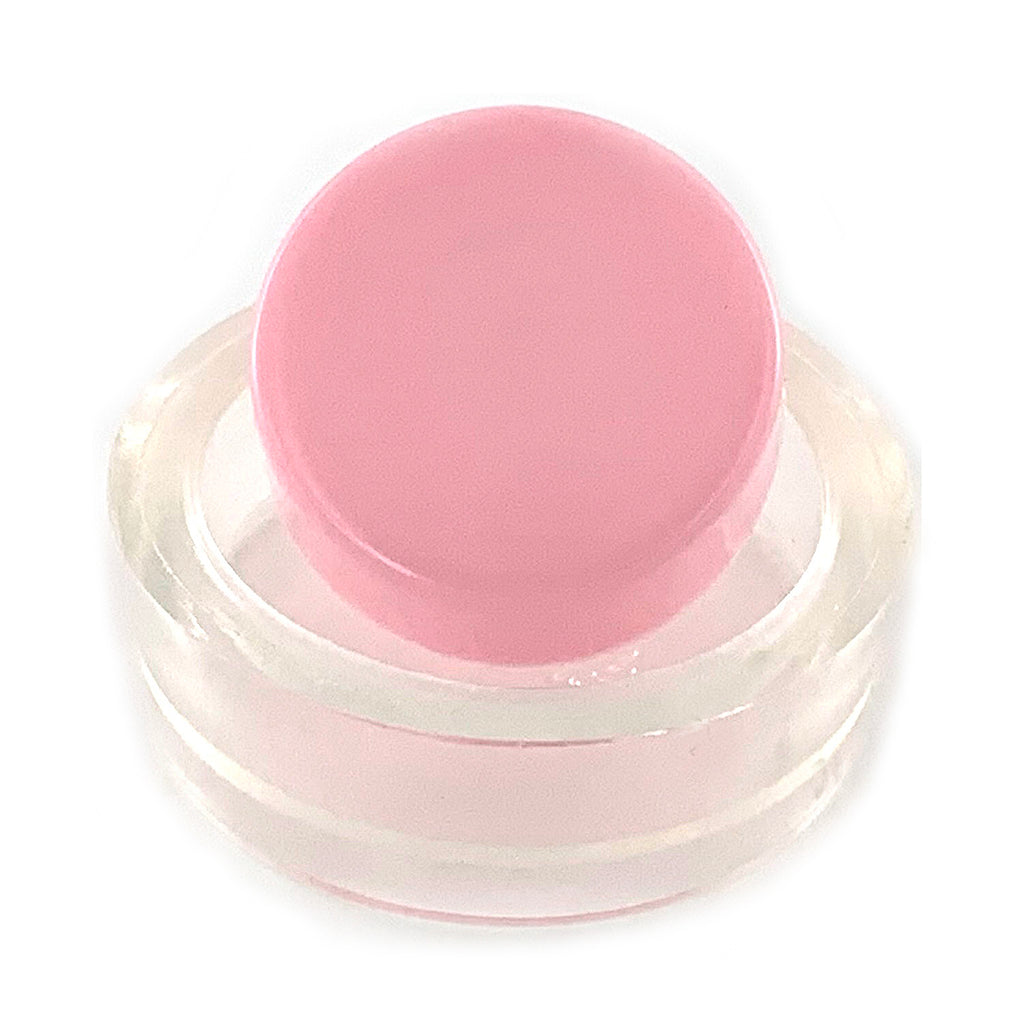
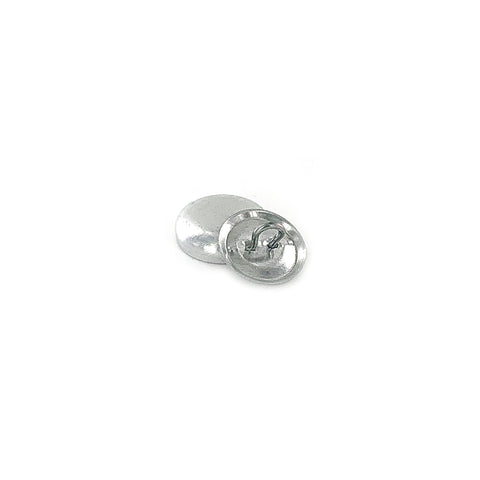
Cover Button Assembly Tool
You will need a cover button assembly tool to put cover buttons together.
** Limit 10 of any 1 (one) size of tool per order. These tools are guaranteed to work with I Like Big Buttons! cover buttons only. **
We also carry cover button templates.
You can do it! See how easy it is with one of our step by step tutorials:
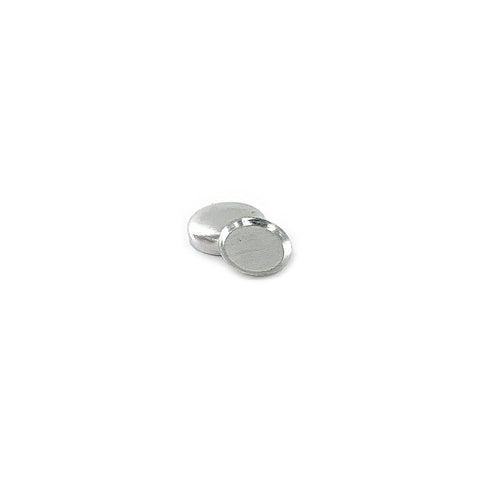
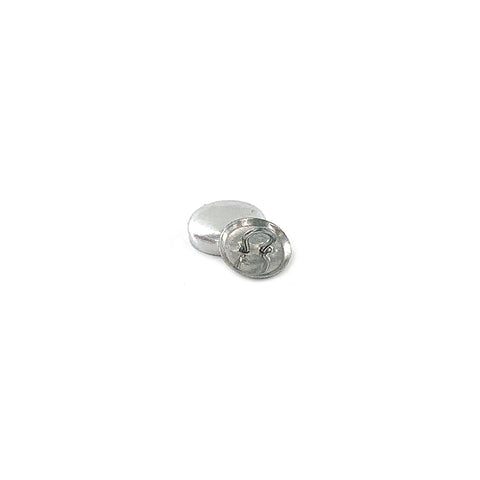
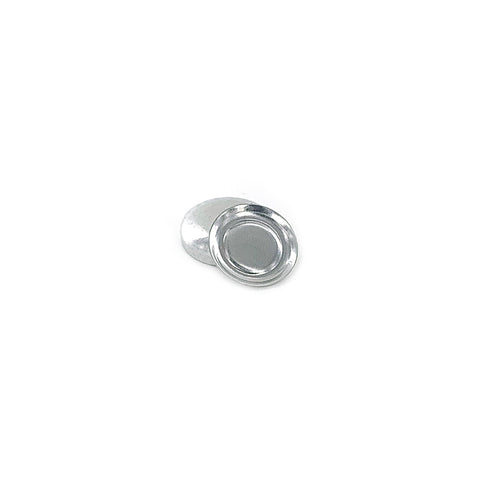
For size reference, cover buttons are available in the following sizes:
- Size 20 (1/2 inch / 12 mm)
- Size 24 (5/8 inch / 15 mm)
- Size 30 (3/4 inch / 19 mm)
- Size 36 (7/8 inch / 23 mm)
- Size 45 (1 1/8 inch / 28 mm)
- Size 60 (1 1/2 inch / 38 mm)
- Size 75 (1 7/8 inch / 48 mm)
Cover Button Tips:
- These Cover Buttons are not recommended for upholstery, leather, vinyl, or other fabrics which are better served by using brass and teeth-style upholstery buttons.
- These Cover Buttons do not need and will not work with a mechanical press. They are made to be formed with the matching sized silicone Cover Button tool that we offer. Simply choose "Add Tool" from the drop-down menu and the correct sized tool will be added to your order.
- The size of the fabric circle for each Cover Button size should be approximately twice the diameter of your button blank. If you would like a matching sized reusable plastic circle template, simply choose "Add Template" from the drop-down menu and the correct sized tool will be added to your order.
- When the circle of fabric and Cover Button Cap are snugly situated in the clear base of the Cover Button tool, flip the tool over and double-check the positioning of your fabric. If it has a pattern, you will see a preview of how the button will form and can make adjustments to the fabric before you install the back.
- You may want to add a dab of E6000 or comparable adhesive before installing the Cover Button Back as a precaution to ensure a permanent hold.
- Save your fingers: Tip #1 - Use the backside of a permanent marker or comparable item on the smaller sized Cover Button Caps to press them into the clear base of the Cover Button tool.
- Save your fingers: Tip #2 - Take a flat piece of wood and use it to apply even downward pressure on the pink plunger of the Cover Button installation tool when installing the back. Not so much pressure that you flatten the button, just until it pops into place.
- To remove the Cover Button from the clear base once it has been formed, bend the mold slightly and push up from the bottom to pop out the button.
Customer Reviews
Based on 9 reviews
Write a review
Share this item: