How to make Embroidered Ribbon Key Fob Hardware Wristlets October 01 2014
How to make Embroidered Ribbon Key Fob Hardware Wristlets
Today, I am making embroidered ribbon Key Fob Hardware Wristlets. Just a couple weeks ago, my mom, sister and I had a girl's weekend at my home. In between long rounds of talking and catching up (we talk every week by phone ;), eating good food, chasing kids, and being put to work. They graciously volunteered to help me do some of the tedious day to day work for my business. We snuck in some time to make a few Key Fob Hardware Wristlets for them. Here are some examples of how they turned out.
Supplies:
- Ribbon of your choosing (Narrower than the Cotton Webbing)
- 1x 10″ Piece of 1.25″ Cotton Webbing
- 1x 10″ Piece of Ribbon
- 1 Key Fob Hardware and Split Ring
- Key Fob Hardware Pliers
- Fray Check
- Wonder Clips
- Standard Sewing Machine with Embroidery option


Instructions:
1. Cut a 10" section of the Cotton Webbing and Ribbon of your choosing.

2. The ribbon I was using was made of polyester so I used a lighter to seal the ends of the ribbon so it doesn't fray. (If you are unsure, you may want to practice on a scrap piece if this is your first time or you are unsure of the what the material is made of.)
-
If you would like (I didn't do it this time but have in the past): Cut a 10" section of Heat N Bond, keeping it thinner than your ribbon.
-
Iron the Heat N Bond to your Cotton Webbing, making sure to center it. This is not a necessary step but it makes it easier to sew the Ribbon on especially with embroidered ribbon.
-
Iron the Ribbon to the Cotton Webbing.

3. Using my Standard Sewing Machine with Embroidery options, I picked the word I wanted on my ribbon and sewed it on my ribbon. I folded my ribbon in half and estimated about where the letters would end up and came up with about 2 1/2" to 3" down to get the font centered on the Wristlet once finished.
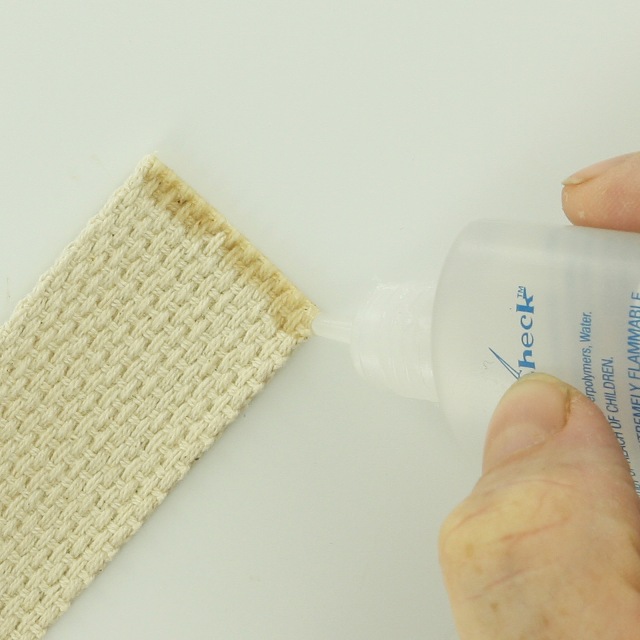
4. Use Fray Check to seal the end of the Cotton Webbing.

5. I laid out my Ribbon and Rick Rack how I wanted it to look using my Wonder Clips. Love them!
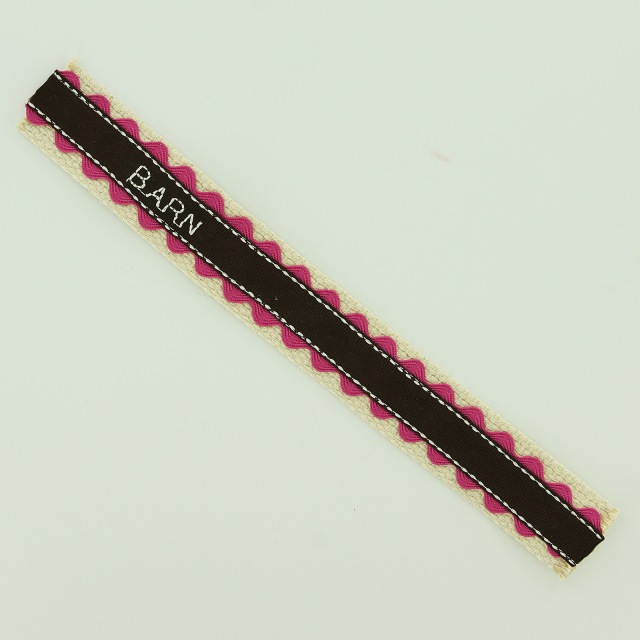
6. Sew up one side of the Ribbon and down the other. The Ribbon should now be securely attached to the Cotton Webbing.

7. Fold the Cotton Webbing in half, right sides facing out and match up the ends.
8. Stitch the ends together with a 1/4" seam allowance.
9. Trim any loose threads.

10. Tuck the sewn seam ends into the Key Fob Hardware, making sure that the Cotton Webbing is centered.

11. Using Key Fob Hardware Pliers squeeze the Key Fob Hardware closed with gentle pressure.
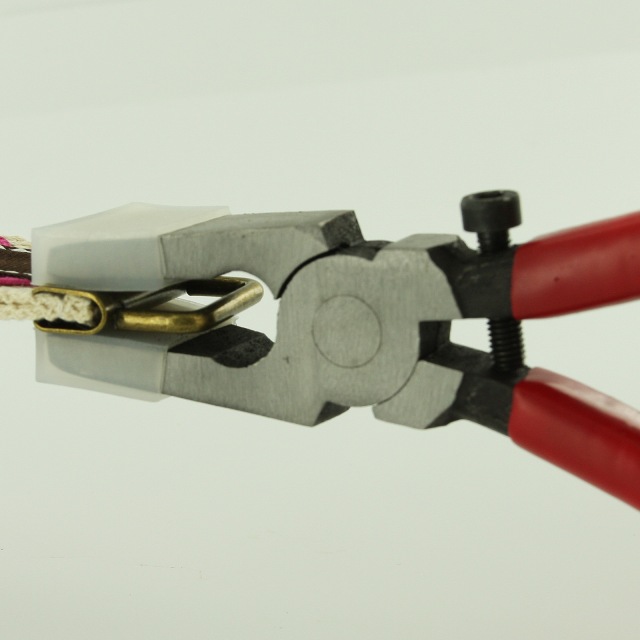
12. Note the adjustable screw set to the distance I want the pliers to go to.

13. Add the Split Ring and Yay!!!


14. I love them and now I have a set for myself too!