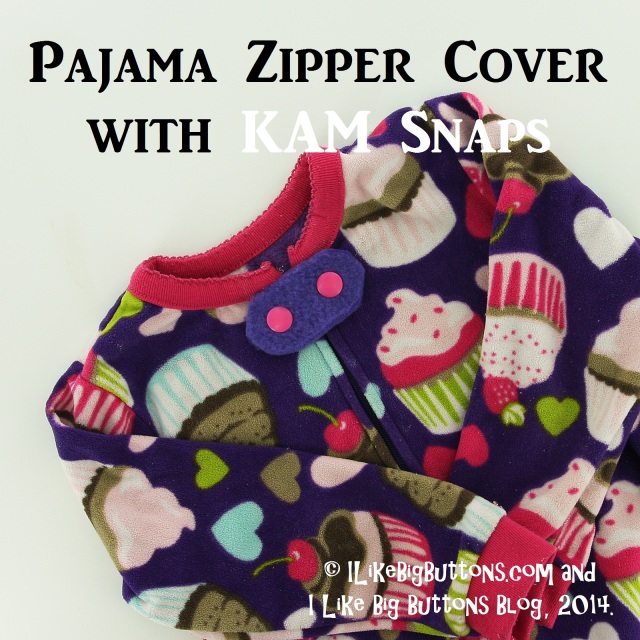
30 Days of KAM Snaps and Beyond!!! How to make a “No Sew” or Sewable Pajama Zipper Cover with KAM Snaps September 09 2014
Day #34
Today I am making a Pajama Zipper Cover with KAM Snaps. This is a definite "KAM Snaps to the Rescue!" moment if ever there was one! My toddler has just discovered the sweet freedom that nakedness provides :P. No less than 3-5 times a day, I find her streaking through the house in her birthday suit. While, let's be honest, it is the sweetest thing a mom can see with all her beautiful chubbiness exposed. It leads to BIG messes!!! During the day time I can catch her pretty fast and re-dress her but during naptime and bedtime I am blissfully unaware of her adventures until I go to get her up and find her naked dancing in her bed. So sweet, so naughty :)!
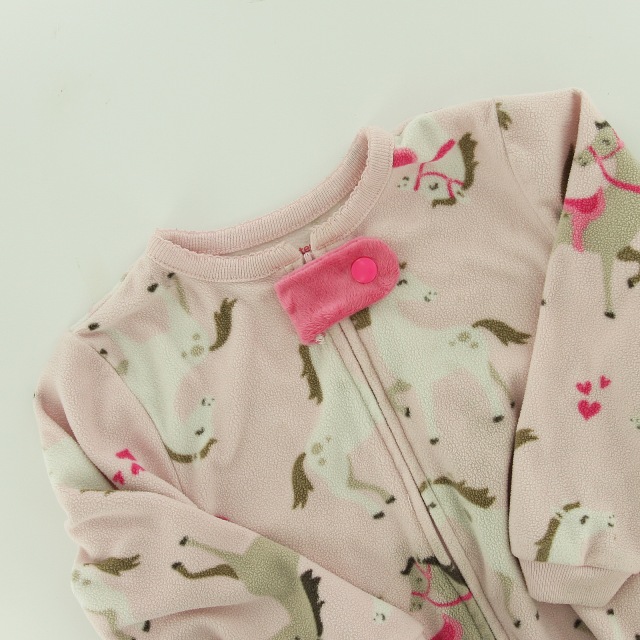
Carter fleece pajamas are a must-have in my house because my children like to sleep on top of their blankets instead of under them. They are comfy and warm but I have found that at Size 2T they stop adding the zipper cover. I assume for those kids who are potty trained but my kids are tall so we head into most clothing sizes ahead of schedule.
KAM Snaps to the rescue! I decided to do something about it. With a few minutes, some fabric scraps, and a couple snaps I solved a major problem.
Supplies:
- 1 or 2 KAM Snap Sets
- KAM Snap Pliers and Awl
- Fabric Scraps
- Fabric Tac
- A Pair of Fleece Pajamas

Instructions:
Collect your pajamas in need of a Zipper Cover.

Here is the "No Sew" version:
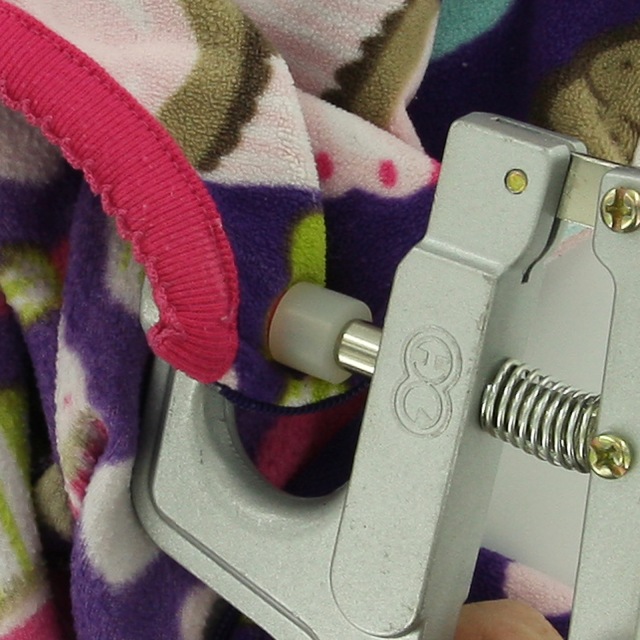
1. Add a KAM Snap to the Left and Right Side of pajama, they are spaced a little over 1" apart. I did one side with a Socket and one side with a Stud but upon reflection I would have done them both Studs.
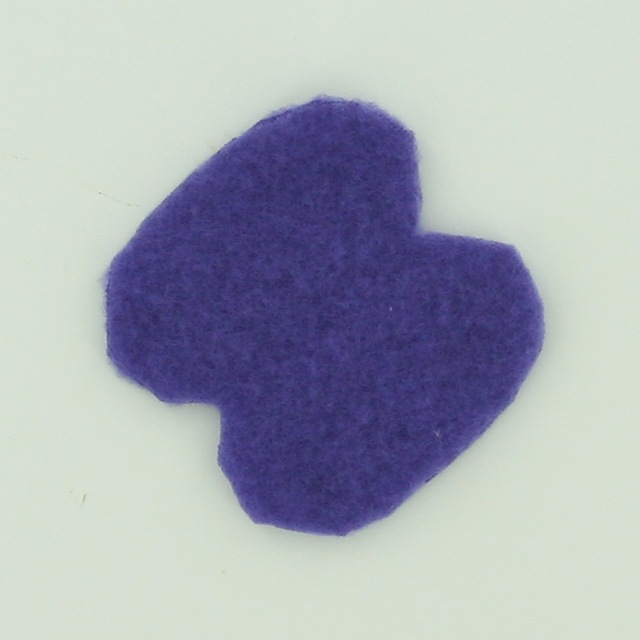
2. Cut the shape above in Fleece or some other non-fraying material. It is approximately 2" by 1" when folded in half.

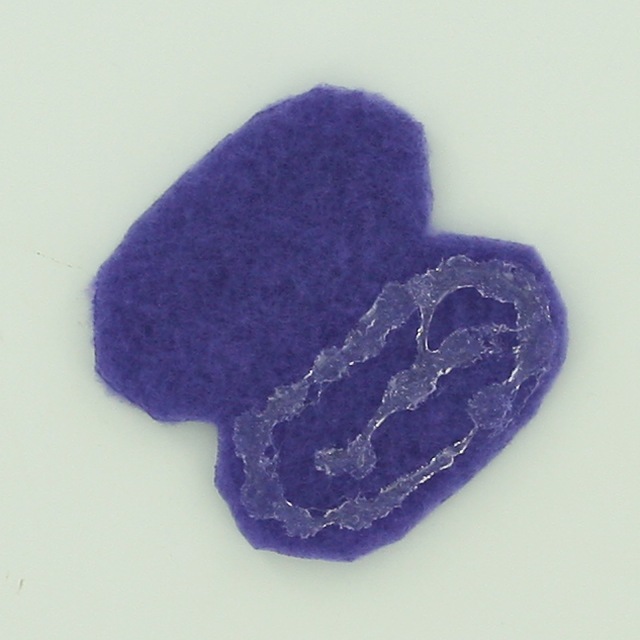

3. Put Fabric Tac to one side, fold in half and press firmly. Let dry.
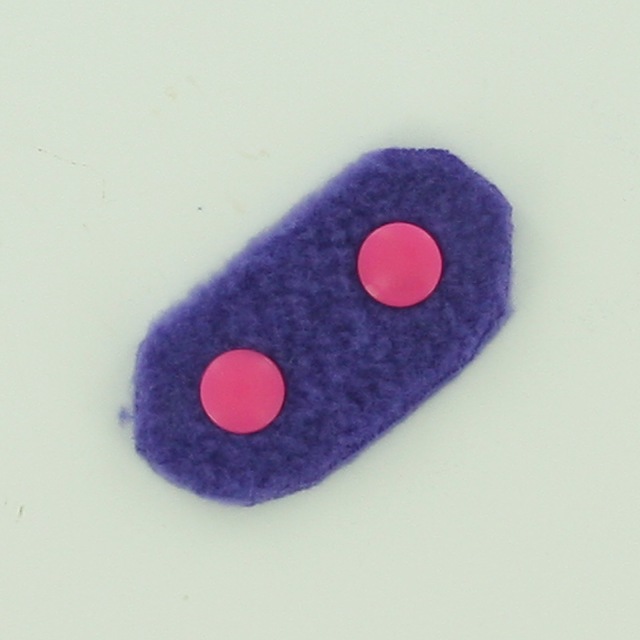
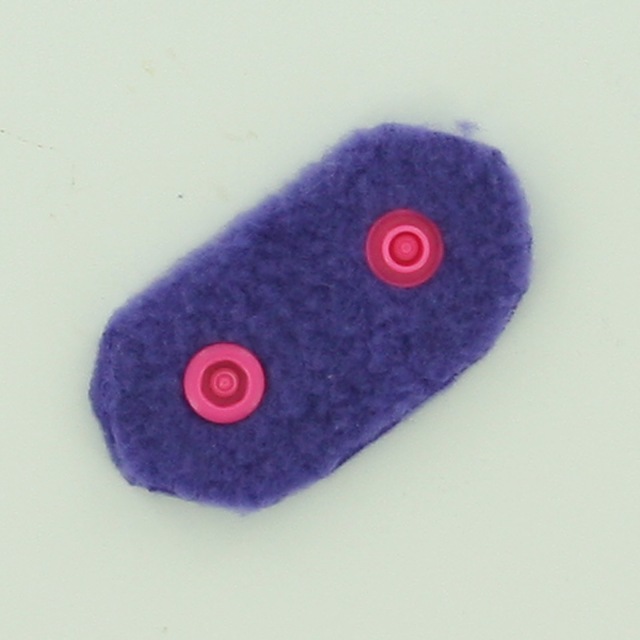
4. Add a KAM Snap on the left and right with the same spacing and you used on the pajama.
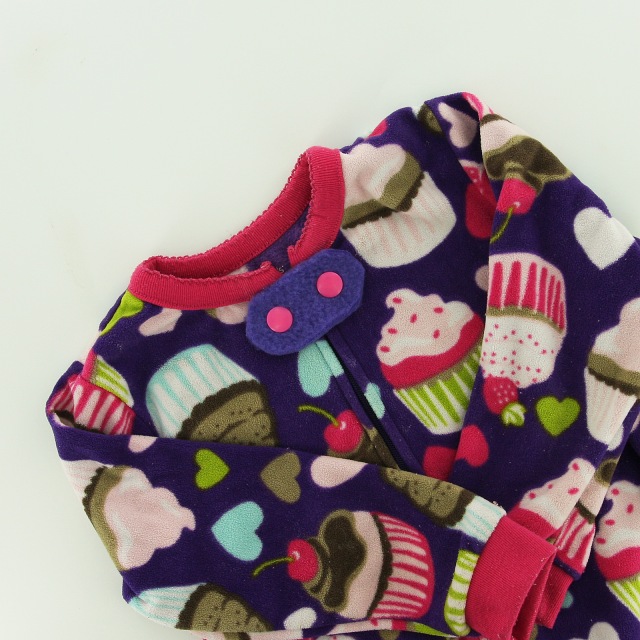
5. Snap into place, tada! The "No Sew" version is so easy!
Now on to the sewable version:


1. Cut the shape above in 2 pieces of material, I had some scraps of Minky that were a nice color match to the pajamas. Put right sides together and sew a 1/4" seam allowance from one long side, round the tip carefully lifting and turning the foot ever couple stitches, and to the end of the second long side making a "U" shape. Leave the narrow end open. Then turn the Tab piece right side out. It is approximately 2 1/2" by 1" when finished.
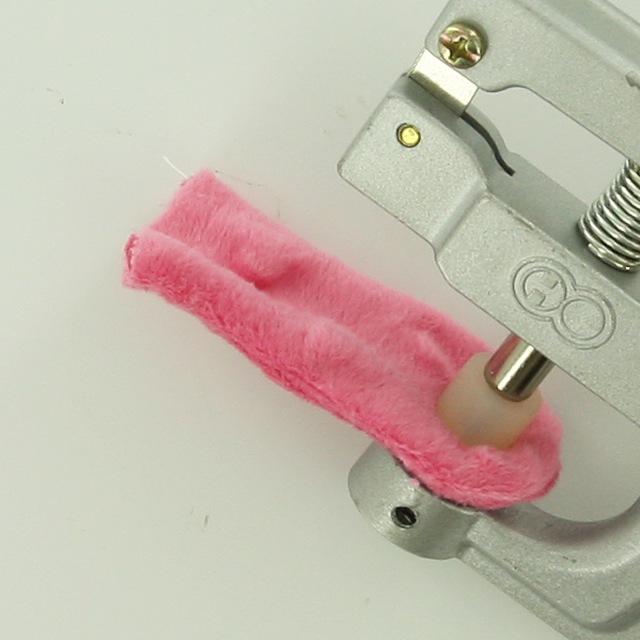


2. Add a KAM Snap in the end of the Tab.

3. Pin the Tab in place on the left side of the pajama.
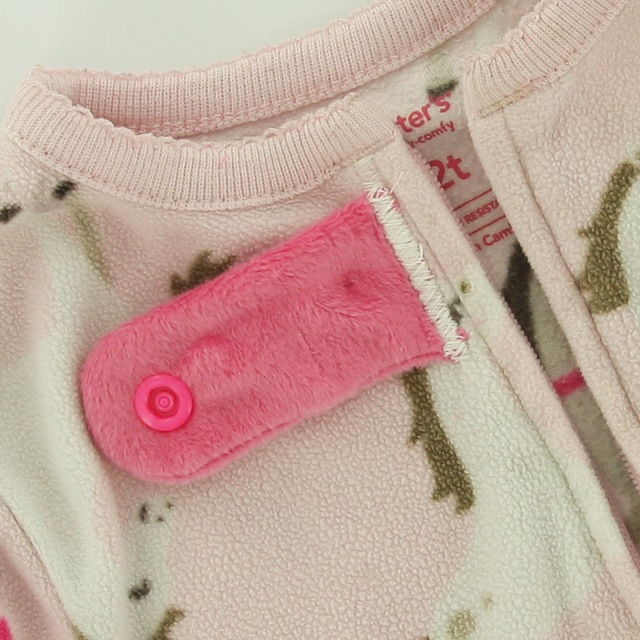
4. Zig-Zag stitch the Tab in place back and forth until it is secure.

5. Lay the Tab over and find the placement for the other half of the KAM Snap and install it.
6. Snap into place, tada! I hope this helps out other mamas with busy babes :).
© ILikeBigButtons.com and I Like Big Buttons Blog, 2014.