30 Days of Snaps!!! Day #25: How to Make a Crayon Roll with KAM Snaps July 08 2014
Day #25
Making a Crayon Roll with KAM Snaps
Supplies:
- 3 12"x6" Pieces of Fabric
- 1 12"x6" Piece of Interfacing
- 2 KAM Snap Sets
- KAM Snap Pliers and Awl
- Standard Sewing Machine


Instructions:
1. Cut 3 Pieces of 12"x6" and 1 Piece of Interfacing. This will make a Medium Sized Crayon Roll and will hold 9-10 Crayons. You can adjust your Fabric length up or down to hold more or less Crayons. About 2" when to edges, seams and Snap placement.

2. Iron the Interfacing on the the wrong side of the fabric that will be the back of the Crayon Roll.

3. Iron the Piece of Fabric in half that will become the pocket to hold the Crayons and lay it on the Piece of Fabric that will be its backing.

4. Pin them together.

5. Every 1" sew a straight line down, back stitching that the beginning.

6. Take the back piece, Fabric and Interfacing, and the front piece, Fabric Pocket, place right sides together and sew a 1/4" seam on three sides. Set the stitch at both ends.
7. Turn the Fabric right side out and push out the corners.
8. Iron it flat.

9. Fold in the unfinished edge about 1/4" and iron flat. Pin flat.
10. Sew all the way around the Crayon Roll with a 1/8" seam. Make sure to back stitch at the beginning and end.

11. On the top right corner of the Crayon Roll poke a hole for the KAM Snap Cap and Stud with your Awl a 1/2" in and 1/2" down. Repeat on the bottom right corner a 1/2" in and 1/2" up.

12. Install the KAM Snap, I used G115 Turquoise for this project to match the fabrics my youngest son picked out. Repeat.

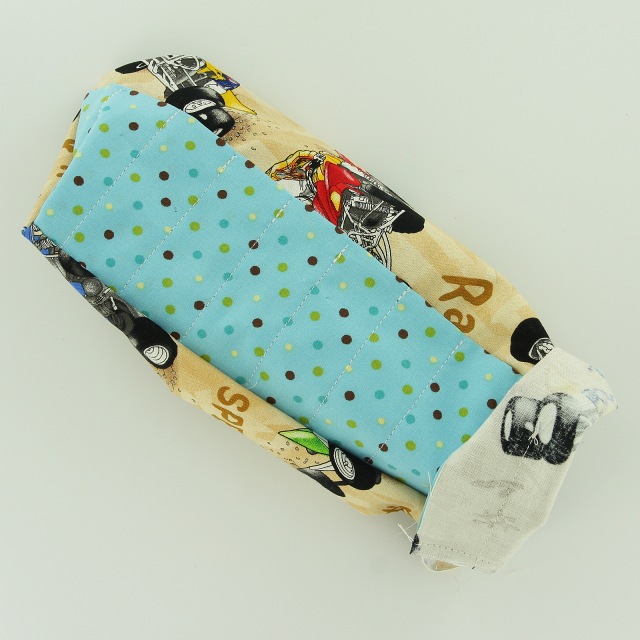
13. This is what it will look like.


14. To figure out the placement of the KAM Snap Cap and Sockets, add Crayons and roll it up.
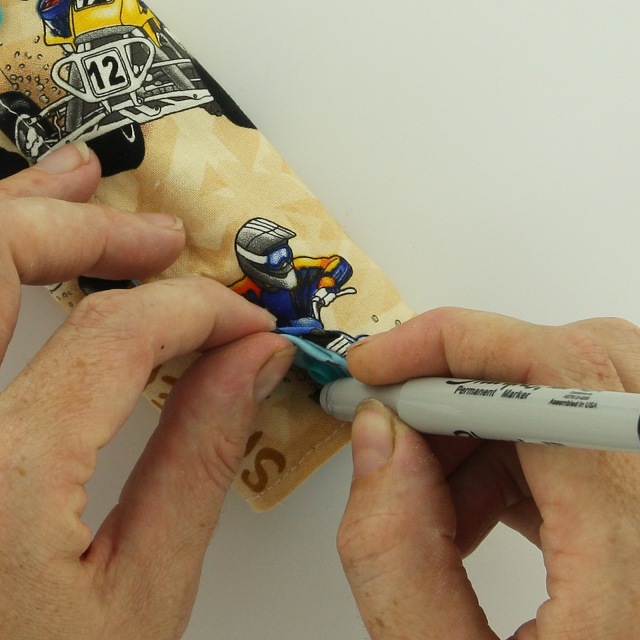
15. I, then, marked the placement of the KAM Snaps.

16. Now install the KAM Snap Caps and Sockets. The second round of snaps landed in the middle of one of the crayon spots. As this was my first attempt at a Crayon Roll there is a learning curve. It could still hold a Crayon. It just would sit down in the pocket as well. I would probably adjust for the placement of the Snaps a little differently next time, maybe :).

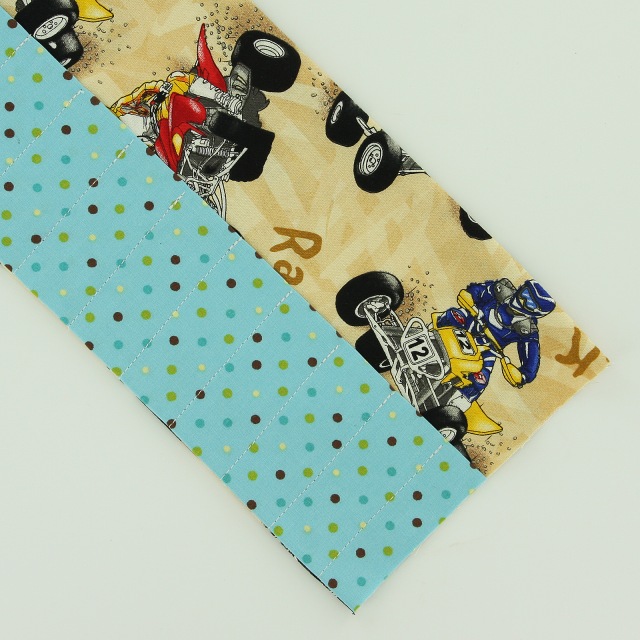
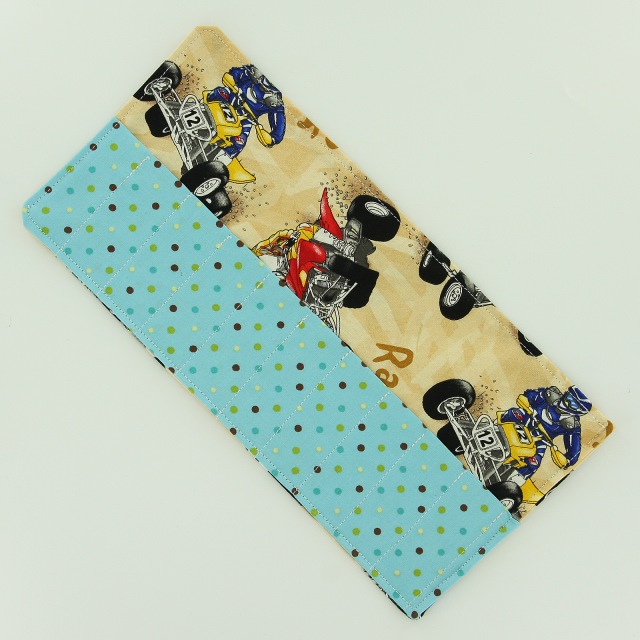
17. The finished product will look like this.


18. Add Crayons, Roll, and Go! Tada!!!

19. Easy, functional and a crowd pleaser, I have a very pleased boy :)!